Hello there, fellow plant enthusiasts! It’s so lovely to have you join me today. We’re going to dive into the wonderful world of propagating Gutierrezia texana, also known as Texas native aster or yearly yellowtop.
Why Propagate Texas Native Aster?
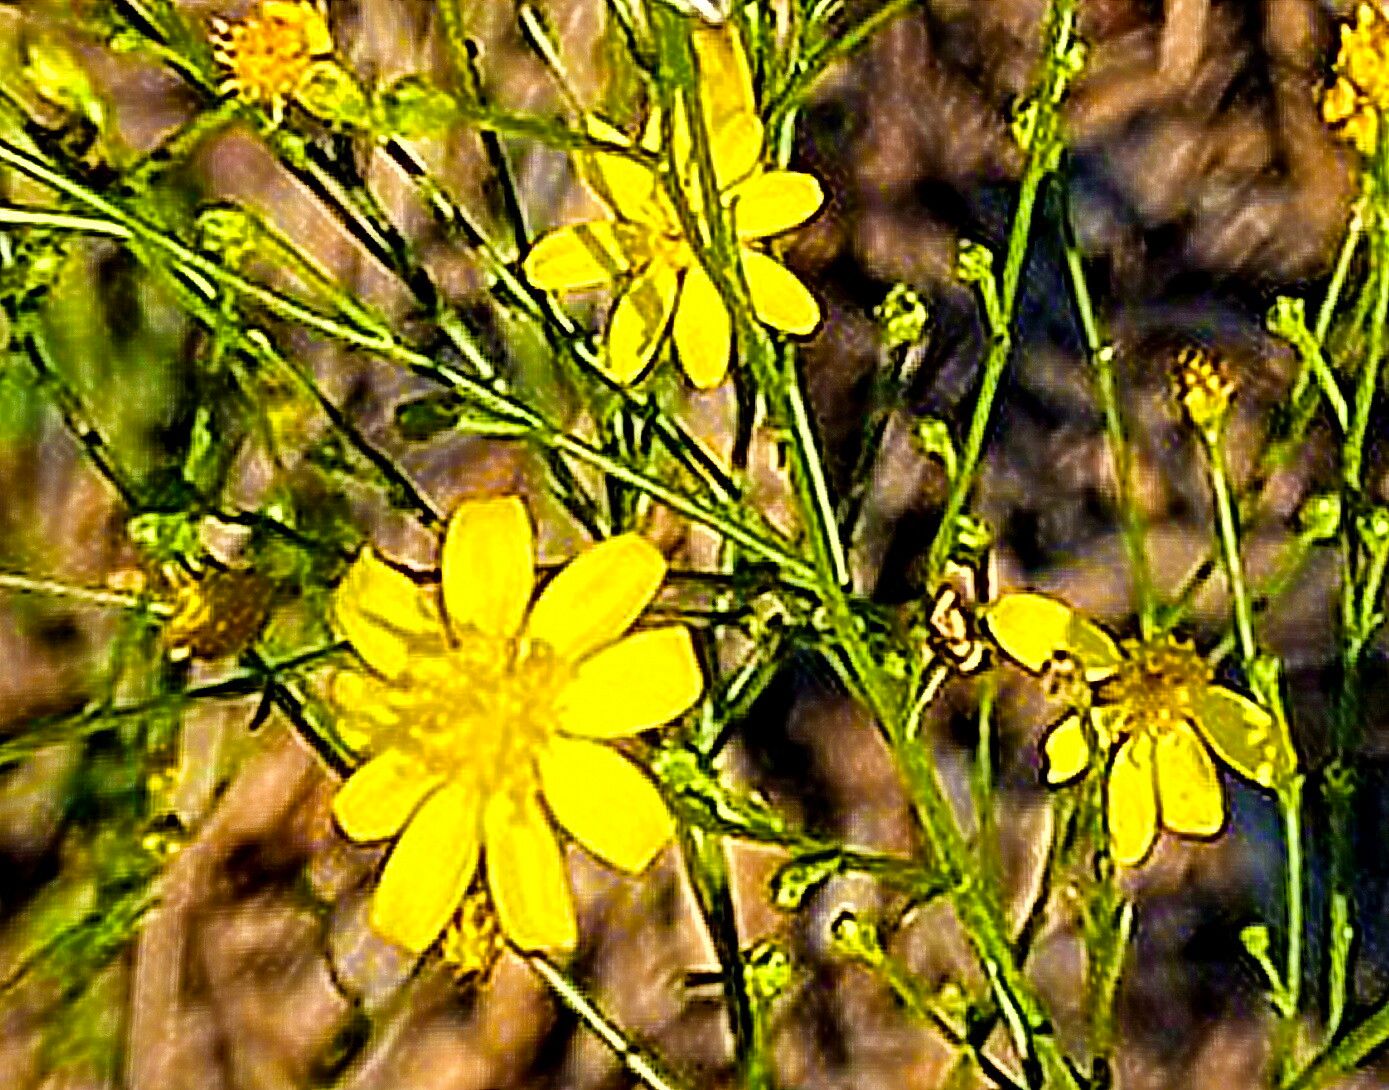
I just adore this cheerful little native. It’s like a burst of sunshine in the garden, with its delicate yellow flowers that seem to shimmer. They attract all sorts of beneficial pollinators, which is such a rewarding aspect of gardening for me. And the best part? Propagating Gutierrezia texana is a fantastic way to multiply that sunshine and share it with friends, or simply to fill up more of your own garden beds. For beginners, I’d say it’s moderately easy – a little patience goes a long way, and once you get the hang of it, you’ll be hooked!
The Best Time to Start
Generally, the best time to propagate Gutierrezia texana from cuttings is in late spring or early summer. This is when the plant is actively growing, meaning it has plenty of energy to heal and root. Look for stems that are semi-hardwood – not brand new and floppy, but not old and woody either.
Supplies You’ll Need
Gathering your supplies beforehand makes the whole process smoother. Here’s what I usually have on hand:
- Sharp, clean pruning shears or a craft knife
- A well-draining potting mix – a blend of perlite and peat moss works beautifully, or a cactus/succulent mix is a good alternative.
- Small pots or trays for starting cuttings
- Rooting hormone (optional, but can give you a boost!)
- A spray bottle filled with clean water
- A plastic bag or a clear dome for creating a mini greenhouse effect
Propagation Methods
Let’s get our hands dirty! Here are the most successful ways I’ve found to get new Texas native asters going.
Stem Cuttings
This is my go-to method. It’s efficient and I often have a great success rate.
- Select Your Stems: Gently take a cutting from a healthy, non-flowering stem about 4-6 inches long.
- Prepare the Cutting: Remove the lower leaves, leaving just a few at the top. If the leaves are quite large, you can even snip them in half to reduce water loss.
- Dip in Hormone (Optional): If you’re using rooting hormone, dip the cut end into the powder, tapping off any excess.
- Plant the Cutting: Make a small hole in your prepared potting mix, and insert the cutting, ensuring the nodes where you removed the leaves are buried. Gently firm the soil around it.
- Water and Cover: Water gently to settle the soil. Then, cover the pot with a plastic bag or a clear dome to maintain high humidity. You can use stakes to keep the bag from touching the leaves.
- Provide Light: Place the pot in a bright spot, but out of direct, harsh sunlight.
Water Propagation
This method is incredibly satisfying as you can see the roots develop!
- Take Your Cutting: Follow steps 1 and 2 from the stem cutting method.
- Place in Water: Put the prepared cutting in a jar or glass of clean water.
- The Key Detail: Make sure no leaves are submerged in the water. This is crucial to prevent rot. You can trim lower leaves to achieve this.
- Change Water Regularly: Fresh water is important, so change it every few days or whenever it looks cloudy.
- Location: Place the jar in a spot with bright, indirect light.
- Transplanting: Once the roots are at least an inch long, you can carefully transplant them into potting mix, following the planting steps for stem cuttings.
The “Secret Sauce”
Here are a couple of little tricks I’ve learned over the years that can really make a difference:
- Bottom Heat is Your Friend: If you have a seedling heat mat, use it! Placing your pots on a gentle heat source from below can significantly speed up root development. It mimics the warmth of summer soil and gives those roots a real kickstart.
- Don’t Rush the Transplant: When you’re moving cuttings from water to soil, wait until those little roots are nice and sturdy, at least an inch long. Trying to transplant tiny, delicate roots is just asking for trouble. Be patient!
Aftercare & Troubleshooting
Once you see those first signs of new growth or a healthy root system, you’re on your way!
- Gradual Acclimation: If you used a plastic bag or dome, gradually remove it over a few days. This helps the new plant adjust to drier air.
- Watering: Water when the top inch of soil feels dry. Avoid overwatering, which is one of the most common culprits for failure.
- Feeding: Once the plant is established and showing vigorous growth, you can start feeding it with a diluted liquid fertilizer every 4-6 weeks during the growing season.
Common signs of failure: You might see yellowing leaves, wilting that doesn’t recover, or a soft, mushy stem base. This usually points to too much water or poor air circulation. Don’t be disheartened if some cuttings don’t make it – it’s all part of the learning process!
Keep Growing!
Propagating plants is a journey of observation and patience. Each new plant you nurture from a small cutting is such a satisfying accomplishment. Enjoy the process, learn from any mishaps, and soon you’ll have a garden bursting with beautiful Gutierrezia texana to enjoy. Happy gardening!
Resource: