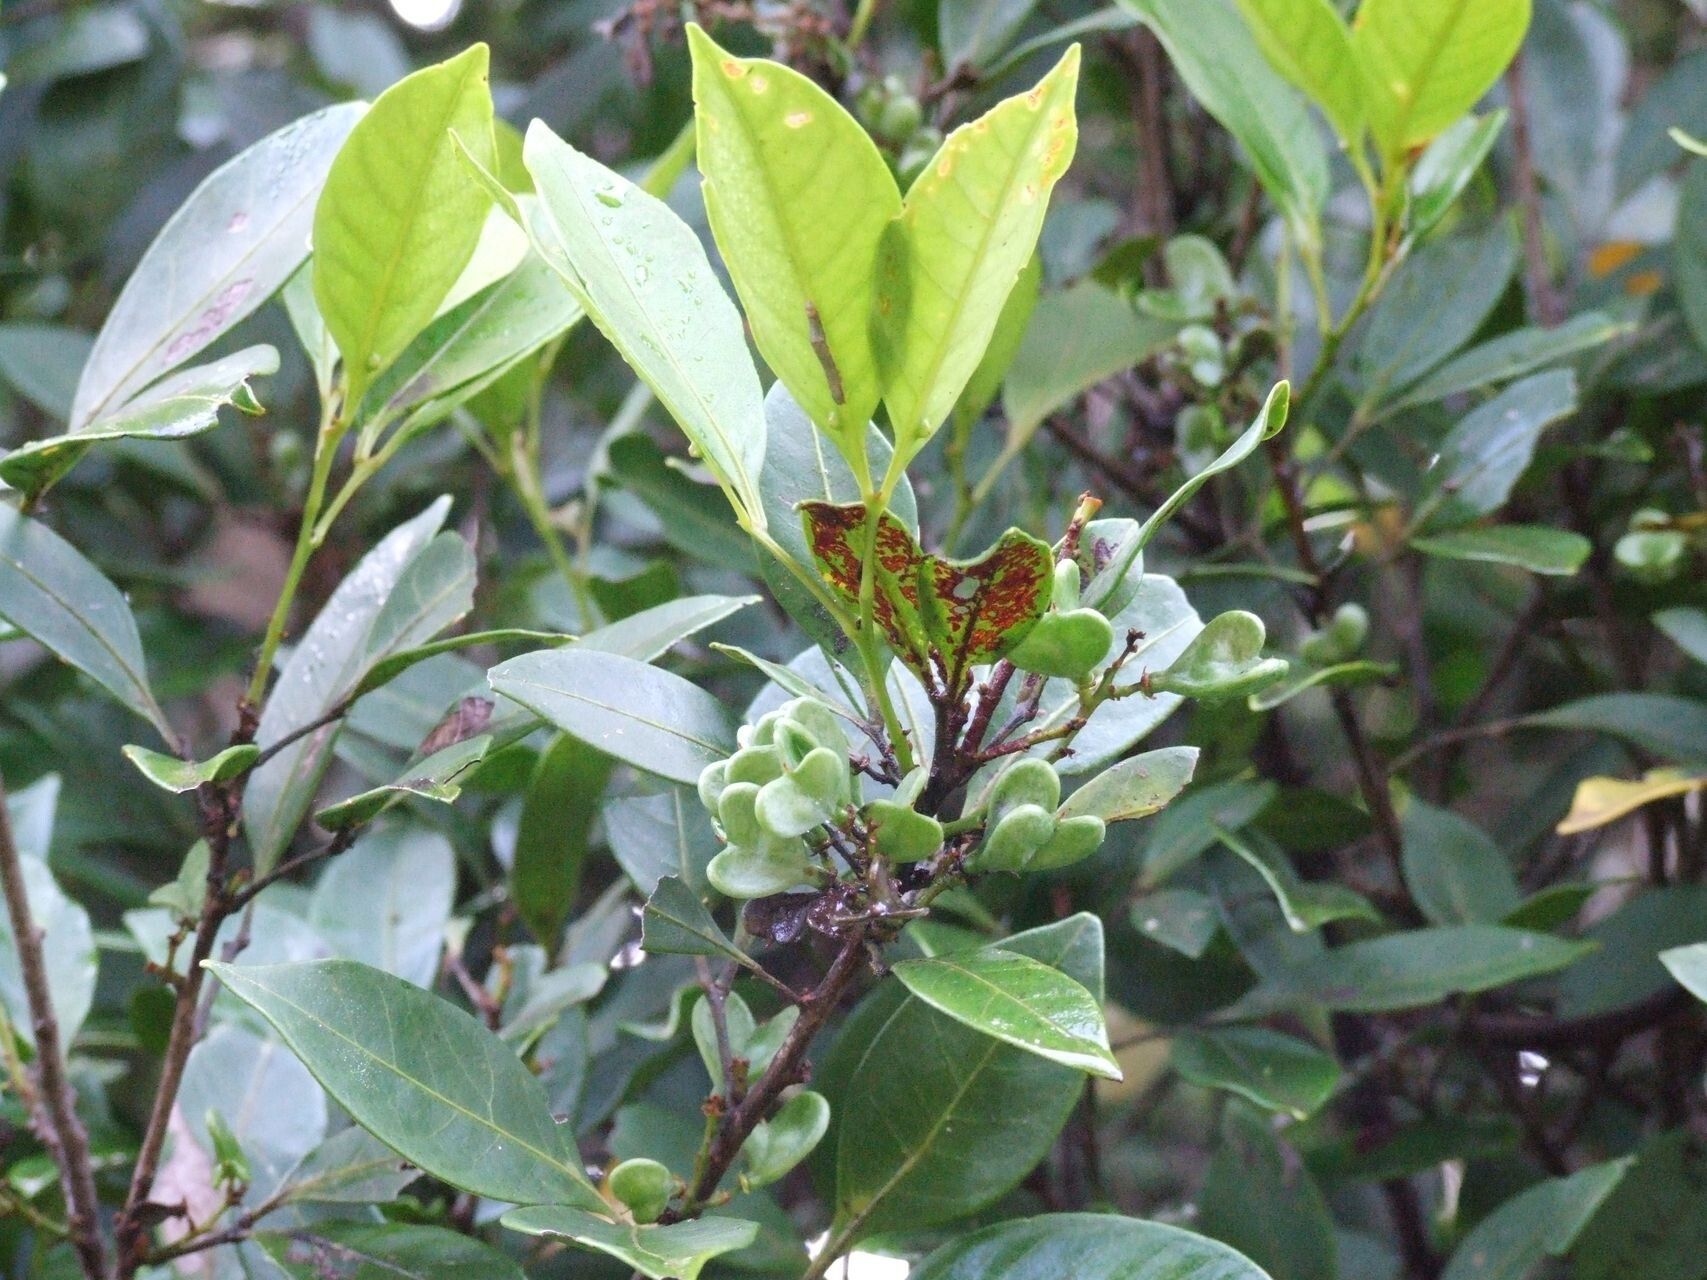
Hello, fellow plant lovers! Today, we’re diving into the exciting world of propagating Guioa microsepala. If you haven’t met this beauty yet, let me tell you, it’s a real charmer. Its delicate foliage and graceful habit make it a stunning addition to any plant collection, whether you’re growing it indoors or in a sheltered garden spot. There’s something incredibly satisfying about taking a piece of your existing plant and coaxing it into a brand new, independent life. It’s a bit like magic, but with dirt! Now, is this an adventure for absolute beginners? I’d say Guioa microsepala leans towards the moderately easy side. With a little care and attention, you’ll be well on your way to success.
The Best Time to Start
For the highest chance of robust root development, late spring or early summer is your sweet spot. This is when plants are naturally ramping up their growth and have plenty of energy to put into forming new roots. You’re looking for healthy, actively growing stems rather than anything that looks leggy or stressed.
Supplies You’ll Need
Gathering your tools beforehand makes the entire process so much smoother. Here’s what I always have on hand:
- Sharp pruning shears or a clean knife: For making clean cuts.
- Rooting hormone (optional but recommended): A powder or gel to encourage faster rooting.
- Well-draining potting mix: A blend of perlite, coco coir, and a bit of good quality potting soil works beautifully. You want it to be light, not dense.
- Small pots or trays: Clean, with good drainage holes.
- Plastic bag or propagation dome: To create a humid environment.
- Watering can with a fine rose: For gentle watering.
- Spray bottle: For misting.
Propagation Methods
Let’s get our hands dirty! I find stem cuttings to be the most reliable method for Guioa microsepala.
- Select Your Cutting: Choose a healthy, non-flowering stem that’s about 4-6 inches long. Make a clean cut just below a leaf node (where a leaf attaches to the stem). This node is where the magic of root formation will begin.
- Prepare the Cutting: Gently remove the lower leaves from the cutting. You want to expose at least a couple of nodes that will be below the soil line. You can leave the top two leaves, but if they are very large, consider splitting them in half to reduce water loss through transpiration.
- Apply Rooting Hormone (Optional): Dip the cut end of the stem into your rooting hormone, tapping off any excess. This step is like giving your cutting a little boost.
- Plant Your Cutting: Fill your small pot with your prepared, moistened potting mix. Make a small hole in the center with your finger or a pencil. Insert the cutting into the hole, ensuring at least one or two leaf nodes are buried. Gently firm the soil around the stem.
- Create a Humid Environment: Water the potting mix lightly. Then, cover the pot with a plastic bag or place it inside a propagation dome. Make sure the leaves aren’t touching the plastic if possible. This traps moisture and creates the humid cocoon your cutting needs to thrive. Place the pot in a warm location with bright, indirect light.
The “Secret Sauce” (Pro Tips)
Here are a few things I’ve learned over the years that can really give your cuttings an edge:
- Bottom Heat is Your Friend: If you have a heat mat designed for seedlings, placing your pot on it can significantly speed up rooting. It mimics the warmth of spring soil and encourages those roots to get going.
- Observe, Don’t Disturb: It’s tempting to peek and pull at your cuttings to see if roots have formed. Resist the urge! Every time you disturb them, you can break developing roots. Wait at least 3-4 weeks before gently tugging to check for resistance.
- Keep it Consistently Moist, Not Soggy: The biggest killer of cuttings is rot from overwatering. The goal is consistently moist soil. Stick your finger in about an inch deep. If it feels dry, it’s time to water. If it feels wet, wait.
Aftercare & Troubleshooting
Once you start seeing new growth emerging from the top, that’s a fantastic sign that roots have formed! Gently remove the plastic bag or propagation dome, and gradually reintroduce your new plant to normal room humidity over a week or so. Continue to keep the soil consistently moist and in bright, indirect light.
What if things don’t go as planned? The most common issue you might encounter is rot. This usually happens if the soil is too wet and there isn’t enough air circulation. If you notice a cutting turning black or mushy at the base, unfortunately, it’s likely gone. Don’t be discouraged! Just try again with a fresh cutting and perhaps adjust your watering schedule or soil mix. Sometimes, cuttings simply don’t take, and that’s part of the gardening journey.
A Encouraging Closing
Propagating Guioa microsepala is a journey of patience and observation. Each cutting is a little experiment, and the reward – seeing your plant baby thrive – is truly special. Don’t be afraid to try, and remember that even experienced gardeners have the occasional failure. Keep nurturing your plants, keep learning, and most importantly, enjoy the beautiful process! Happy propagating!
Resource:
https://identify.plantnet.org/k-world-flora/species/Guioa%20microsepala%20Radlk./data