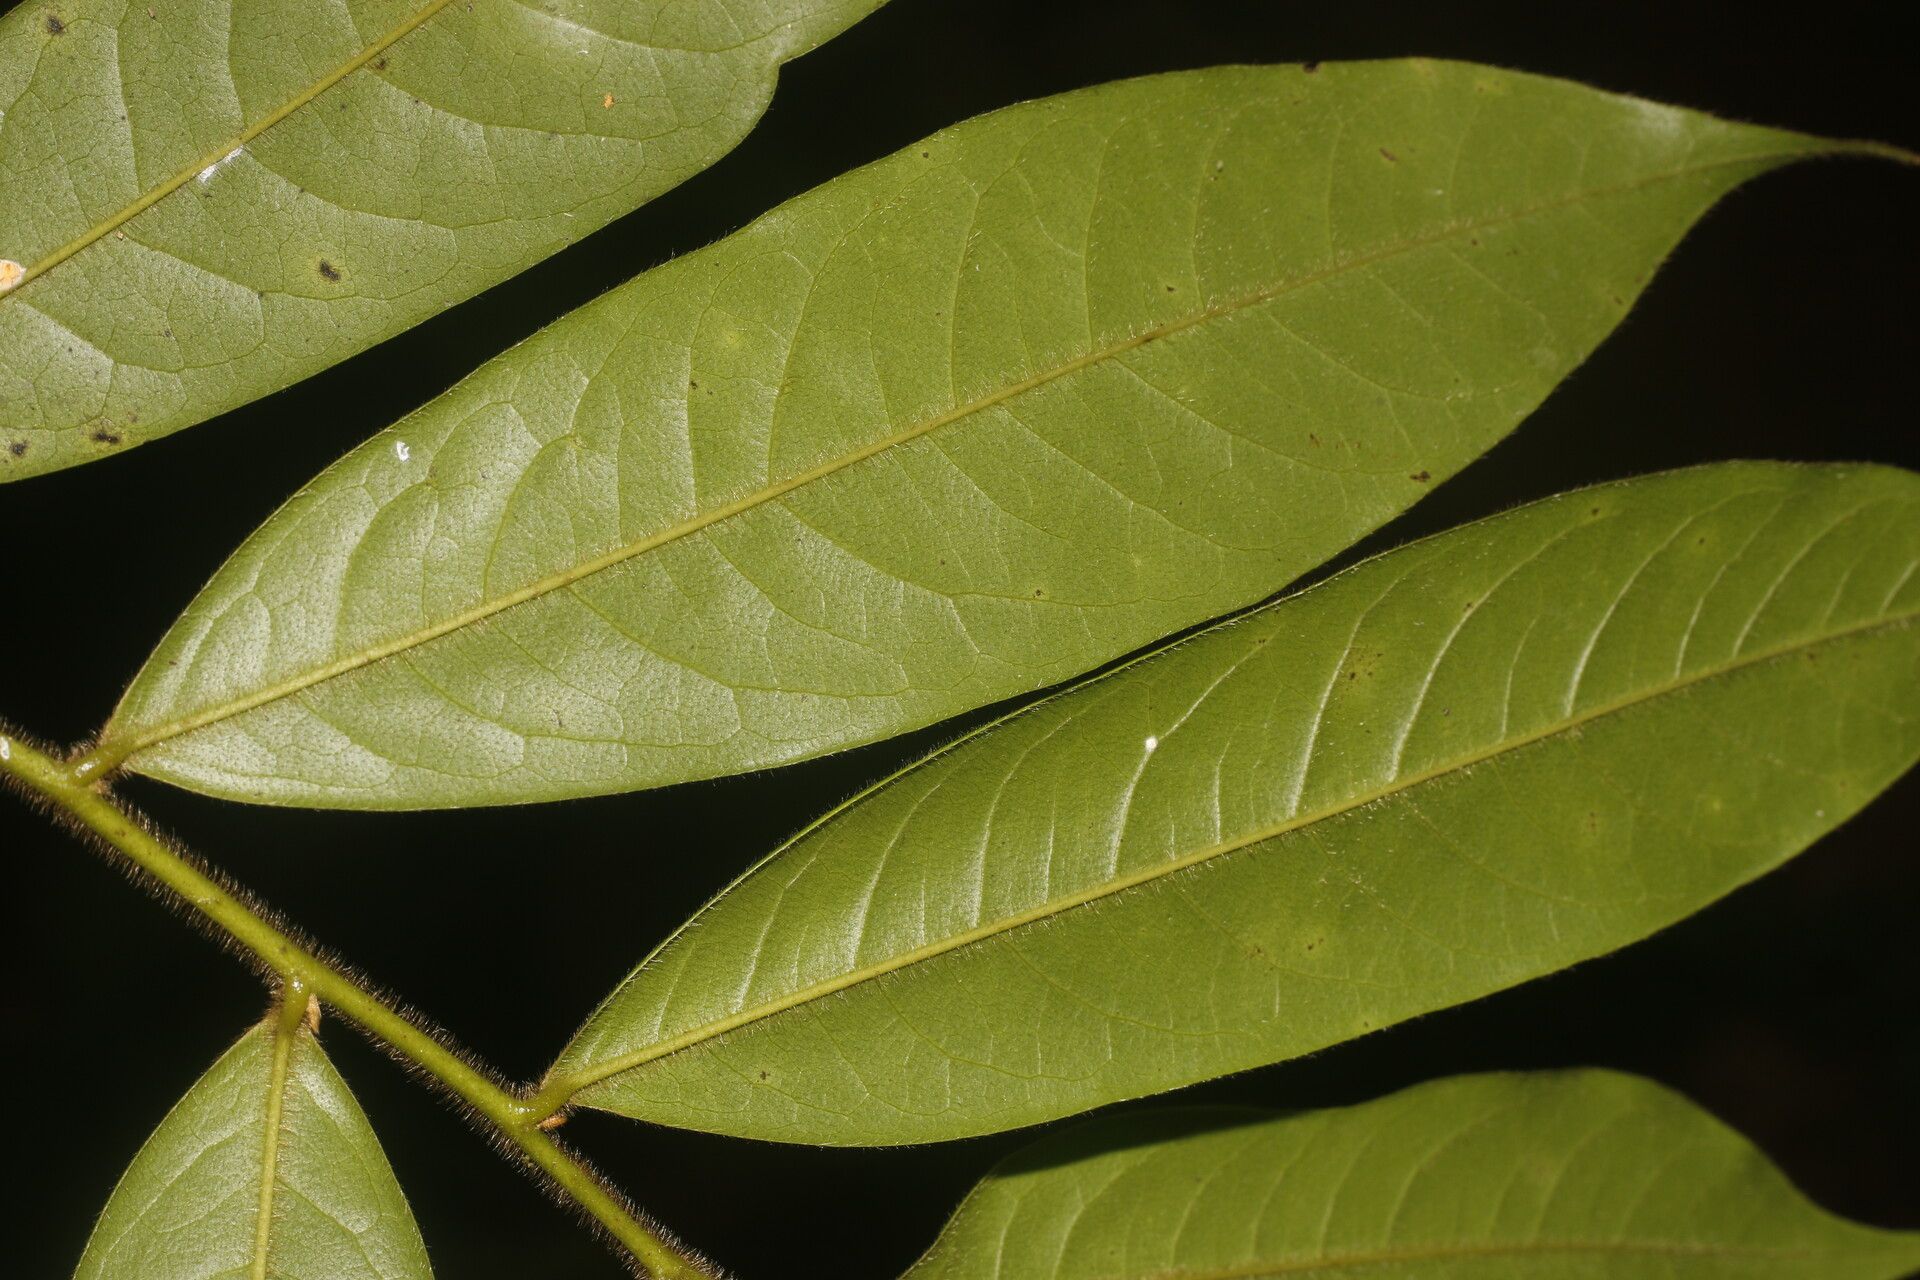
Hello there, fellow plant lover! It’s a joy to connect with you today. We’re going to chat about a truly special plant – Guatteria tomentosa. You know, that one with the soft, fuzzy leaves and the absolutely delightful scent that wafts through the air? It’s a real charmer, and honestly, creating more of them is incredibly rewarding. While it has a bit of a learned nuance, I find Guatteria tomentosa to be a moderately challenging plant to propagate for a complete beginner. But don’t let that deter you! With a little attention and these tips, you’ll be well on your way.
The Best Time to Start
For the highest success rate with Guatteria tomentosa, I always recommend working with it during its active growing season. This usually means late spring through early summer. The plant is energized and ready to put out new growth, which makes it much more receptive to rooting. Avoid propagating during winter dormancy or periods of extreme heat.
Supplies You’ll Need
Before we dive in, let’s gather our toolkit. Having everything ready makes the process much smoother:
- Sharp Pruning Shears or a Knife: Clean, sharp tools are essential for making clean cuts that heal well.
- Rooting Hormone: A powder or liquid rooting hormone can significantly boost your success rates.
- Potting Mix: I prefer a light, well-draining mix. A good blend is about half peat or coco coir and half perlite or coarse sand.
- Small Pots or Seed Trays: Clean containers are crucial to prevent disease. 4-inch pots are usually a good starting size.
- Plastic Bags or a Propagation Dome: This will help maintain humidity around your cuttings.
- Water: For misting and watering.
- Small Labels and a Marker: To keep track of your projects!
Propagation Methods
Now, let’s get our hands dirty! For Guatteria tomentosa, stem cuttings are generally the most effective method.
Stem Cuttings
- Select the Right Stems: Look for healthy, semi-hardwood stems. These are stems that have started to firm up but are still somewhat flexible. Avoid very soft, new growth or old, woody stems. You’re aiming for pieces that are about 4-6 inches long.
- Make the Cut: Using your sterilized pruning shears or knife, make a clean cut just below a leaf node (where a leaf attaches to the stem). This node is where new roots will emerge.
- Prepare the Cutting: Gently remove the leaves from the bottom half of your cutting. If the remaining leaves are very large, you can cut them in half to reduce water loss through transpiration. You want to leave just a few leaves at the top.
- Apply Rooting Hormone: Dip the cut end of the stem into rooting hormone, tapping off any excess. Even a light coating helps.
- Plant Your Cuttings: Fill your clean pots with your prepared potting mix. Make a small hole in the center with your finger or a pencil. Insert the cutting into the hole, ensuring the rooting hormone-coated end is in the soil. Gently firm the soil around the base of the cutting.
- Water Gently: Water the soil thoroughly until it’s evenly moist but not waterlogged.
- Create a Humid Environment: Place the pot into a clear plastic bag, creating a mini-greenhouse effect. You can secure the bag around the pot with a rubber band. Alternatively, use a propagation dome.
The “Secret Sauce” (Pro Tips)
Here are a couple of things I’ve learned over the years that can make a big difference:
- Bottom Heat is Your Friend: If you have a seedling heat mat, placing your pots on it can work wonders. This gentle warmth encourages root development from below, often speeding up the process and increasing your success rate significantly.
- Patience with the Leaves is Key: When you’re creating that humid environment with a bag, my biggest tip is to ensure no leaves are touching the inside of the plastic. If they are, they can become prone to rot and fungal issues. Poke the leaves up if they start to droop towards the bag.
Aftercare & Troubleshooting
Once your cuttings are planted and nestled in, it’s time for a little vigil.
- Maintain Humidity and Light: Keep the soil consistently moist but not soggy. Place your rooted cuttings in a bright spot with indirect light. Avoid direct sun, which can scorch the delicate new growth. Mist the leaves occasionally if the humidity seems to be dropping too much, especially if you’re not using a bag or dome.
- Checking for Roots: After about 4-6 weeks, you can gently tug on a cutting. If you feel resistance, you’re likely to have roots! You can also look for new leaf growth.
- Transplanting: Once your cuttings have developed a good root system and you see new healthy growth, you can transplant them into slightly larger pots with fresh potting mix.
- Troubleshooting: The most common issue you’ll face is rot. This usually happens if the soil is too wet or the humidity is too high without enough air circulation. If a cutting looks black and mushy at the base, it’s likely rotted, and you’ll need to discard it. If the leaves turn yellow and drop, it could be a sign of too much water, too little light, or stress.
Propagating Guatteria tomentosa is a journey, and like all good gardening, it’s about observation and learning. Don’t be discouraged if you don’t have success with every single cutting. Each attempt teaches you something new. Be patient with your little plant babies, celebrate every bit of progress, and most importantly, enjoy the process of bringing more of that beautiful fragrance into your life! Happy growing!
Resource:
https://identify.plantnet.org/k-world-flora/species/Guatteria%20tomentosa%20Rusby/data