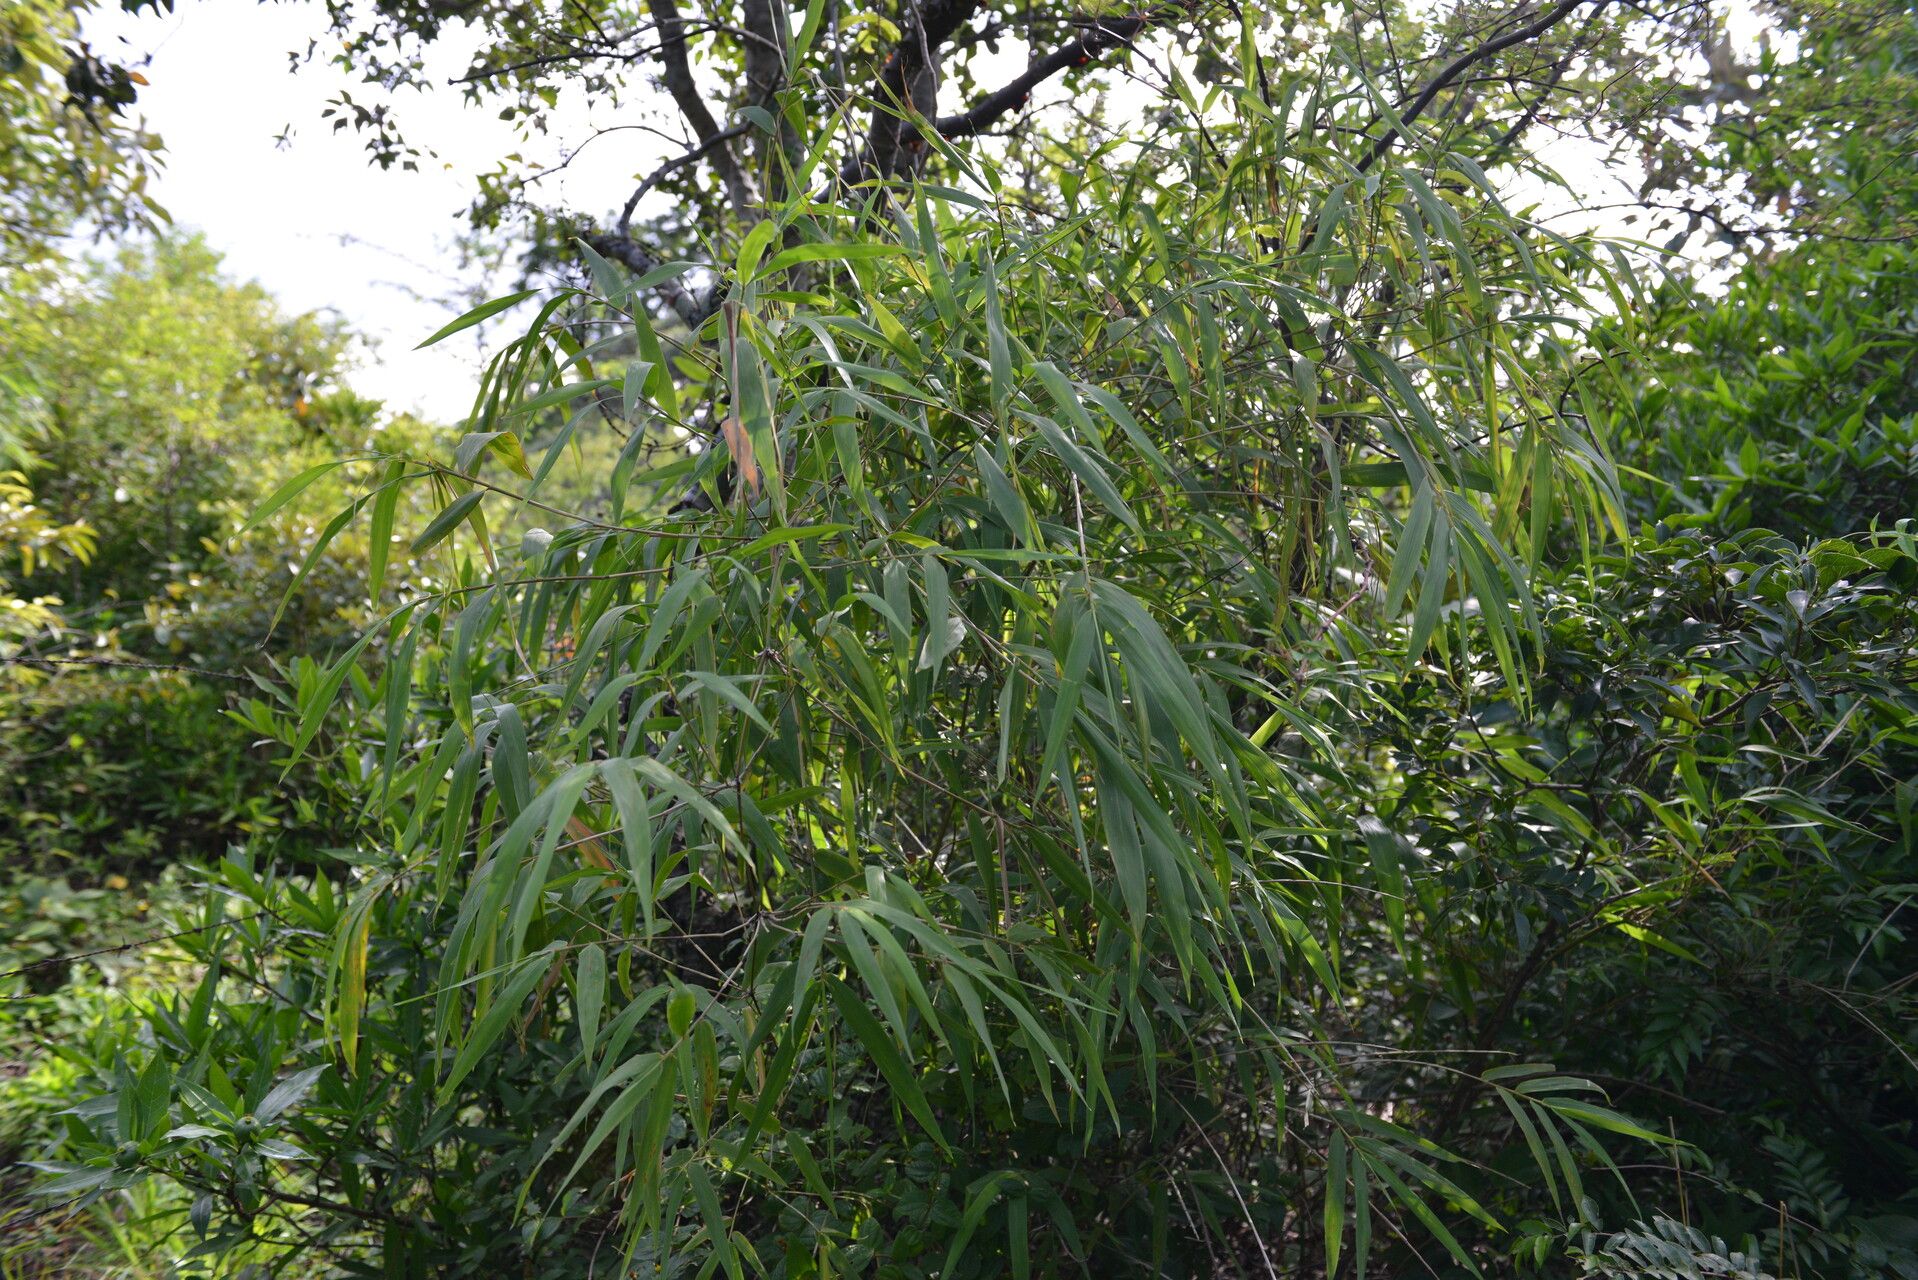
Oh, hello there! Settling in with a mug of something warm? Perfect. Today, we’re going to chat about one of my absolute favorite plants: Guadua paniculata. If you’ve ever admired those towering, architectural bamboo stalks gracing lush landscapes, chances are you’ve seen or dreamed of a Guadua. They bring such a sense of calm and drama to a garden, don’t they? And guess what? You can actually bring that beauty home by propagating your own. It’s a wonderfully rewarding feeling, watching a tiny cutting transform into a vigorous new plant. Now, for beginners, bamboo can sometimes feel a bit… intimidating. But with Guadua paniculata, it’s surprisingly manageable. Let’s dive in!
The Best Time to Start
Honestly, the sweet spot for propagating Guadua paniculata is during its active growing season. Think late spring through early summer. The plant is already bursting with energy, and those new shoots are strong and full of life, making them excellent candidates for cuttings. Waiting until the plant is actively putting on new growth is key.
Supplies You’ll Need
Gathering your supplies beforehand makes the whole process so much smoother. Here’s what I usually have on hand:
- Sharp Pruning Shears or a Saw: Clean, sharp tools are a must to prevent tearing and disease.
- Rooting Hormone: A powder or gel formulation. This is a real game-changer for encouraging root development.
- Well-Draining Potting Mix: A good blend is crucial. I often use a mix of perlite, coarse sand, and coco coir. Think gritty, not soggy.
- Pots or Containers: Small to medium-sized pots with drainage holes are perfect.
- Clear Plastic Bags or a Propagator: To create a humid environment.
- Watering Can or Mister: For gentle watering.
- Labeling Stakes: So you don’t forget what you planted where!
Propagation Methods
We’ll focus on stem cuttings, which are usually the most successful for Guadua paniculata.
- Select Your Culms: Look for healthy, vigorous stems (culms) on your mature plant. Ideally, choose culms that are at least a year old but still have a bit of flexibility to them. Avoid anything that looks old, brittle, or diseased.
- Take Your Cuttings: Using your sharp shears, cut sections of the culm that are about 6-12 inches long. Each cutting should have at least two, but preferably three, nodes. A node is where a branch or leaf emerges from the main stem. Make your cuts at a slight angle, just below a node if possible. This helps increase the surface area for rooting.
- Prepare the Cuttings: Gently remove the leaves from the lower section of the cutting, leaving only the top one or two leaves. You can even cut these remaining leaves in half to reduce water loss. If your cutting has branches, you can trim those back too.
- Apply Rooting Hormone: Dip the cut end of the prepared cutting into your rooting hormone, ensuring it’s well-coated. Tap off any excess.
- Plant Your Cuttings: Fill your pots with the well-draining potting mix. Make a hole in the center with your finger or a pencil. Insert the rooting-hormone-coated end of the cutting into the hole, ensuring at least one node is buried beneath the soil surface. Firm the soil gently around the cutting.
- Create Humidity: Water the soil thoroughly but gently. Then, lightly mist the leaves of the cutting. Cover the pot with a clear plastic bag, creating a mini-greenhouse. You can use bamboo stakes to keep the plastic from touching the leaves. Alternatively, place the pots inside a propagator unit.
The “Secret Sauce” (Pro Tips)
Now, for a couple of little tricks I’ve picked up over the years. These might seem small, but they can really make a difference.
- Bottom Heat is Your Friend: If you have a heating mat, place your pots on it. Bamboo loves warmth, and bottom heat encourages those roots to sprout much faster and more reliably. It mimics the warmth they’d get from the soil in their natural habitat.
- Don’t Drown Your Dreams: While humidity is vital, avoid letting the leaves of your cuttings sit directly in water. This can lead to rot before roots even have a chance to form. Make sure your soil is moist, not waterlogged, and that the humidity is trapped above the soil.
Aftercare & Troubleshooting
Once your cuttings are planted, place them in a bright spot, but out of direct sunlight. This is crucial – those delicate cuttings can scorch easily! Keep the soil consistently moist but not soggy. Mist the leaves periodically if you’re not using a plastic covering.
You’ll know rooting is happening when you see new leaf growth or feel a gentle resistance when you tug lightly on the cutting. This can take anywhere from a few weeks to a couple of months, so patience is key!
The biggest culprit of failure is usually rot, which looks like a mushy, brown, and dying cutting. This is often a sign of too much moisture and not enough air circulation. If you see this, unfortunately, that cutting is likely lost. Another sign of struggle can be wilting, but if the stem is still firm, it might just be adjusting. Keep the humidity up and avoid direct sun.
A Encouraging Closing
Propagating Guadua paniculata is a journey, and like any good gardening adventure, it’s about the process as much as the outcome. Be patient with your cuttings, trust the tips we’ve discussed, and don’t get discouraged if a few don’t make it. Every gardener has had their share of prop failures! The reward of seeing those tiny roots form and a new plant unfurl its first leaves is truly special. Happy propagating!
Resource:
https://identify.plantnet.org/k-world-flora/species/Guadua%20paniculata%20Munro/data