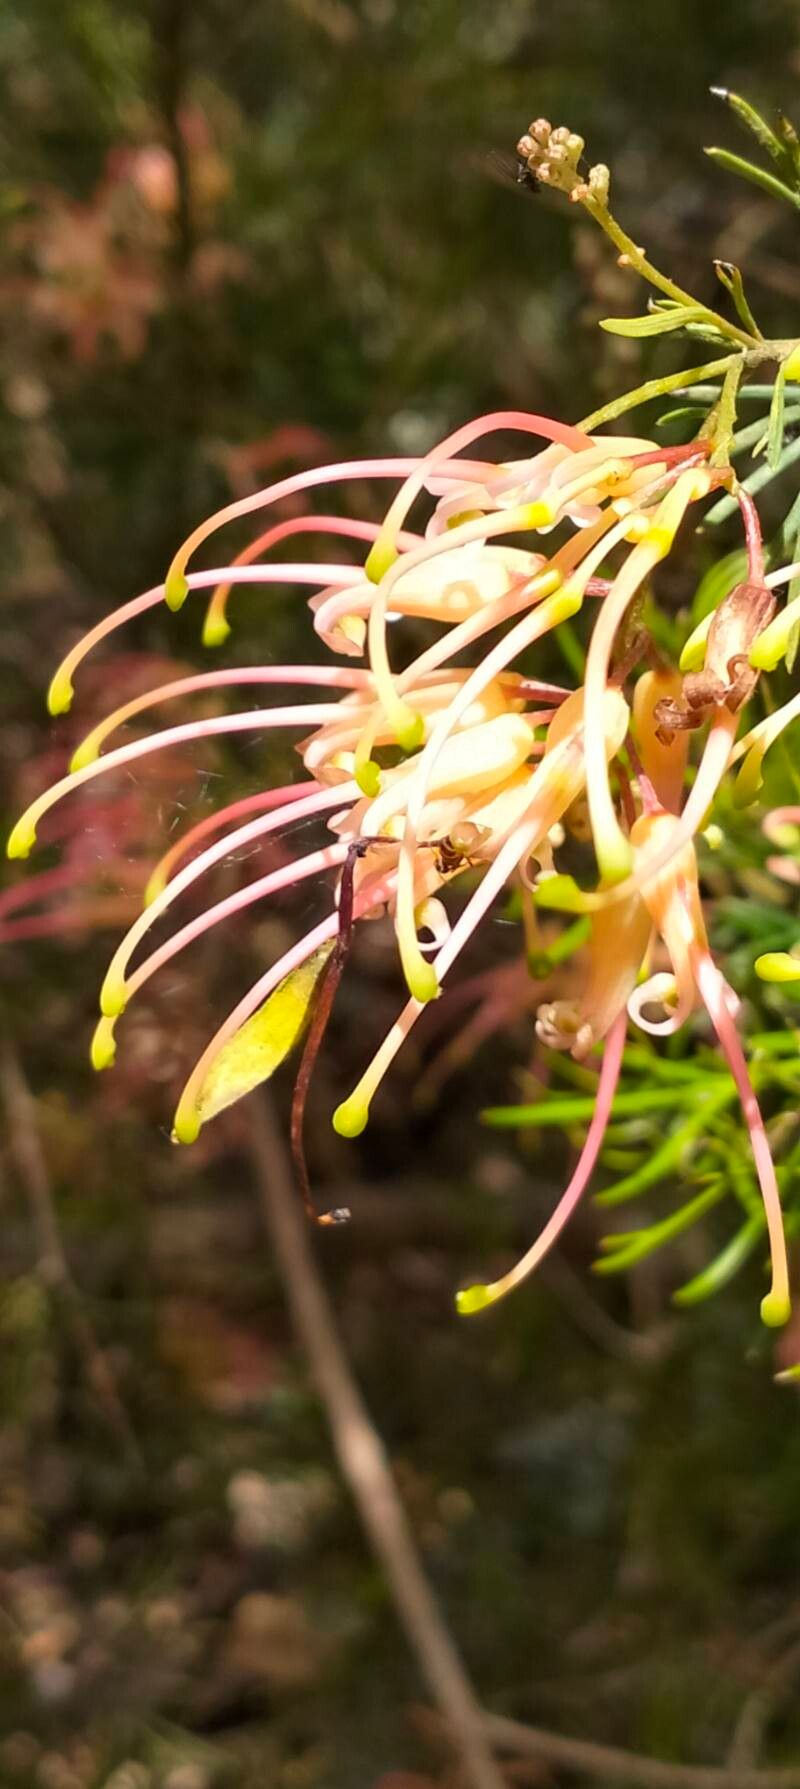
Hello, fellow garden enthusiasts! For years, I’ve been utterly charmed by the delicate, wispy beauty of Grevillea fililoba, often called ‘Spider Net Grevillea’ for its ethereal foliage. It’s the kind of plant that whispers elegance into any garden space. And you know what’s even better than admiring one? Growing your own! Propagating these beauties is a deeply satisfying experience, and while they might seem a little shy at first, I promise, it’s a journey you can absolutely enjoy. Don’t be intimidated; with a little patience, you’ll be a Grevillea fililoba pro in no time.
The Best Time to Start
For Grevillea fililoba, the sweet spot for propagation is generally late spring to early summer. This is when the plant is actively growing, and most importantly, when you can find plenty of semi-hardwood cuttings. These are the perfect stage – not too soft and floppy, but not yet old and woody. Think of it like a pencil; firm enough to hold its shape, but still flexible.
Supplies You’ll Need
Gathering your tools beforehand makes the whole process smoother. Here’s what I always have on hand:
- Sharp, sterile pruning shears or a craft knife: Cleanliness is key to preventing disease.
- Potting mix: A well-draining mix is essential. I often use a blend of perlite and coarse sand with a bit of compost. You can also buy specific succulent or cactus mixes.
- Small pots or seed trays: Ensure they have good drainage holes.
- Rooting hormone (optional, but recommended): This can give your cuttings a significant boost. Look for one containing IBA.
- Plastic bags or a propagation dome: To create a humid environment for your cuttings.
- A dibber or pencil: For making planting holes.
- Soft water or rainwater: Always better for your delicate cuttings than tap water.
Propagation Methods
While Grevillea fililoba can be propagated in a few ways, stem cuttings are my go-to method for this particular species.
Stem Cuttings
- Take Your Cuttings: Choose a healthy stem that exhibits that lovely semi-hardwood quality. Using your sharp shears or knife, take cuttings that are 10-15 cm long. Make your cut just below a leaf node (where the leaves join the stem).
- Prepare the Cuttings: Gently remove the lower leaves from the cutting. You want to expose a portion of the stem for root development. Leave a few sets of leaves at the top to help with photosynthesis. If your leaves are particularly large, you can even cut them in half horizontally to reduce water loss.
- Apply Rooting Hormone (Optional): If you’re using rooting hormone, dip the cut end of the stem into the powder or gel, tapping off any excess.
- Plant Your Cuttings: Fill your pots or trays with your prepared, moist potting mix. Use your dibber or pencil to make a hole in the soil. This prevents the rooting hormone from rubbing off.
- Insert and Firm: Carefully place each cutting into the hole and gently firm the soil around it. Make sure the leaf nodes that you removed leaves from are below the soil surface. You can usually fit several cuttings into one pot, but give them a little space.
- Create Humidity: Water the soil gently. Then, cover the pot with a clear plastic bag or place it under a propagation dome. This will trap the moisture and create a humid microclimate, which is crucial for rooting. Ensure the leaves don’t touch the sides of the plastic bag – this can encourage rot.
The “Secret Sauce” (Pro Tips)
After years of playing with plants, you start to learn their little quirks! Here are a few things I’ve found make a big difference with Grevillea fililoba cuttings:
- Bottom Heat is Your Friend: While not strictly essential, placing your pots on a gentle heat mat can significantly speed up root formation. It mimics the warmth of spring soil and gives those tiny root cells an extra nudge.
- Don’t Overwater, Ever! This is probably the most common mistake. The soil should be kept consistently moist but never soggy. If you can squeeze water out of a handful of soil, it’s too wet. Aim for something that just holds its shape.
- Patience is a Virtue (and a Gardener’s Superpower): Grevillea fililoba can be a bit of a slow starter when it comes to rooting. Don’t despair if you don’t see immediate signs of growth. I often wait 4-8 weeks before I even think about checking them for roots. Resist the urge to constantly poke and prod!
Aftercare & Troubleshooting
Once you see new growth appearing on your cuttings, it’s a good sign that roots are forming!
- Acclimate Gradually: Slowly increase ventilation by opening the plastic bag or propagation dome for longer periods over a week or two. This helps the new plant adjust to normal humidity levels.
- Watering: Continue to keep the soil consistently moist, but not wet. Water when the top centimetre of soil feels dry to the touch.
- Transplanting: When the cuttings are well-rooted and have a bit more growth, you can carefully transplant them into individual pots. Be gentle with the new roots.
Now, if things aren’t going as planned, don’t beat yourself up. The most common culprit for cuttings failing is rot. You might see black, mushy stems, or the cutting might just wilt and die. This is almost always due to overwatering and poor drainage. If you notice it, unfortunately, it’s best to discard the infected cutting and learn from it for next time.
So there you have it – your guide to bringing more of that beautiful Grevillea fililoba into your garden. Remember, gardening is a journey of observation and learning. Be patient with your little cuttings, celebrate every tiny sign of progress, and most importantly, have fun with it! Happy propagating!
Resource: