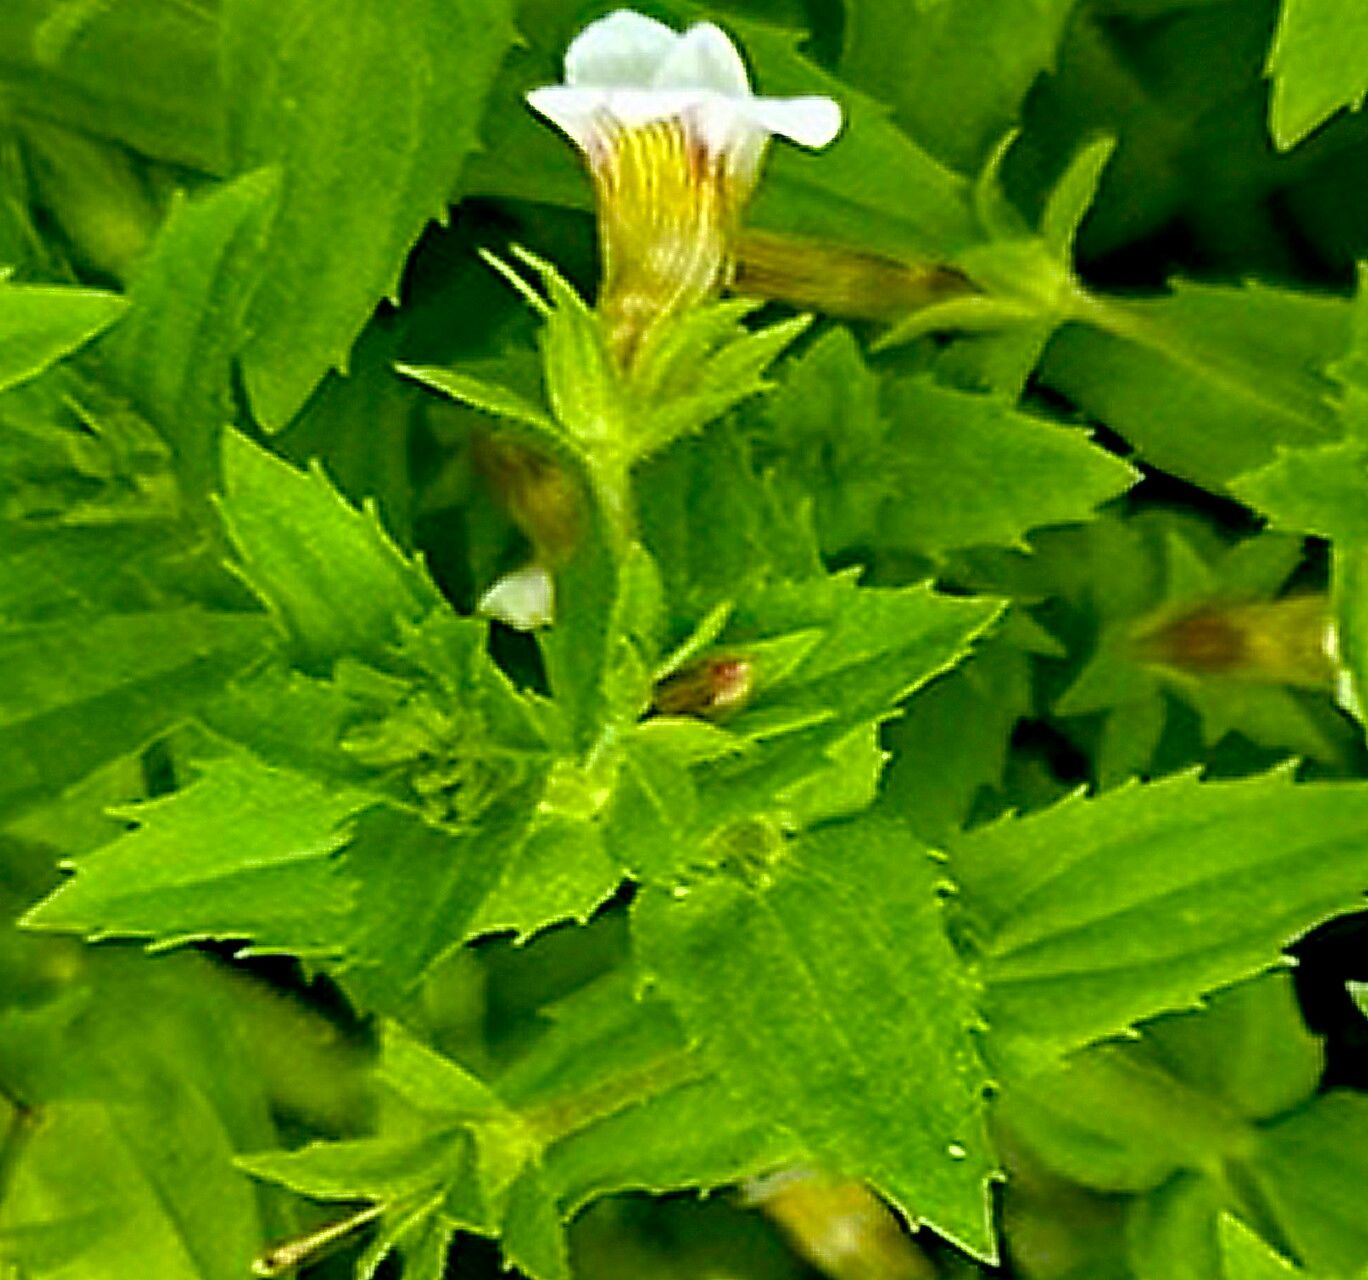
Oh, hello there, fellow plant enthusiast! I’m so glad you’ve decided to dive into the wonderful world of propagating Gratiola neglecta, or as many of us fondly call it, Golden Hedge Hyssop. This little gem is an absolute delight with its delicate blooms and its eagerness to spread cheer throughout the garden. Trust me, being able to create more of these beauties from a single plant is a truly satisfying feeling.
Now, I know some propagation can feel a bit daunting, especially for those just starting out. But with Gratiola neglecta, I’m happy to report that it’s fairly straightforward. It’s a forgiving plant, which makes it a great choice for your first propagation adventure.
The Best Time to Start
For the highest success rate with Gratiola neglecta, I find the late spring to early summer is your sweet spot. This is when the plant is actively growing and has plenty of healthy, vibrant stems to work with. You want to catch it before it gets too leggy or starts producing a ton of seeds. Looking for stems that are firm but still a bit pliable is ideal.
Supplies You’ll Need
Gathering your supplies beforehand makes the whole process smooth sailing. Here’s what I usually have on hand:
- Clean, sharp pruning shears or scissors: Essential for making clean cuts to avoid damaging the parent plant or your cuttings.
- Rooting hormone (optional but recommended): A little dip in this powder can significantly speed up root development.
- A well-draining potting mix: I often use a mix of perlite, peat moss, and a bit of compost. You can also buy a dedicated seed-starting or potting mix.
- Small pots or trays: New cuttings don’t need large containers. Small 2-3 inch pots are perfect.
- Plastic bags or a clear plastic dome: To create a humid environment for your cuttings.
- Watering can with a fine rose: Gentle watering is key.
Propagation Methods
Gratiola neglecta is wonderfully amenable to a few different propagation methods, but my favorite is definitely stem cuttings. It’s quick, efficient, and usually yields fantastic results.
Stem Cuttings:
- Select your stems: Look for healthy, non-flowering stems that are about 4-6 inches long.
- Make your cuts: Using your clean shears, make a clean cut just below a leaf node. A leaf node is where a leaf grows out of the stem. This is where new roots will form. Remove the lower leaves, leaving just 2-3 at the very top. This prevents them from rotting in the soil.
- Dip in rooting hormone (optional): If you’re using rooting hormone, lightly dip the cut end of the stem into the powder, tapping off any excess.
- Plant your cuttings: Fill your small pots with your prepared potting mix. Make a small hole in the center with your finger or a pencil. Gently insert the cut end of the stem into the hole, ensuring the leaf nodes you removed are below the soil surface.
- Firm the soil: Gently firm the soil around the cutting to ensure good contact.
- Water gently: Water the soil thoroughly but gently. You want it moist, not soggy.
- Create humidity: Cover the pots with a plastic bag or a clear plastic dome. This traps moisture and keeps the cuttings from drying out. Ensure the leaves don’t touch the plastic if possible.
Water Propagation (for the impatient!):
If you prefer to see the roots developing, water propagation is a fun option.
- Prepare cuttings: Follow steps 1 and 2 for stem cuttings, but you don’t need to worry about lowering leaves as much here.
- Place in water: Place the cuttings in a clean jar or glass filled with room-temperature water. Ensure at least one leaf node is submerged.
- Change water regularly: Change the water every few days to keep it fresh and prevent bacterial growth.
- Wait for roots: You should start to see tiny white roots appearing within a couple of weeks. Once the roots are about an inch long, you can carefully transplant them into pots with potting mix.
The “Secret Sauce” (Pro Tips)
Over the years, I’ve learned a few little tricks that make a world of difference.
- Don’t rush the transplant: Even after roots appear, give them a little extra time to establish in their current medium (whether it’s soil or water). For water cuttings, wait until you have a good network of roots before moving them.
- Bottom heat works wonders: If you have a heat mat designed for seedlings, placing your pots on top of it can really speed up root formation. It mimics the warmth of spring soil and gives those little roots a boost. Just be sure to monitor the temperature so it doesn’t get too hot.
- Good airflow is crucial: Once your cuttings have rooted and you’re ready to move them out of their humid domes, gradually expose them to more air. This toughens them up and prevents fungal issues. Open the domes a little at first, then remove them entirely over a few days.
Aftercare & Troubleshooting
Once you see signs of new growth – tiny leaves emerging from the top – you know your cuttings have successfully rooted!
Caring for New Plants: Gently remove the plastic covering and continue to water them as needed, allowing the top half-inch of soil to dry out between waterings. They’ll be more delicate than mature plants, so avoid overwatering. Gradual acclimation to your garden environment is also key if you plan to move them outdoors.
Common Problems: The most common issue you might encounter is rot. This usually happens from overwatering or poor air circulation, leading to the stems turning mushy and black. If you see this, unfortunately, that cutting is likely lost. Prune away any affected parts and ensure your other cuttings have adequate drainage and aren’t sitting in soggy soil. If your leaves start to yellow and wilt without the stem getting mushy, it could be a sign they are drying out too much, so increase the humidity again.
A Encouraging Closing
See? Not so scary, is it? Propagating Gratiola neglecta is a rewarding journey that connects you even more deeply with your garden. Be patient with the process; some cuttings will take off faster than others. Enjoy watching those tiny roots emerge and the promise of new life. Happy propagating!
Resource:
https://identify.plantnet.org/k-world-flora/species/Gratiola%20neglecta%20Torr./data