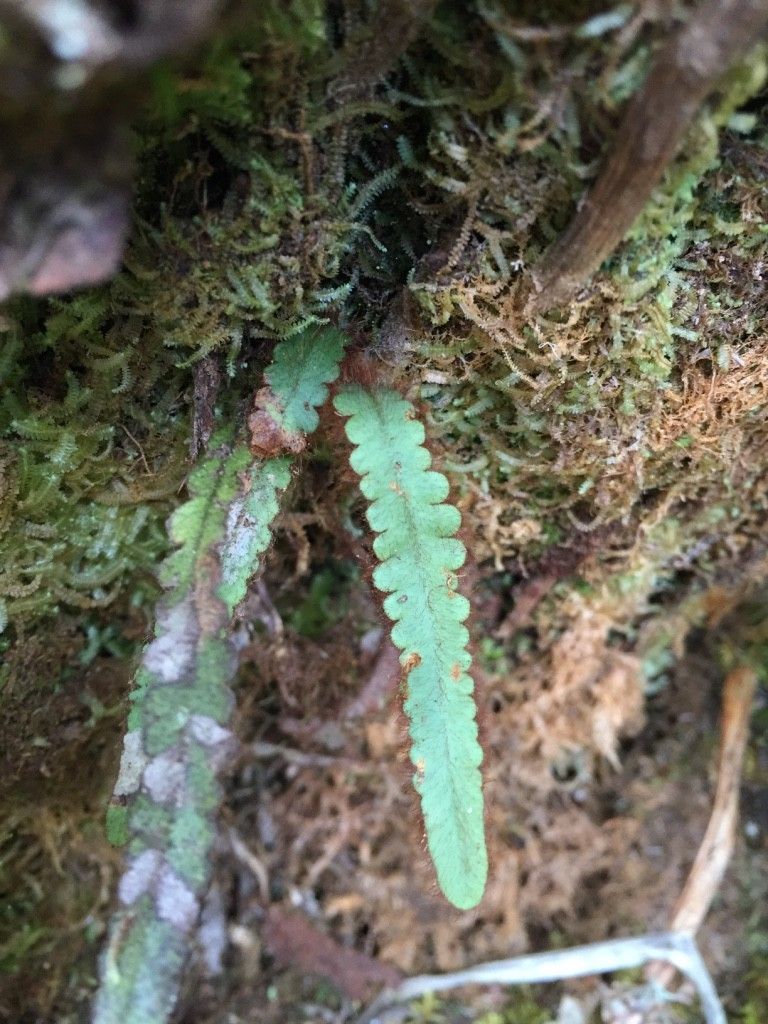
Hello, fellow plant enthusiasts! Today, we’re diving into the delightful world of Grammitis barbatula. If you’re looking for a fern that brings a touch of untamed elegance to your indoor jungle, this is it. With its delicate fronds, often adorned with a fuzzy, beard-like texture (hence the name!), Grammitis barbatula is a real charmer. Propagating it is a truly rewarding endeavor, allowing you to multiply that charm and share it with friends or simply fill your home with more of this beauty. Don’t be intimidated; while ferns can sometimes be a bit particular, I’ve found Grammitis barbatula to be surprisingly amenable to propagation with the right approach.
The Best Time to Start
For the highest success rate, I always aim to propagate my Grammitis barbatula in late spring or early summer. This is when the plant is in its most vigorous growth phase, meaning it’s actively producing new energy to put into developing roots. You’ll often see fresh, unfurling fronds at this time, which are perfect candidates for taking cuttings. You can do it at other times, but you might find the process a bit slower.
Supplies You’ll Need
Gathering your tools before you begin makes the whole process so much smoother. Here’s what I recommend:
- Sharp, clean pruning shears or a razor blade: For taking precise cuts.
- Rooting hormone (optional, but helpful): A powder or gel can give your cuttings a nice boost.
- A well-draining potting mix: I like to use a peat-free blend with plenty of perlite or orchid bark to ensure good aeration. A mix designed for ferns or epiphytes works wonderfully.
- Small pots or propagation trays: Clean, with drainage holes.
- A clear plastic bag or propagation dome: To maintain humidity.
- A watering can or spray bottle: For gentle watering.
- A heat mat (optional, but ideal): Gentles warmth from below can really speed up root development.
Propagation Methods
For Grammitis barbatula, the most successful method I’ve found is taking stem cuttings, sometimes referred to as rhizome cuttings because of its creeping rhizome.
- Inspect your mother plant: Look for a healthy, mature Grammitis barbatula. You want to identify a section of the rhizome (the creeping stem that grows horizontally) that has at least one or two healthy fronds attached.
- Make the cut: Using your sharp, sterilized shears or razor blade, carefully cut a piece of the rhizome that includes a frond or two. Aim for a section that’s about 1-2 inches long. Make a clean cut near the main plant.
- Prepare the cutting: If your cutting has large, mature fronds, you can trim them slightly in half to reduce water loss. This helps the cutting focus its energy on root production.
- Dip in rooting hormone (optional): If you’re using rooting hormone, dip the cut end of the rhizome into the powder or gel. Tap off any excess.
- Plant the cutting: Fill your small pot with the prepared, well-draining potting mix. Make a small indentation in the center. Gently place the cutting so the rhizome is just barely covered by the soil, and the fronds are upright.
- Water gently: Water the potting mix thoroughly but gently. You don’t want to dislodge the cutting.
- Create a humid environment: Place the potted cutting inside a clear plastic bag, sealing it loosely, or cover it with a propagation dome. This traps humidity, which is crucial for ferns.
- Provide light and warmth: Place the pot in a bright, indirect light location. If you have a heat mat, place the pot on it. This provides gentle warmth, mimicking ideal rooting conditions.
The “Secret Sauce” (Pro Tips)
Here are a few tricks I’ve picked up over the years that make a big difference:
- Keep the foliage dry: When watering, aim to water the soil directly. Avoid getting water on the fronds of the cutting if possible, especially when it’s enclosed in humidity. Moisture on leaves can encourage rot in cuttings.
- Gentle warmth is key: While not strictly essential, the bottom heat from a propagation mat can significantly speed up root formation. It provides that little boost of energy the cutting needs to get going.
- Don’t disturb too soon: Resist the urge to tug at your cuttings to check for roots! It’s tempting, I know. You’ll know roots have formed when you see new growth emerging from the rhizome or fronds starting to perk up and look vibrant.
Aftercare & Troubleshooting
Once you see those first signs of new growth, which usually takes a few weeks to a couple of months, you’re on the right track!
- Gradually acclimate: Once new growth appears, you can slowly begin to acclimate the new plant to lower humidity. This means opening the plastic bag a little each day for a week or so.
- Watering: Continue to keep the soil consistently moist but not waterlogged. Allow the top inch of soil to dry out slightly between waterings.
- Light and temperature: Maintain bright, indirect light and typical indoor temperatures.
- Signs of failure: The most common issue is rot. If your cutting turns mushy, black, or refuses to show any signs of life after a prolonged period, it’s likely rotted. This is usually due to overwatering or poor air circulation. Don’t be discouraged if a few don’t make it; it’s all part of the learning process!
So there you have it – a simple guide to multiplying your beautiful Grammitis barbatula. Be patient with your cuttings; they work on their own time. Enjoy the process, the anticipation, and the incredible satisfaction of nurturing a new plant from a tiny piece of your cherished fern. Happy propagating!
Resource:
https://identify.plantnet.org/k-world-flora/species/Grammitis%20barbatula%20(Baker)%20Ching/data