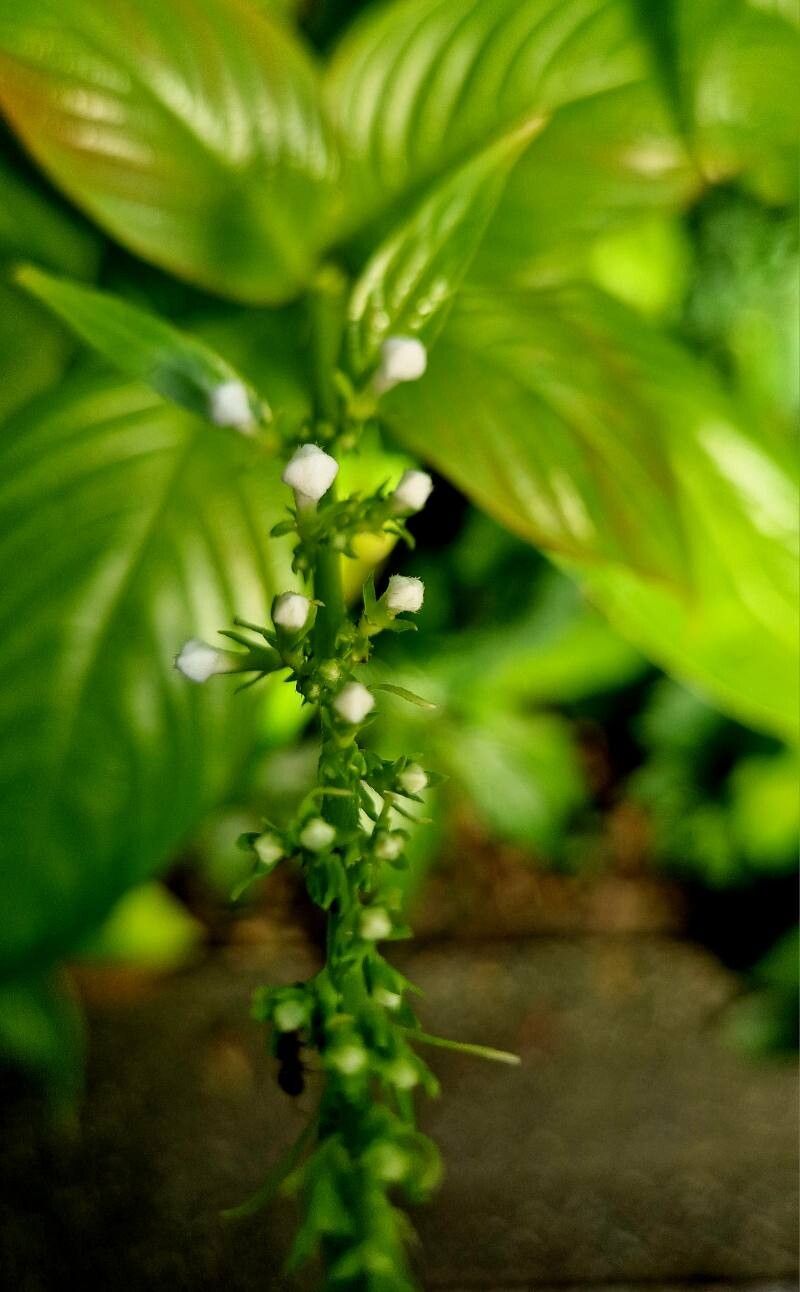
Oh, hello there! Come on in, grab a mug. I’ve got something exciting to chat about today: propagating the lovely Gonzalgunia hirsuta. If you’ve seen this beauty with its delicate, often white or pale pink flowers and slightly fuzzy leaves, you know what I’m talking about. It adds such a wonderful touch of elegance to a garden or a bright windowsill.
There’s something incredibly satisfying about coaxing a new plant into existence from just a small piece of another. It’s like a little miracle unfolding right before your eyes. Now, if you’re just beginning your plant journey, Gonzalgunia hirsuta is a pretty good candidate. It’s not overly fussy when it comes to propagation, and watching those roots develop is a real confidence booster.
The Best Time to Start
For the highest chance of success with your Gonzalgunia hirsuta, spring is your golden ticket. Think of it as the plant’s natural burst of energy. New growth is vigorous, and the days are getting longer, offering plenty of gentle light. Starting right as things begin to warm up after winter gives your cuttings the best possible start.
Supplies You’ll Need
Gathering your tools beforehand makes the whole process smoother. Here’s what I find indispensable:
- Sharp, clean pruning shears or a craft knife: Essential for making clean cuts.
- Rooting hormone (optional but recommended): A little dip can really speed things up. Look for one with IBA.
- Small pots or seed trays: Clean ones, please!
- Well-draining potting mix: I usually mix equal parts peat moss or coco coir with perlite or coarse sand. This ensures good airflow and prevents soggy roots.
- Plastic bags or a propagation dome: This creates a humid environment.
- Watering can or spray bottle: For gentle hydration.
- Labels: So you don’t forget what you’ve planted!
Propagation Methods
I’ve found the most reliable way to propagate Gonzalgunia hirsuta is through stem cuttings. It’s straightforward and gives great results.
- Take Your Cuttings: First things first, locate a healthy, non-flowering stem on your mature plant. Gently twist or cut a section about 4-6 inches long. Make sure to get a cut just below a leaf node – that’s the little bump where a leaf grows from. This is where the magic happens, where roots are most likely to form.
- Prepare the Cuttings: Now, I like to gently remove the lower leaves from your cutting. You want to leave just a couple of leaves at the very top. If the leaves are quite large, you can even cut them in half to reduce water loss.
- Apply Rooting Hormone (if using): Dip the cut end of the stem into your rooting hormone powder or liquid. Just coat the bottom inch or so. Tap off any excess.
- Plant Your Cuttings: Fill your small pots or trays with your prepared potting mix. Make a small hole in the center with your finger or a pencil. Carefully insert the cut end of your Gonzalgunia hirsuta cutting into the hole. Gently firm the soil around the stem to ensure good contact.
- Water and Cover: Give your cuttings a gentle watering to settle the soil. Then, cover the pots loosely with a plastic bag or place them under a propagation dome. This creates a mini-greenhouse effect, keeping the humidity high, which is crucial for rooting.
The “Secret Sauce”
Here are a couple of things I’ve learned over the years that make a difference:
- Bottom Heat is Your Friend: If you can, place your pots on a seedling heat mat. This slight warmth from below encourages root development much faster than room temperature alone. It’s like giving your cuttings a cozy warm bed to sprout roots in.
- Avoid Soggy Bottoms: Even though humidity is key, you don’t want the soil to be waterlogged. If you notice standing water, tip the pot slightly to let excess drain. And when you water, do it sparingly. It’s better to be a little too dry than consistently too wet, which can lead to rot.
Aftercare & Troubleshooting
Once your cuttings are potted and covered, place them in a bright spot that receives indirect light. Direct sun will scorch those delicate cuttings. Keep an eye on the moisture level – the soil should feel consistently moist, but not soggy.
You’ll start to see new growth appearing in a few weeks to a couple of months. That’s your signal that roots are forming! You can gently tug on a cutting – if there’s resistance, roots are developing. Once you see good new growth, you can gradually acclimatize them to lower humidity by slowly opening the plastic bag or dome over a few days.
The most common problem you might encounter is rot. This usually happens because the cuttings are sitting in waterlogged soil or the humidity is too high without enough airflow. If you see a cutting turning black and mushy, unfortunately, it’s best to discard it to prevent it from spreading.
A Little Encouragement
Propagating plants takes a bit of patience, my friend. Don’t get discouraged if not every cutting makes it. Each attempt is a learning experience, and with time and practice, you’ll find your rhythm. The joy of seeing those first tiny roots emerge and then watching your new Gonzalgunia hirsuta flourish is truly rewarding. Happy propagating!
Resource:
https://identify.plantnet.org/k-world-flora/species/Gonzalagunia%20hirsuta%20(Jacq.)%20K.Schum./data