Oh, hello there! Come on in, pull up a chair. I was just thinking about how much I love Gomphrena elegans. Those little papery globe flowers? They just bring such a cheerful pop to the garden and are absolute superstars in dried arrangements. If you’ve ever admired them and thought, “I wish I had more of those!”, good news – propagating Gomphrena is surprisingly rewarding, and definitely manageable, even for those of you just dipping your toes into the gardening world.
The Best Time to Start
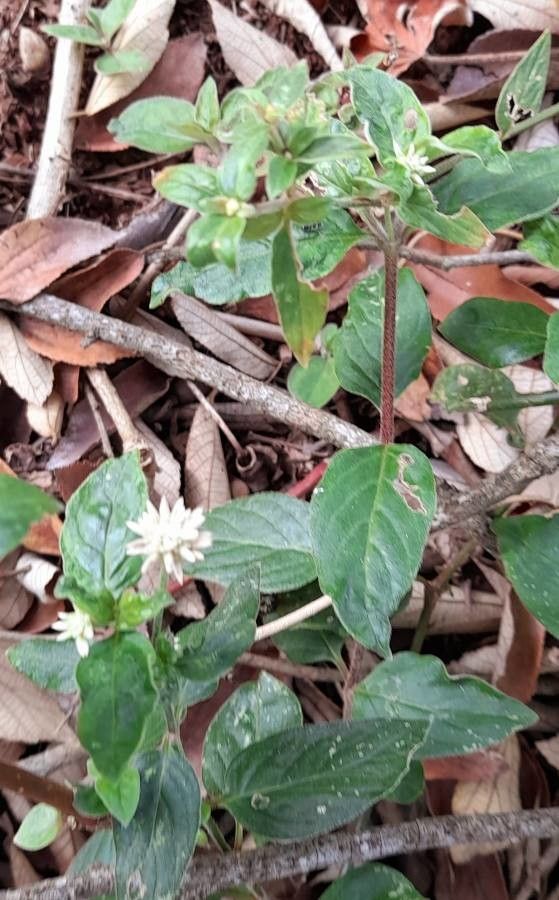
For Gomphrena elegans, the sweet spot for propagation is really late spring through mid-summer. This is when the plant is actively growing and has plenty of energy to both produce new roots and keep developing. You want to be taking cuttings from healthy, non-flowering stems. Think of it like harvesting a fresh, vigorous branch – that’s where the magic happens.
Supplies You’ll Need
Gathering your tools beforehand makes the whole process so much smoother. Here’s what I usually have on hand:
- Sharp pruning shears or a clean knife: For making those crucial cuts.
- Rooting hormone (optional but helpful): Especially if you’re taking stem cuttings.
- Well-draining seed starting mix or a perlite/peat moss blend: Gomphrena hates soggy feet, so a light, airy mix is key.
- Small pots or seedling trays: Clean ones are important to avoid any yucky bacteria.
- Watering can with a fine rose or a spray bottle: For gentle watering.
- Plastic bag or propagation dome: To create a humid environment.
- Labels and a marker: To keep track of what you’ve planted!
Propagation Methods
There are a couple of ways to get more Gomphrena, and both are pretty straightforward.
Stem Cuttings (My Favorite!)
This is my go-to method. It’s efficient and often yields great results.
- Take your cuttings: On a healthy, actively growing plant, select stems that are about 3-4 inches long. Look for ones that aren’t flowering yet – they’ll have more energy for rooting. Using your sharp shears or knife, make a clean cut just below a leaf node (where a leaf meets the stem).
- Prepare the cuttings: Gently remove the lower leaves, leaving just the top couple of sets. This prevents them from rotting in the soil.
- Apply rooting hormone (optional): If you’re using it, dip the cut end of each stem into the rooting hormone powder, tapping off any excess.
- Plant your cuttings: Fill your small pots or trays with your well-draining mix. Make a small hole with your finger or a pencil, and insert the prepared cuttings, ensuring the nodes where you removed leaves are buried. Gently firm the soil around them.
- Water gently: Water thoroughly but gently to settle the soil.
- Create humidity: Cover the pots with a plastic bag or a propagation dome. This traps moisture and helps the cuttings from drying out. Make sure the leaves don’t touch the sides of the bag if possible.
- Placement: Place the pots in a bright location that receives indirect sunlight. Avoid direct sun, which can scorch the tender cuttings.
Water Propagation
While I lean towards soil for Gomphrena, you can certainly try water propagation.
- Prepare your cuttings: Follow steps 1 and 2 above.
- Place in water: Place the cuttings in a jar or glass of clean water, ensuring the leaf nodes are submerged.
- Change water regularly: Change the water every couple of days to keep it fresh and prevent bacterial growth.
- Placement: Like with stem cuttings, place them in bright, indirect light.
- Watch for roots: You should start to see tiny white roots appearing in a few weeks. Once the roots are about an inch long, you can carefully transplant them into pots filled with your well-draining soil mix.
The “Secret Sauce” (Pro Tips)
Here are a couple of things I’ve learned over the years that can really boost your success:
- Bottom Heat is Your Friend: If you have a heat mat designed for seedlings, placing your pots on it can make a huge difference. This gentle warmth encourages root development much faster and more reliably. It’s like giving those little roots a cozy spa day!
- Don’t Be Afraid to Experiment with Different Cuttings: Not every cutting will take, and that’s okay! Sometimes, a slightly woodier stem will root better, other times a softer, more succulent one. Take a few more cuttings than you think you’ll need and try different types of stems from the same plant. Variety is the spice of propagation!
Aftercare & Troubleshooting
Once you start seeing new growth or those promising little roots peeking out from the drainage holes, it’s time for a little extra care.
- Acclimatize: If you used a plastic bag or dome, gradually acclimate your new plants to normal humidity over a week or so before removing it entirely.
- Watering: Continue to water when the top inch of soil feels dry. Avoid soggy conditions, as this is the quickest way to invite trouble.
- Light: Gradually introduce your young plants to more light, eventually transitioning them to the same conditions as your mature Gomphrena.
The most common sign of failure is rot. If your cuttings turn mushy, black, or smelly, it’s usually a sign of too much moisture and not enough air circulation. Unfortunately, these are usually a lost cause. Don’t be discouraged if a few don’t make it; it’s a natural part of the process!
A Encouraging Closing
Watching a tiny cutting transform into a whole new plant is one of the most satisfying parts of gardening. Be patient, enjoy the process of nurturing these little guys, and before you know it, you’ll have a whole garden full of your own beautiful Gomphrena elegans to enjoy. Happy propagating!
Resource:
https://identify.plantnet.org/k-world-flora/species/Gomphrena%20elegans%20Mart./data