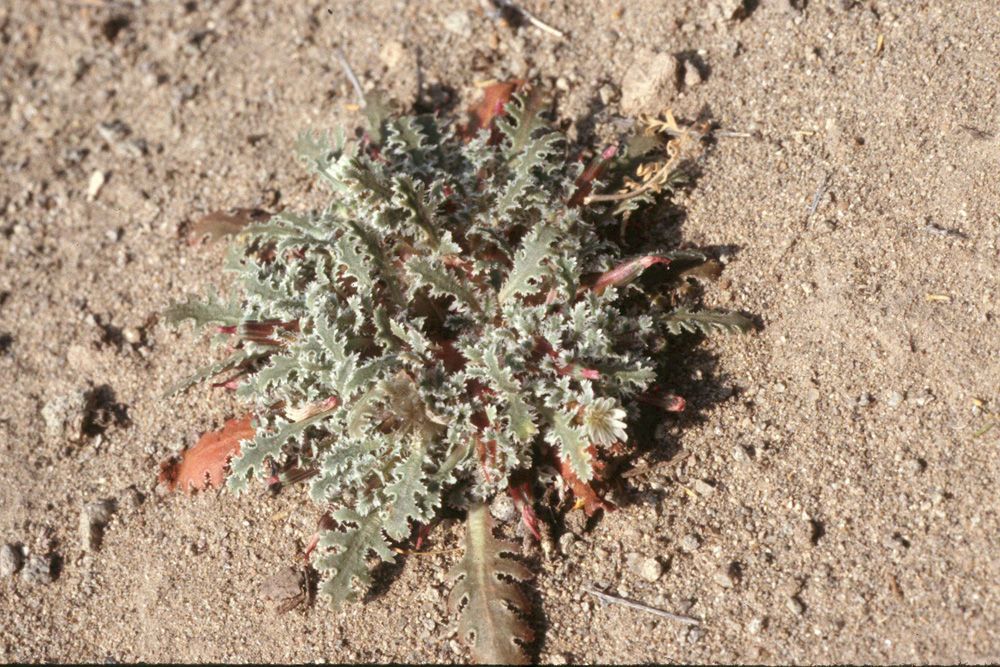
Hello fellow plant enthusiasts! Today, we’re diving into the wonderful world of Glyptopleura marginata. If you’re drawn to its unique form and intriguing textures, you’re in for a treat. Propagating this beauty is a fantastic way to share its charm or simply expand your own collection. While it might seem a little intimidating at first glance, I promise, with a little guidance and a dash of patience, you’ll be well on your way.
The Best Time to Start
When it comes to the ideal time for propagating Glyptopleura marginata, I’ve found that spring is your undisputed champion. As the plant emerges from its winter dormancy and starts actively growing, it has all the energy it needs to push out new roots. Aim for when you see fresh, vigorous growth appearing.
Supplies You’ll Need
Before we get our hands dirty, let’s gather our tools.
- Sharp pruning shears or a clean knife: For taking your cuttings. Sterilize them with rubbing alcohol to prevent disease.
- Well-draining potting mix: A good blend for succulents or cacti is usually perfect. You can also make your own by mixing equal parts potting soil, perlite, and coarse sand.
- Small pots or trays: Clean and with drainage holes, of course!
- Optional: Rooting hormone: This can give your cuttings an extra boost, especially if you’re a bit new to this.
- Optional: Heat mat: For providing bottom warmth, which can speed up root development.
- Watering can or spray bottle: For gentle irrigation.
Propagation Methods
Glyptopleura marginata is quite amenable to a few different propagation techniques. Let’s look at the most reliable ones.
Stem Cuttings
This is my go-to method for Glyptopleura marginata.
- Take your cutting: Using your sterilized shears or knife, carefully select a healthy stem that’s at least a few inches long. Make a clean cut just below a leaf node (where a leaf attaches to the stem).
- Allow it to callous: This is crucial! Let the cut end dry and form a callus for a few days, or even a week, in a dry, airy spot. This prevents rot when you plant it.
- Prepare for planting: Once calloused, you can optionally dip the cut end in rooting hormone.
- Plant your cutting: Gently insert the calloused end into your prepared well-draining potting mix. Just a short way in is fine, enough to support the cutting.
- Provide a supportive environment: Place the pot in a bright spot that gets indirect sunlight. Avoid direct sun, which can scorch your new cutting.
Division
If your Glyptopleura marginata has grown into a larger clump, dividing it is a great way to create new plants.
- Gently unpot the plant: Carefully remove the mother plant from its pot.
- Examine the root ball: You’ll want to look for natural divisions where you can see individual stems or crowns emerging.
- Separate the divisions: Using your hands or a clean knife, gently pull or cut the root ball apart into smaller sections, ensuring each section has a good amount of roots attached.
- Pot them up: Plant each division in its own small pot with your well-draining mix, just as you would a mature plant.
The “Secret Sauce” (Pro Tips)
Here are a few little tricks I’ve picked up over the years that make a big difference.
- Don’t water immediately after planting cuttings: Wait at least a week after planting stem cuttings before watering gently. This gives the callused end another chance to seal and reduces the risk of rot.
- Bottom heat is a game-changer: Placing your pots on a gentle heat mat (around 70-75°F or 21-24°C) can significantly speed up root development. The warmth encourages the plant to send out roots much faster.
- Mist, don’t soak, to encourage roots: For stem cuttings, a light misting of the leaves occasionally can help keep them from drying out while they are forming roots underground. Avoid letting water sit on the leaves, as this can lead to rot.
Aftercare & Troubleshooting
Once you see signs of new growth, like tiny leaves or the cutting showing renewed vigor, that’s a good indication that roots have formed!
- Gradual introduction to light: Slowly increase the amount of light your new plants receive. Don’t shock them with full sun right away.
- Watering: Water sparingly, only when the soil is completely dry to the touch. Overwatering is the quickest way to lose a new propagation.
- Troubleshooting rot: The most common issue you’ll face is rot. If you notice your cutting becoming mushy, discolored, or developing black spots, it’s likely rotting. Remove it immediately. If it’s the soil, let it dry out completely and consider repotting with fresh, drier mix.
A Little Patience Goes A Long Way
Propagating plants is a journey, and Glyptopleura marginata is no exception. There will be times when things don’t go as planned, and that’s perfectly okay. Don’t be discouraged! The joy of nurturing a new plant from a tiny start is truly rewarding. So, grab your tools, find a sunny spot, and enjoy the process. Happy growing!
Resource:
https://identify.plantnet.org/k-world-flora/species/Glyptopleura%20marginata%20D.C.Eaton/data