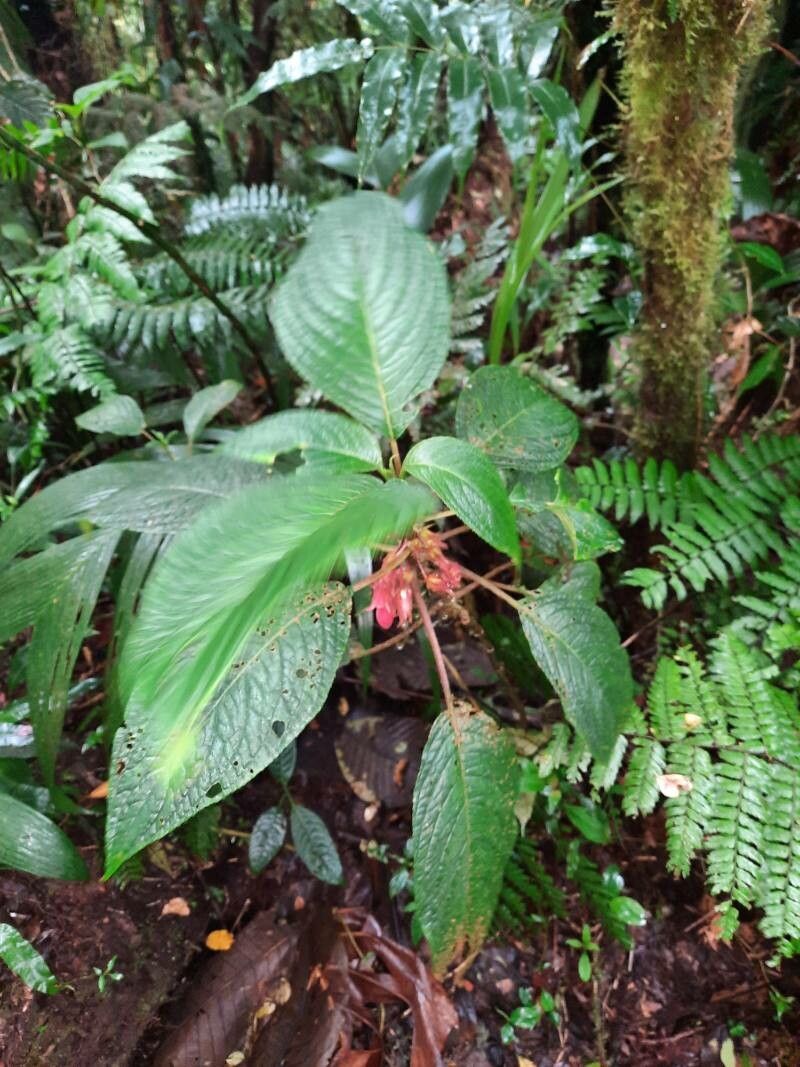
Oh, Glossoloma cucullatum! If you’ve ever marveled at its graceful, cascading foliage, especially those delicately unfurling leaves (hence the name “cucullatum,” meaning hooded!), you know it’s a plant that brings a touch of the exotic to any space. Propagating these beauties is such a rewarding endeavor. It’s like sharing a little bit of your plant love with your friends, or perhaps just doubling your own joy!
Now, I won’t sugarcoat it entirely. Glossoloma, while not impossibly difficult, can be a tad more particular than, say, a pothos. But don’t let that deter you! With a little care and attention, you absolutely can succeed. Think of it as a gentle learning curve, rather than a steep climb.
The Best Time to Start
My favorite time to get my hands dirty with propagating Glossoloma is during the active growing season. For most of us, this means spring and early summer. The plant is buzzing with energy then, making it much more likely to produce new roots and establish itself happily. Aim for when you see new growth appearing on your existing plant.
Supplies You’ll Need
Gathering your tools beforehand makes the whole process smoother. Here’s what I always have on hand:
- Sharp, clean pruning shears or a sharp knife: For taking clean cuttings.
- Rooting hormone (optional but recommended): A powdered or gel form can give your cuttings a helpful boost.
- Well-draining potting mix: I like a blend of peat moss, perlite, and a bit of coarse sand. You can also use a standard houseplant mix with extra perlite added.
- Small pots or propagation trays: Clean and with drainage holes!
- Plastic bags or a clear propagation lid: To create a humid microclimate.
- Watering can with a fine rose: For gentle watering.
- Spray bottle: For misting.
Propagation Methods
There are a couple of ways to go about this, but my go-to for Glossoloma is stem cuttings. It’s straightforward and generally yields great results.
Stem Cuttings
- Select your cutting: Look for a healthy stem that has at least two to three nodes (the little bumps where leaves emerge). Ideally, choose a semi-hardwood cutting – not so soft it wilts immediately, but not so woody it’s tough to root.
- Make the cut: Using your clean shears or knife, make a clean cut just below a node. This is where the magic happens, as roots are most likely to form there.
- Prepare the cutting: Gently remove the leaves from the bottom node or two. If the leaves are very large, you can even cut them in half to reduce water loss.
- Apply rooting hormone (if using): Dip the cut end of the stem into the rooting hormone, tapping off any excess.
- Plant your cutting: Fill your small pot with your well-draining potting mix. Make a little hole with your finger or a pencil and insert the cutting, ensuring the node(s) are below the soil surface.
- Water gently: Water thoroughly but gently to settle the soil around the cutting.
- Create humidity: This is crucial! Cover the pot with a clear plastic bag or a propagation lid. You can prop the bag up with stakes so it doesn’t touch the leaves. Place it in a bright spot, but out of direct sunlight.
Water Propagation (A Secondary Option)
While stem cuttings planted in soil are my preference, you can try water propagation if you’re feeling adventurous.
- Follow steps 1-3 above.
- Place the cutting in clean water: Use a small glass or jar and fill it with water. Ensure that no leaves are submerged in the water. This is super important to prevent rot.
- Change water regularly: Refresh the water every few days to keep it clean and oxygenated.
- Be patient: Roots will eventually appear from the nodes. Once they are an inch or two long, you can try potting them in soil.
The “Secret Sauce” (Pro Tips)
Here are a few little tricks I’ve learned over the years that can make all the difference:
- Bottom Heat is Your Friend: Glossoloma cuttings absolutely love a little warmth from below. A heated propagation mat placed under your pots can dramatically speed up root development. It mimics the cozy environment they’d experience in nature.
- Don’t Be Afraid of Humidity, But Avoid Soggy Bottoms: As mentioned, humidity is key. If your propagation area feels dry, mist the leaves and the inside of the plastic bag occasionally. However, if you notice condensation pooling excessively or the soil looks waterlogged after a few days, open the bag for an hour or so to allow for some air circulation. A happy medium is best!
- Patience and Observation are Paramount: Don’t be tempted to yank your cuttings out to check for roots every other day! Trust the process. Look for signs of rooting, like tiny white nubs emerging from the soil or new leaf growth.
Aftercare & Troubleshooting
Once you see signs of new roots forming – this could be anywhere from 3 weeks to a couple of months depending on conditions – it’s time to transition.
- Acclimate gradually: If you’ve been using a plastic bag or lid, start by opening it for a few hours each day, then gradually increase the time until the humidity levels are similar to your general home environment.
- Move to a slightly larger pot: Once your cutting has a decent root system (you can often tell by gently tugging or seeing roots peep through drainage holes), transplant it into a slightly larger pot with fresh, well-draining soil.
- Water carefully: Continue to water when the top inch of soil feels dry. Avoid overwatering, which is a common pitfall and leads to root rot.
- What if it wilts? A little initial wilting is normal, especially if your humidity wasn’t quite right. If your cutting turns black or mushy at the base, that’s a clear sign of rot. Unfortunately, in that case, it’s time to discard it and try again. But don’t get discouraged!
Happy Propagating!
Taking cuttings and watching them miraculously sprout roots is one of the most satisfying gardening experiences. It’s a testament to nature’s resilience and your nurturing touch. So, grab those shears, find a healthy stem, and give it a go. Be patient with your new little Glossolomas, and enjoy the journey of watching them grow! Happy gardening!
Resource: