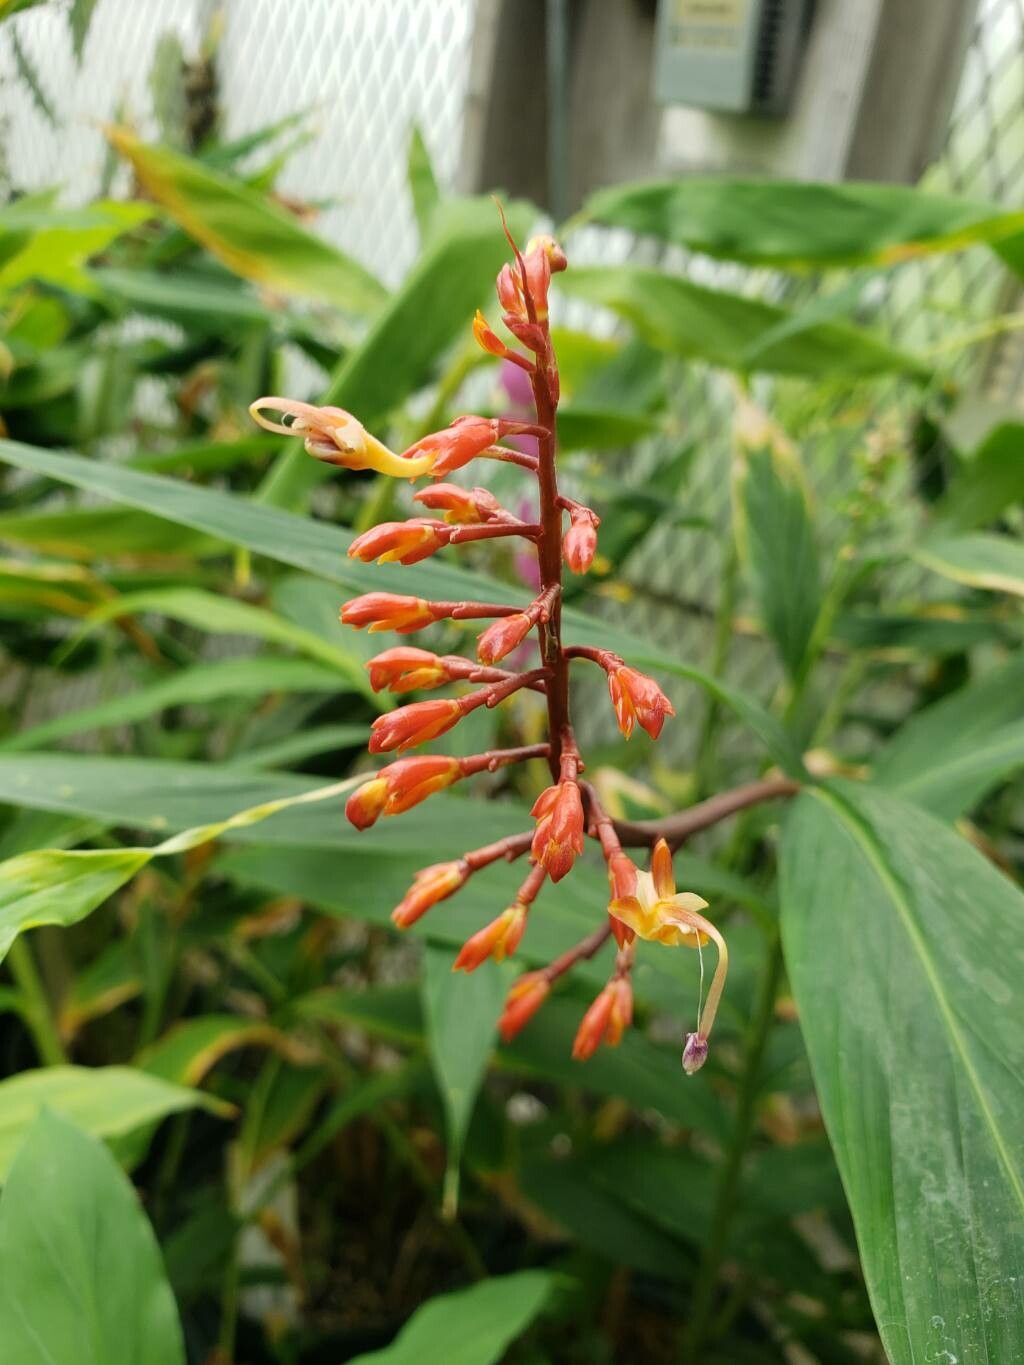
Ah, Globba orixensis! If you’re drawn to its elegant, dancing ginger blooms and lush foliage, you’re in for a treat. This tropical beauty, often called the dancing lady ginger, brings such a vibrant splash of color and a touch of the exotic to any garden or home. And here’s the really exciting part: propagating it yourself is incredibly rewarding. It’s a plant that, with a little know-how, is quite approachable for new gardeners, which makes that first success all the sweeter.
The Best Time to Start
For the best chance of success, aim for late spring or early summer. This is when Globba orixensis is actively growing, meaning it has plenty of energy to put into forming new roots. We want to catch it in its vigorous phase, when it’s really putting on a show.
Supplies You’ll Need
Gathering your supplies beforehand makes the whole process so much smoother. Here’s what I always have on hand:
- Sharp, clean pruning shears or a knife: A clean cut is key!
- Well-draining potting mix: I usually go for a blend of peat moss, perlite, and a bit of compost. You want good aeration.
- Rooting hormone (optional but helpful): Especially for stem cuttings, this gives them a little boost.
- Small pots or trays: Clean ones, of course.
- Watering can with a fine rose: Gentle watering is crucial.
- Plastic bags or a propagation dome: To create a humid environment.
- A heat mat (optional): Bottom heat can really encourage root development.
Propagation Methods
Globba orixensis is surprisingly versatile. I find two methods work exceptionally well.
Division (The Easiest Way)
This is probably the most straightforward method, especially if you have an established plant.
- Gently unpot your mature Globba. Carefully shake off excess soil to reveal the rhizomes.
- Look for where the rhizomes naturally divide. You want each division to have at least one healthy growth bud or eye.
- Using your clean shears or a knife, carefully separate the rhizomes. If they’re a bit stubborn, you can gently tease them apart with your fingers.
- Let the divided sections air dry for a few hours (or even overnight). This helps any cuts to callous over, reducing the risk of rot.
- Plant each division in its own pot filled with your well-draining potting mix. Make sure the buds are just peeking out or slightly covered.
- Water lightly.
Stem Cuttings
This method takes a bit more patience but can yield multiple new plants from one healthy specimen.
- Select a healthy, non-flowering stem. Look for a stem that’s firm and has at least two or three nodes (where leaves emerge).
- Make a clean cut just below a node. This is where the magic happens for root formation.
- Remove the leaves from the bottom half of the cutting. You want to expose the nodes so they can make contact with the soil or water.
- (Optional) Dip the cut end into rooting hormone. Tap off any excess.
- Plant the cutting in your potting mix. Push it down so at least one node is buried. You can plant several cuttings in one pot, spaced a few inches apart.
- Water gently.
The “Secret Sauce” (Pro Tips)
Here are a few things I’ve learned over the years that make a big difference:
- Hygiene is paramount! Always use clean tools and pots. This is the absolute best way to prevent fungal diseases and rot, which can quickly undo all your hard work.
- Humidity is your best friend. After planting your divisions or cuttings, cover the pots loosely with a clear plastic bag or place them under a propagation dome. This traps moisture and keeps the leaves from drying out while they establish roots. Just make sure to open it for a few minutes each day to allow for air circulation.
- Don’t overwater! While they need moisture, soggy soil is a death sentence. Let the top inch of soil dry out slightly between waterings. It’s better to be a little too dry than too wet.
Aftercare & Troubleshooting
Once you see signs of new growth – little leaves unfurling or tiny white roots peeking out of the drainage holes – you know you’ve succeeded!
Continue to keep the soil consistently moist but not waterlogged. Gradually remove the plastic covering over a week or two to acclimate your new plant to normal humidity levels. Once they have a good root system and are growing steadily, you can transplant them into their own slightly larger pots.
The most common problem you’ll encounter is rot. If your cutting or division turns slimy and black, it’s usually a sign of too much moisture and not enough air circulation. If you catch it early, you might be able to salvage a healthy part, but often it’s best to discard the affected material and start again, paying closer attention to your watering and air flow. Yellowing leaves can sometimes indicate too much direct sun or inconsistent watering.
A Encouraging Closing
Propagating plants is such a beautiful journey of patience and observation. Don’t get discouraged if your first attempt isn’t perfect. Each try teaches you something new. Enjoy the process of nurturing these little beginnings, and soon you’ll have a whole new collection of dancing lady gingers to admire! Happy growing!
Resource:
https://identify.plantnet.org/k-world-flora/species/Globba%20orixensis%20Roxb./data