Oh, hello there! Come on in, pull up a chair. I’ve got a pot of something warm brewing, and I’m just itching to chat about one of my personal favorites: the Gladiolus stefaniae.
Meet Your New Obsession: Gladiolus Stefaniae
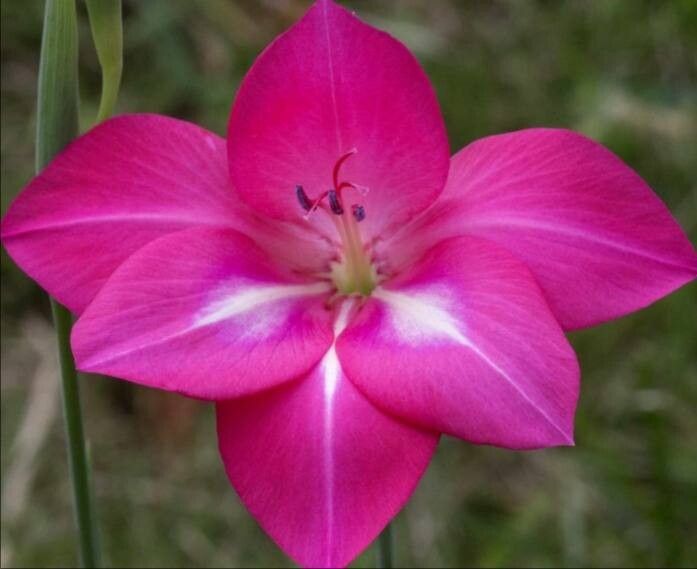
Now, this isn’t your everyday gladiolus. The Gladiolus stefaniae has this incredible, almost ethereal charm. The flowers are just breathtaking – a delicate cascade of ruffled petals in shades that make you want to sigh. And the fragrance? Divine! It’s like captured sunshine with a hint of spice. Propagating them is a wonderful way to bring that magic into more corners of your garden, or to share with fellow plant lovers. For beginners, I’d say it’s moderately challenging, but with a little patience and the right approach, you’ll absolutely succeed. It’s a rewarding project for sure.
The Best Time to Get Started
My favorite time to get down to business with gladiolus propagation is in the late spring or early summer. This is when the plant is really hitting its stride, actively growing and full of vigor. You want to work with healthy, established corms and shoots – everything just feels more ready then. Starting too early, when things are still settling in, or too late when the energy is winding down, can make it trickier.
Your Propagation Toolkit
Before we dive into the “how,” let’s make sure you have everything you need. It’s always better to be prepared!
- Clean, sharp pruning shears or a knife: For making precise cuts. Sterilize them!
- A bright, airy potting mix: Something that drains well is crucial. I like a blend of equal parts potting soil, perlite, and coarse sand.
- Small pots or trays: Clean containers are a must to prevent diseases.
- Rooting hormone (optional but recommended): This can give your cuttings a helpful boost.
- A gentle misting bottle: For keeping things hydrated without waterlogging.
- Labels: You’ll thank me later for keeping track!
- Patience! This is the most important tool.
Laying the Groundwork: Propagation Methods
I find that division is hands-down the most reliable and successful method for propagating Gladiolus stefaniae. While stem cuttings can be attempted, they are significantly more finicky with this particular species, and frankly, I haven’t had the best luck with them. Let’s focus on the tried-and-true!
Method: Division of Corms
- Gently Excavate: In late spring or early summer, when the foliage of your existing Gladiolus stefaniae is starting to die back a bit but the soil is still workable, carefully dig up the corms. Use a trowel or garden fork, working a good distance away from the plant to avoid damaging the underground treasures.
- Clean and Inspect: Gently brush off excess soil. You’ll see the main corm, and often, smaller “cormels” or baby corms attached to its base. These are what we’re after! Handle them with care – they are delicate.
- Separate the Cormels: Using your clean, sharp knife, carefully cut away the smaller cormels from the parent corm. Make sure each cormel has at least one tiny basal plate or eye where new growth can emerge. Don’t worry if you break off a few little bits; it’s nature!
- Let Them Dry (Optional but helpful): For a day or two, let the separated cormels rest in a dry, airy spot, out of direct sunlight. This helps them form a protective callus.
- Plant Away! Fill your small pots with your well-draining potting mix. Make a little indentation in the center, just deep enough for the cormel. Place the cormel with its basal plate facing down.
- Cover Lightly: Gently cover the cormels with about an inch of your soil mix.
- Water Gently: Give them a light watering. You want the soil to be moist, not soggy.
The “Secret Sauce”: My Insider Tips
Here are a couple of things I’ve learned over the years that really make a difference when propagating gladiolus:
- Don’t be scared of the parent corm: If you’re dividing, don’t discard the main corm. Often, a healthy parent corm will split and produce new shoots itself, or you can even break off pieces that look like they have potential.
- Think of them as babies: When you’re handling the cormels, treat them with incredible gentleness. They are susceptible to damage and rot if they get bruised or kept too wet.
Nurturing Your New Sprouts: Aftercare and Troubleshooting
Once your cormels are planted, give them a bright, indirect light location. Keep the soil consistently moist but never waterlogged. This is the absolute key. A light misting every few days is usually perfect.
Now, what if things go wrong? The most common culprit is rot. If you see your cormel turning mushy and brown, or if the soil feels perpetually swampy, that’s a sign of too much moisture. Pull it out, and if there’s any firm cormel left, try replanting it in fresh, drier soil. The other sign of trouble is just… nothing happening. If after several weeks, you see absolutely no signs of growth, it might be that the cormel wasn’t viable, or perhaps the conditions weren’t quite right. Don’t get discouraged!
Go Forth and Grow!
Propagating Gladiolus stefaniae is a journey, not a race. Be patient with your new little sprouts. Watch them closely, give them good care, and soon enough, you’ll be rewarded with your own blooming beauties. Happy gardening, my friend!
Resource:
https://identify.plantnet.org/k-world-flora/species/Gladiolus%20stefaniae%20Oberm./data