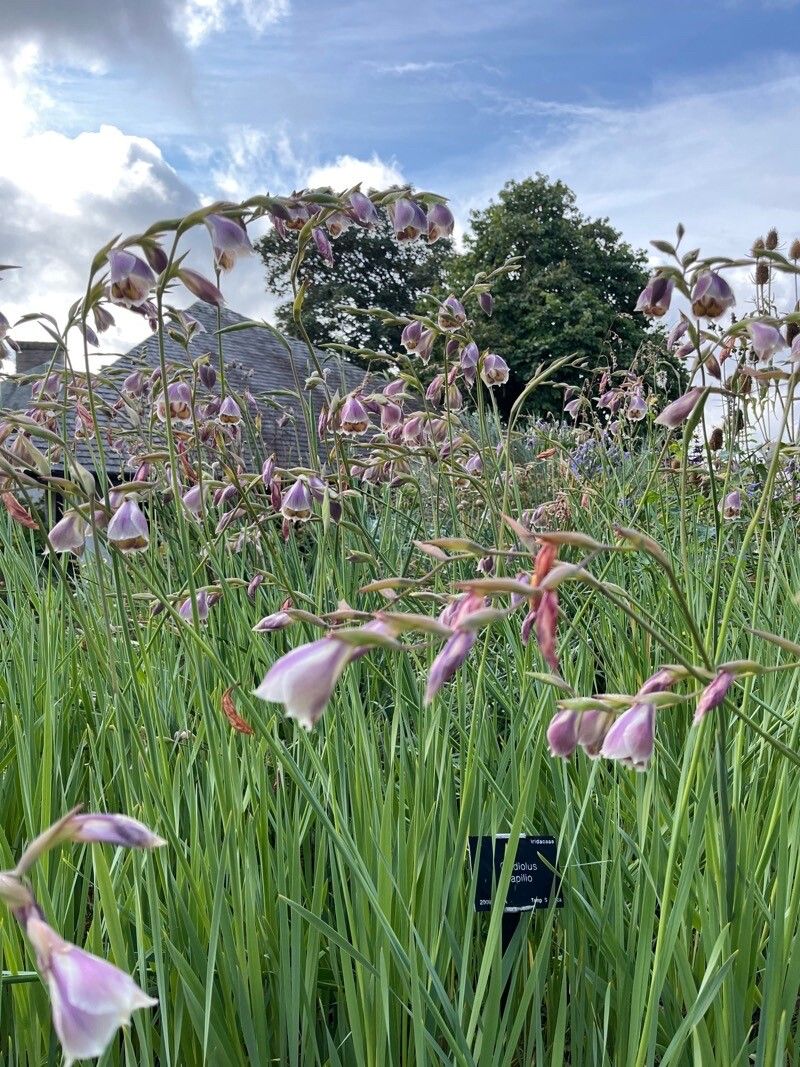
Hello, fellow plant lovers! Today, we’re diving into the enchanting world of Gladiolus papilio, also known as the Butterfly Gladiolus. Those exquisite, nodding blooms with their elegant arch are just a dream, aren’t they? Propagating them felt a bit intimidating at first, but I’ve found it’s quite achievable, even if you’re not a seasoned pro. It’s such a thrill to see these beauties multiply!
The Best Time to Start
For the highest success rate with Gladiolus papilio, I find late spring to early summer, just as the plant is actively growing and before it gets too hot, is the sweet spot. You’re looking for healthy, established plants that have finished their main bloom cycle or are just beginning to put on new growth.
Supplies You’ll Need
Here’s a little list of what I keep handy:
- Sharp pruning shears or a clean knife
- A good quality seed-starting mix or a blend of peat moss and perlite (about a 50/50 ratio works well for me)
- Small pots or trays with drainage holes
- Rooting hormone (powder or gel) – this is optional but can give you a nice boost.
- A spray bottle for misting
- A clear plastic bag or propagation dome to create a humid environment.
- A label and waterproof pen (don’t skip this!)
Propagation Methods
Honestly, for Gladiolus papilio, division is my go-to method. The ‘corms’ (they look a bit like bulbs but are technically corms) tend to multiply underground.
- Dig Carefully: In late spring, when the plant is actively growing, gently excavate around the base of the Gladiolus papilio. I usually use a trowel or small spade and work my way out from the center to avoid damaging the corms. Once you have a good sense of their extent, carefully lift the entire clump.
- Identify the Corms: You’ll see the main parent corm and then smaller offsets attached to it. These are your baby plants!
- Separate the Corms: Gently twist or use your clean knife to separate the smaller corms from the parent. You want to make sure each new corm has at least one small growing point or ‘eye’ visible. If an offset is very tiny and doesn’t seem to have this, it might be best to leave it attached for now.
- Trim and Dry (Optional): If any of the corms have excessively long roots, you can trim them back a bit. I often let them air dry for a day or two in a shaded, well-ventilated spot before replanting. This can help prevent rot.
- Potting Up: Fill your pots with the seed-starting mix. Make a small well in the center and plant each corm with the growing point facing upwards. They don’t need to be planted too deep – just a couple of inches below the surface is usually sufficient.
- Water Gently: Water the soil lightly after planting. You want it moist, not soggy.
The “Secret Sauce” (Pro Tips)
This is where a little experience really comes in handy!
- Don’t Crowd: When dividing, resist the urge to cram too many offsets into one pot. Each little corm needs its space to establish a good root system. Overcrowding can lead to competition and potential rot.
- Bottom Heat is Your Friend: If you have a heat mat designed for seedlings, placing your pots on it can significantly speed up root development. The warmth encourages the corms to wake up and start growing.
- Watch the Leaves: Once you see signs of growth (a little shoot emerging), make sure those new leaves don’t rest directly on the soil surface if it’s damp. This can encourage fungal issues. A little air circulation goes a long way.
Aftercare & Troubleshooting
Once you see those first green shoots emerge, you’re doing great!
- Light: Place your newly potted corms in a bright location, but avoid direct, intense sunlight until they are more established. A sunny windowsill is often perfect.
- Watering: Water when the top inch of soil feels dry. Remember, consistent moisture is key, but never let them sit in water.
- Humidity: For the initial bit after planting, you can keep them a bit more humid by covering the pots with a clear plastic bag or a propagation dome. Ventilate this daily to prevent mold.
- Troubleshooting: The most common issue you might face is rot. If your corm turns mushy or black, it’s likely rotted. This is usually due to overwatering or poor drainage. If you see signs of fungus on the soil, remove the affected soil and ensure better air circulation. Sometimes, if the corms are too small or have no viable growing point, they simply won’t sprout, and that’s okay!
Keep Growing!
Watching a new plant flourish from a division is incredibly rewarding. Be patient with your little Gladiolus papilio, give them consistent care, and enjoy the process. Soon, you’ll have more of those stunning blooms to admire! Happy gardening!
Resource:
https://identify.plantnet.org/k-world-flora/species/Gladiolus%20papilio%20Hook.f./data