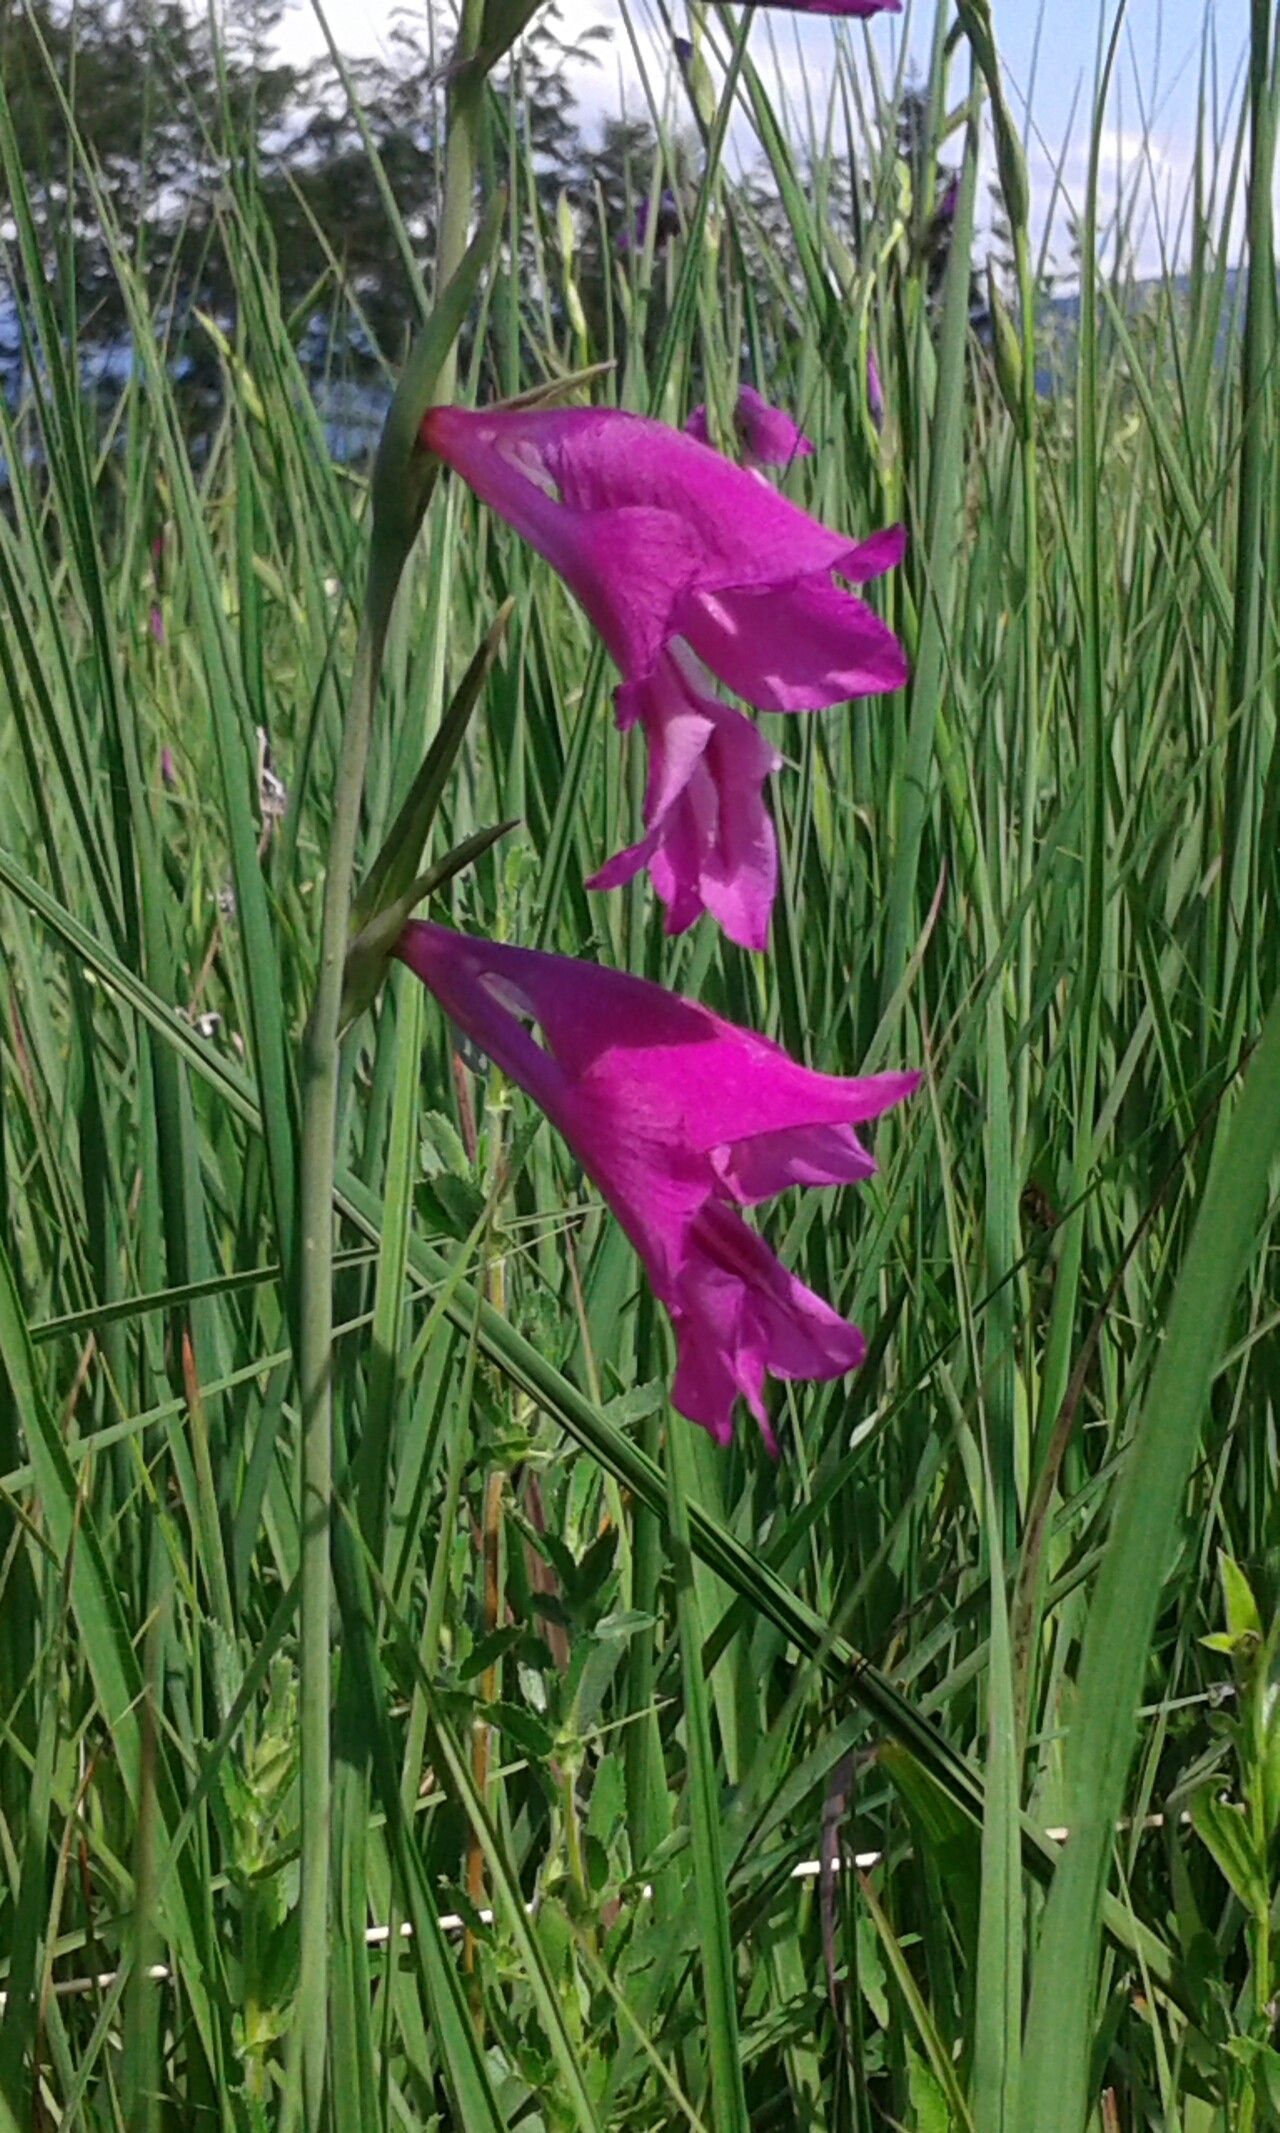
Well hello there, fellow garden enthusiast! It’s lovely to have you join me today. You know, there’s a special kind of magic in coaxing new life from existing plants. And when it comes to the graceful beauty of Gladiolus palustris, the marsh gladiolus, that magic is even more enchanting. Those lovely spikes of delicate flowers often in shades of soft pink and white, standing tall and proud… they just draw you in, don’t they? Propagating them is a wonderfully rewarding experience, a chance to double your joy in the garden. For a beginner, I’d say Gladiolus palustris is a good one to try your hand at propagating. It’s not overly fussy, and with a little guidance, you’ll be well on your way to success.
The Best Time to Start
The prime time to get busy with propagating your Gladiolus palustris is after flowering, typically in late summer or early autumn. You’ll notice the plant starting to go dormant, the leaves might be yellowing, and the energy is all focused on the corms beneath the soil. This is the perfect moment to divide and conquer, giving your new divisions plenty of time to establish before the cold weather sets in.
Supplies You’ll Need
Here’s a little gathering of what you’ll want to have on hand:
- Well-draining potting mix: A good quality mix with plenty of perlite or grit is key. You can also make your own by combining equal parts compost, sharp sand, and perlite.
- Sharp pruning shears or a clean trowel: For making clean cuts and dividing. Sterilize them if you can with rubbing alcohol.
- Rooting hormone (optional but helpful): Especially useful if you’re taking divisions. Look for one that’s specifically for bulbs or corms.
- Small pots or trays: For housing your new divisions. Ensure they have drainage holes.
- Labels and a permanent marker: To keep track of what you’ve planted and when.
- Watering can with a fine rose: For gentle watering.
Propagation Methods
For Gladiolus palustris, the most straightforward and successful method is corm division. It’s like giving your plant a helpful haircut and a chance to spread out!
- Gentle Excavation: Carefully dig around the base of the Gladiolus palustris plant with your trowel or a spade. You want to loosen the soil and lift the entire clump without damaging the corms.
- Shake Off Excess Soil: Gently brush away as much of the soil as you can from the corms. You’ll see the main, larger corms from this year, and hopefully, some smaller “cormels” or baby corms attached.
- Inspect and Separate: Look for where the smaller cormels are attached to the parent corms. They’ll usually have a slightly narrower connection. Using your fingers or a clean, sharp knife, carefully twist or cut away the healthy cormels. Make sure each cormel has at least a tiny bit of basal plate (the part where the roots emerge). You can also divide larger clumps of parent corms if they seem crowded.
- Planting the Divisions: Fill your small pots with your well-draining potting mix. Create a little planting hole in the center. Place the cormel or divided corm into the hole, ensuring the basal plate is facing downwards. You can dust the cut surface with a bit of rooting hormone powder before placing it in the soil, if you’re using it.
- Cover and Water: Gently cover the corms with about an inch of soil. Give them a good, gentle watering to settle the soil around them.
The “Secret Sauce”
Here are a couple of little tricks I’ve learned over the years that really make a difference:
- Let them “cure”: After you’ve dug up and divided your corms, resist the urge to pot them up immediately. Let them air dry in a warm, dry, and well-ventilated spot for a few days. This helps any cuts to heal and reduces the risk of rot once they’re in the soil.
- Think about dormancy: If you’re finding your Gladiolus palustris corms are a bit reluctant to sprout, sometimes a brief period of cold stratification can help. After curing, you can store them in a cool, dry place (like a garage or unheated shed) for a few weeks before planting them out. It mimics the natural winter dormancy they experience.
Aftercare & Troubleshooting
Once your cormels or divisions are planted, place your pots in a bright, light spot, but out of direct, scorching sun. Keep the soil lightly moist – not soggy, but never completely dry. You’re aiming for that feeling of a damp sponge.
You should start to see signs of new growth in a few weeks to a couple of months. Patience is key here!
If you encounter problems, the most common culprit is rot. This usually happens if the soil is staying too wet. You might see mushy, dark corms. If you catch it early, you can try removing the affected corm and improving drainage around the others. Sometimes, a bit of yellowing on the leaves can just be a sign of natural settling in, so don’t panic too quickly.
A Encouraging Closing
Watching those first little green shoots emerge is incredibly satisfying. Remember, gardening is a journey, and propagation is a wonderful way to connect with your plants. Be patient, enjoy the process, and soon you’ll have even more of these delightful marsh gladioli to brighten your landscape. Happy planting!
Resource:
https://identify.plantnet.org/k-world-flora/species/Gladiolus%20palustris%20Gaudin/data