Hello there, fellow garden enthusiasts!
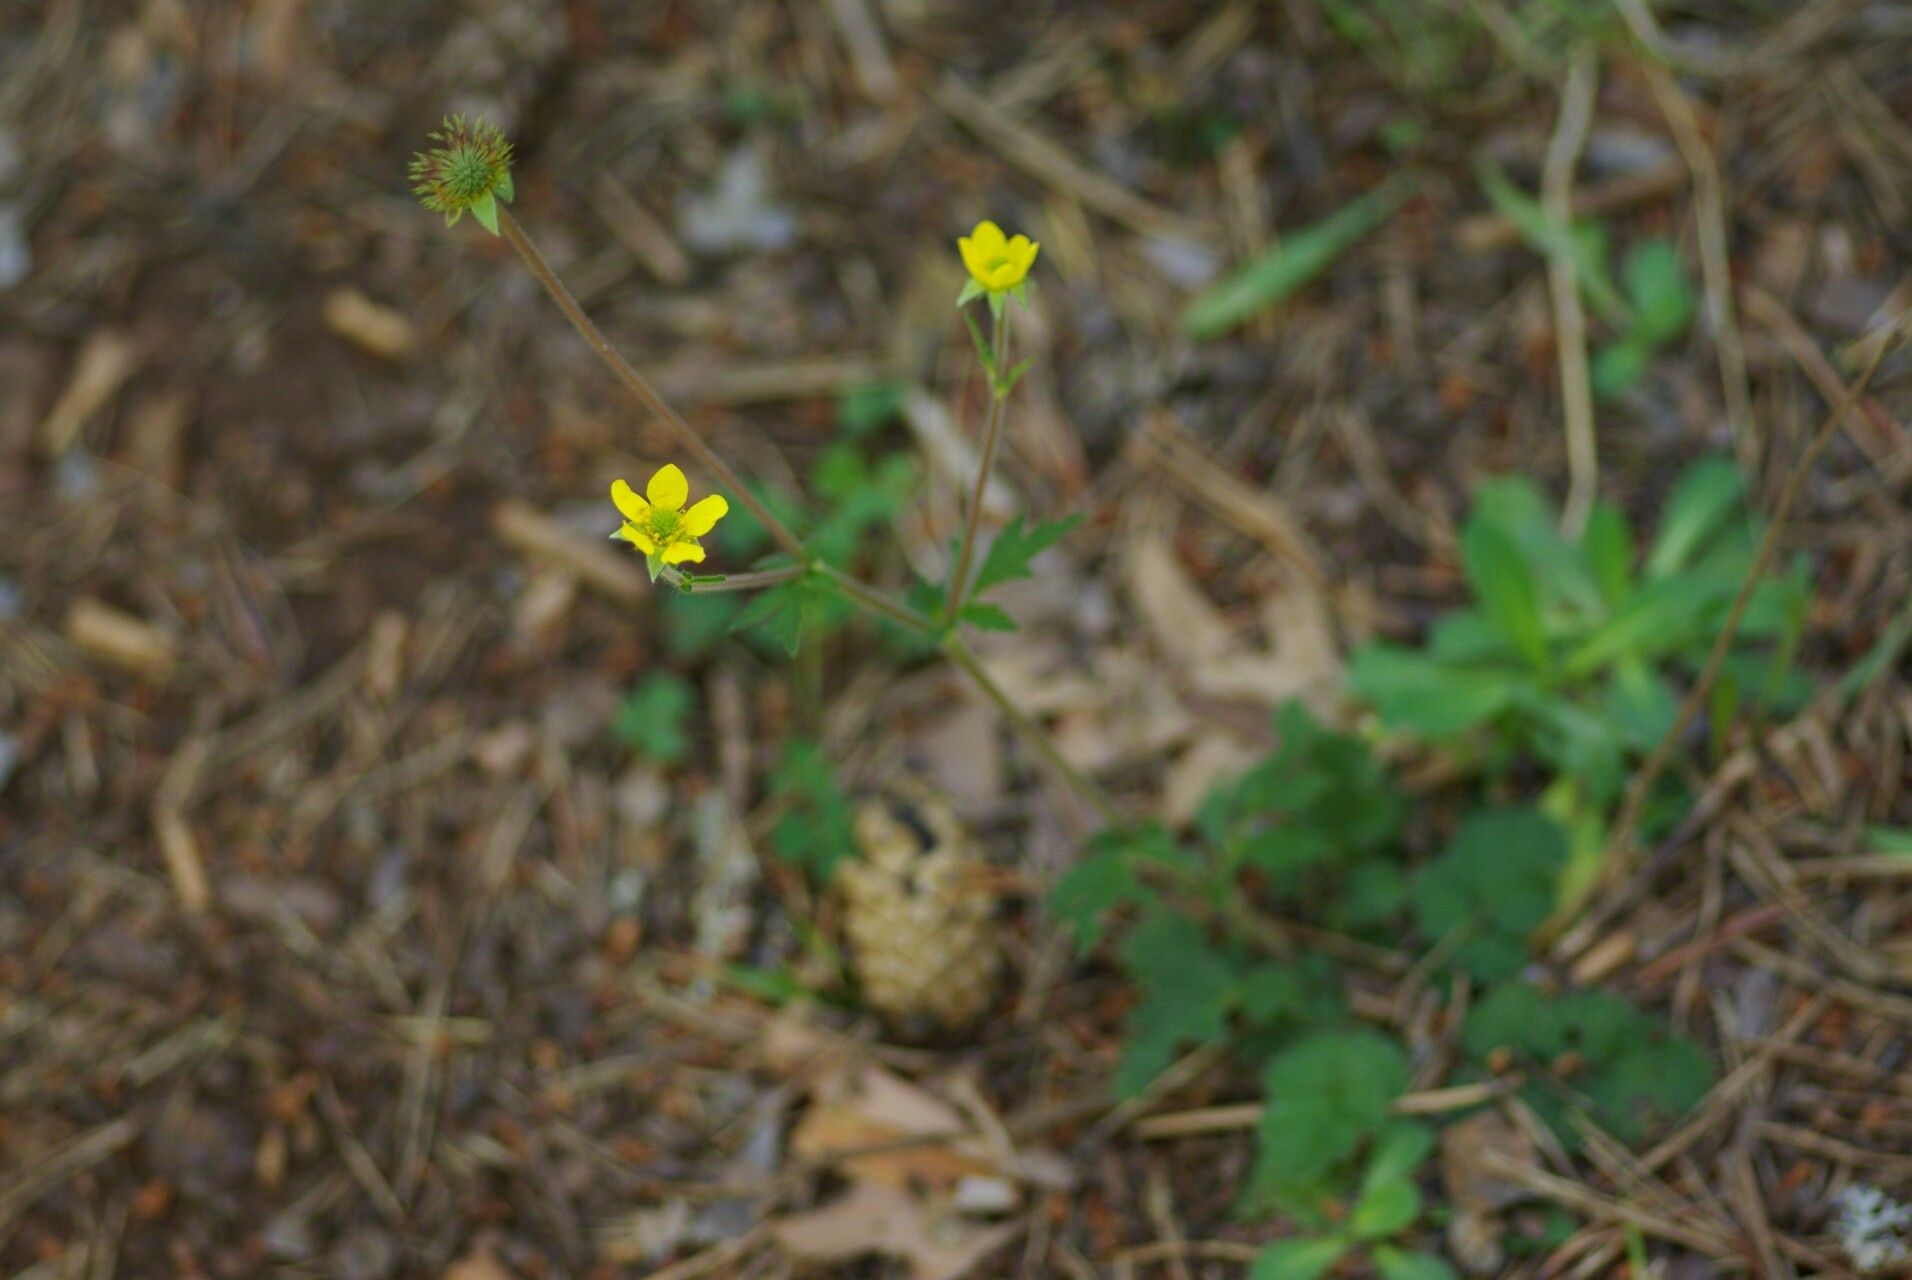
Today, we’re diving into the wonderful world of propagating Geum hispidum, often called the bristly avens. If you’ve ever admired its charming, bright flowers, usually in shades of orange or yellow, and its delightfully fuzzy foliage, you know how much joy it can bring to a garden border or even a container. The best part? Bringing more of these beauties into your life through propagation is incredibly rewarding. And for those wondering, Geum hispidum is generally a quite user-friendly plant to propagate, making it a fantastic option for beginners and seasoned gardeners alike.
The Best Time to Start
My very favorite time to get propagating is in the late spring or early summer, just as the plant is in full swing with its growth spurt. This is when the stems are typically at their most vigorous and have plenty of energy to put into developing new roots. Waiting until after the main flush of flowering can also be a good time, as the plant will have stored up some reserves.
Supplies You’ll Need
Gathering your tools beforehand makes the whole process so much smoother. Here’s what I usually have on hand:
- Sharp, clean pruning shears or a sharp knife: For making clean cuts.
- Rooting hormone (optional but recommended): Helps encourage faster and stronger root development.
- Starting mix or a well-draining potting soil: A 50/50 blend of peat moss and perlite is excellent.
- Small pots or seed trays with drainage holes: For housing your new baby plants.
- A watering can with a fine rose or a spray bottle: For gentle watering.
- Labels or plant markers: So you don’t forget what you planted where!
- A plastic bag or a propagation dome: To create a humid environment.
Propagation Methods
For Geum hispidum, I find two methods work particularly well: stem cuttings and division.
Stem Cuttings
This is my go-to for increasing my collection quickly.
- Take your cuttings: Using your clean shears, select a healthy, non-flowering stem from your parent plant. Aim for cuttings that are about 4-6 inches long. Make your cut just below a leaf node (that little bump where a leaf emerges from the stem).
- Prepare the cuttings: Gently remove the lower leaves from the cutting, leaving just a couple of leaves at the top. This prevents the leaves from rotting when they’re in the soil or water. If the leaves are quite large, I’ll even trim them in half to reduce transpiration.
- Apply rooting hormone (optional): Dip the cut end of the stem into your rooting hormone powder or gel, tapping off any excess.
- Plant your cuttings: Fill your small pots or trays with your starting mix. Make a small hole in the soil with your finger or a pencil, and gently insert the cut end of the stem. Firm the soil gently around the cutting.
- Provide humidity: Water the soil gently. Then, cover the pot or tray with a plastic bag or a propagation dome to create a humid microclimate. Remove the bag for a bit each day to allow for air circulation.
- Find a warm spot: Place the pots in a bright spot out of direct sunlight. A heated propagator mat can speed things up considerably!
Division
This is a fantastic method for larger, established plants.
- Dig up the plant: In the early spring or fall, carefully dig up your Geum hispidum plant. You want to get as much of the root ball as possible.
- Separate the divisions: Gently shake off excess soil so you can see the root structure. You should be able to see natural divisions in the plant – clumps with their own crowns and roots. Using your hands or a sharp knife, carefully pull or cut the plant into smaller sections. Each division should have at least a few stems and a good amount of roots.
- Replant immediately: Plant the divisions into their new homes, whether that’s back in the garden or into pots. Water them well.
The “Secret Sauce” (Pro Tips)
Here are a few little tricks I’ve learned over the years that really make a difference:
- Don’t let the leaves touch the water (if water propagating): While I prefer soil propagation for Geum hispidum, if you find yourself experimenting with water for some reason, ensure the leaves are well above the water level. Submerged leaves will rot and invite disease, a sure way to kill your cutting before it even gets a chance.
- Bottom heat is your friend: For cuttings, using a propagator with a heated base can significantly speed up root formation. It mimics the warmth of spring and encourages those roots to get a move on. Keep the soil temperature around 70-75°F (21-24°C).
- Be patient with the roots: Don’t be tempted to yank on your cuttings to check for roots too soon! It can take anywhere from 3-6 weeks for Geum hispidum cuttings to root sufficiently. A gentle tug is more reliable – if there’s resistance, you likely have roots.
Aftercare & Troubleshooting
Once your cuttings have developed a good set of roots (you’ll see them peeking out of the drainage holes or feel resistance when gently tugging), it’s time for them to graduate.
Gradually acclimatize your new plants to drier conditions by removing the plastic bag for increasing periods over a few days. Then, you can pot them up into individual, slightly larger pots with a good all-purpose potting mix. Keep them watered, but don’t let them sit in soggy soil.
The most common problem I see is rot. This usually happens due to overwatering or poor drainage. If you notice your cuttings looking mushy and discolored, it’s likely rot. Unfortunately, there’s not much you can do once rot sets in, so it’s a matter of learning from it and adjusting your watering or soil mix for next time.
A Little Encouragement
Propagating plants is such a wonderful way to connect with nature and expand your garden. Don’t be discouraged if your first few attempts aren’t perfect. Gardening is all about learning and experimenting. So, grab your tools, get your hands dirty, and enjoy the process of coaxing these beautiful Geum hispidum plants into existence. Happy gardening!
Resource:
https://identify.plantnet.org/k-world-flora/species/Geum%20hispidum%20Fr./data