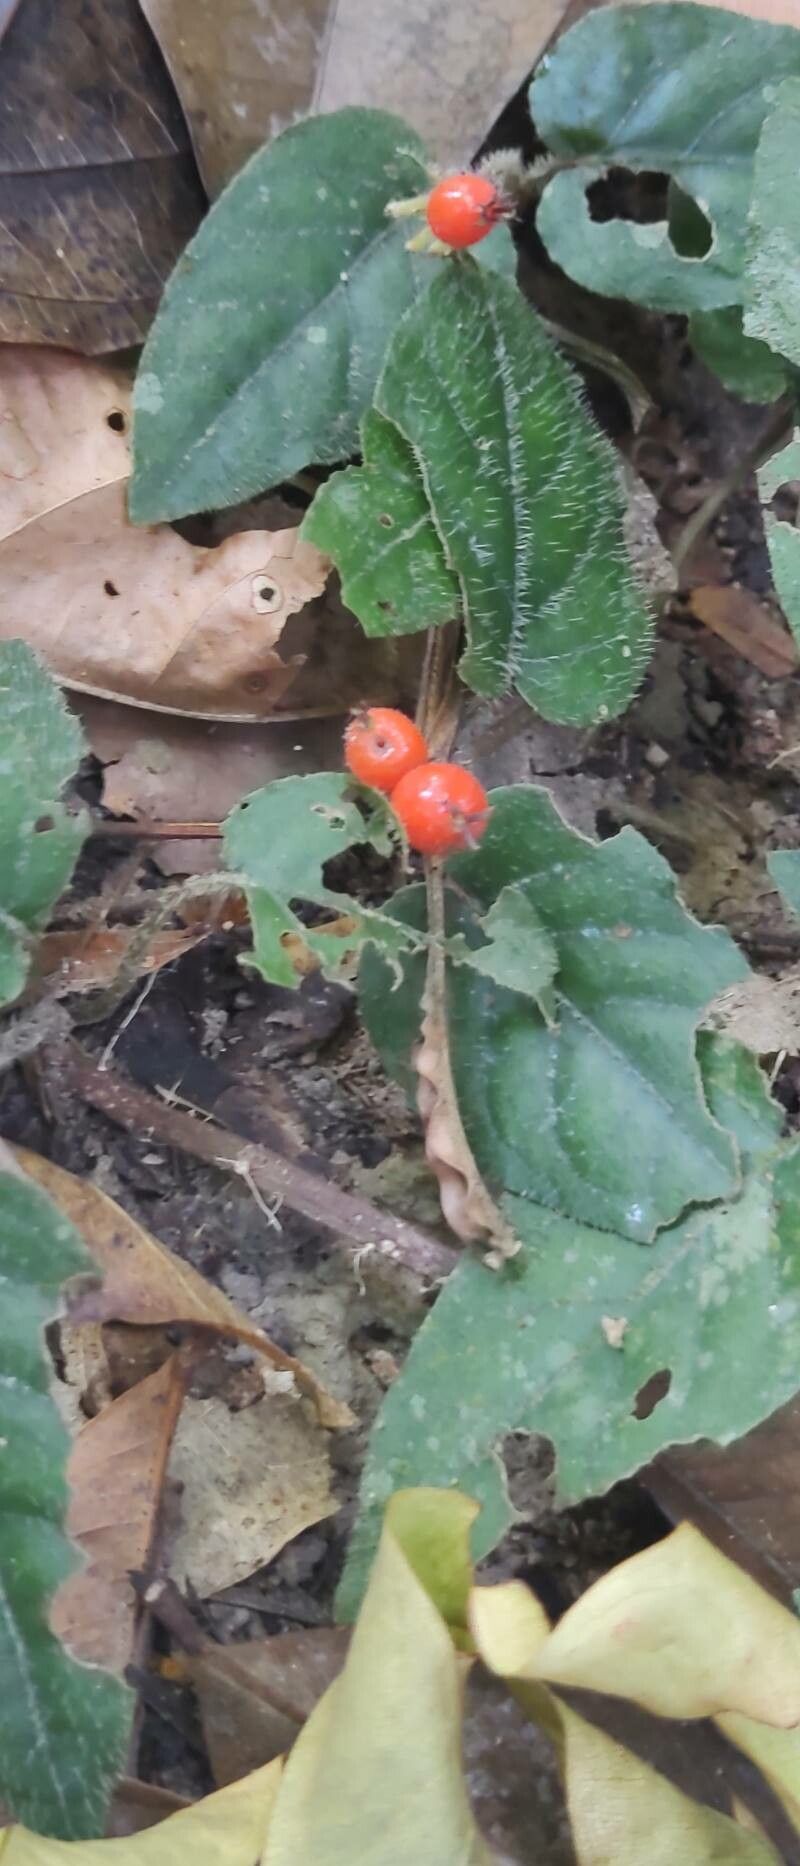
Oh, Geophila cordifolia! What a delightful little plant. If you’re looking for a groundcover that’s not only gorgeous but also ridiculously easy to propagate, you’ve hit the jackpot. Its heart-shaped leaves are like tiny emerald jewels, and watching them spread and multiply brings such satisfaction. Don’t worry if you’re new to this; Geophila cordifolia is incredibly forgiving and a fantastic plant to start your propagation journey with.
The Best Time to Start
Honestly, you can propagate Geophila cordifolia most of the year, but spring and early summer are your golden ticket. This is when the plant is actively growing and has the most energy to dedicate to making new roots. Aim for when your plant is looking lush and vigorous, not stressed from extreme heat or cold.
Supplies You’ll Need
Here’s what you’ll want on hand:
- Sharp, clean pruning shears or a knife: For making clean cuts.
- Well-draining potting mix: A good base of coco coir, perlite, and a little bit of compost is perfect.
- Small pots or trays: Whatever you have will work, just make sure they have drainage holes.
- Rooting hormone (optional but helpful): Especially if you’re a bit nervous about root development.
- Watering can or spray bottle: For gentle watering.
- Plastic bag or humidity dome (optional): To keep things cozy and moist.
Propagation Methods
Geophila cordifolia is a champ at multiplying, and the easiest way is usually by stem cuttings.
- Find a healthy stem: Look for a non-flowering stem that’s at least a few inches long and has several healthy leaves.
- Make the cut: Using your clean shears, cut the stem just below a leaf node. This is where roots are most likely to emerge. You can take multiple cuttings from one healthy plant.
- Prepare the cutting: Gently remove the lower leaves from the cutting, leaving just a couple of leaves at the very tip. This prevents them from rotting once planted.
- Dip in rooting hormone (if using): Lightly dip the cut end into your rooting hormone powder, tapping off any excess.
- Plant the cutting: Gently insert the cut end into your prepared potting mix. Make sure the node where you removed the leaves is just below the soil surface.
- Water gently: Water the potting mix thoroughly but without dislodging the cutting.
Division is another super simple method, especially if your plant has become a bit crowded in its pot.
- Gently remove the plant: Carefully take your Geophila cordifolia out of its pot. You might need to loosen the soil around the edges.
- Separate the roots: Gently tease apart the root ball to reveal individual sections or clumps. You’re looking for sections that have their own roots and a few stems.
- Pot them up: Plant these divided sections into their own pots filled with fresh potting mix.
- Water well: Give them a good drink after planting.
The “Secret Sauce” (Pro Tips)
Here are a few little tricks I’ve picked up over the years:
- Don’t get the leaves wet when watering: After planting your cuttings, it’s best to water the soil directly. If leaves get waterlogged, they tend to get mushy and rot before roots form. A spray bottle of water aimed at the soil is your friend here.
- Ambien’t heat is your friend: Geophila cordifolia loves warmth to get its roots going. If your home is a bit on the cooler side, placing your pots on a seed-starting mat that provides gentle bottom heat can really speed things up. You’ll be surprised how much difference it makes!
- Patience is a virtue, but observation is key: For stem cuttings, I always give them a very gentle tug after a few weeks. If you feel resistance, congratulations! You’ve got roots. If it pulls out easily, give it a little more time.
Aftercare & Troubleshooting
Once your cuttings have developed roots (you might see them peeking out of the drainage holes or feel that resistance when tugging), they’re ready for a bit more regular care. Continue to water when the top inch of soil feels dry. You can gradually introduce them to slightly brighter light, but avoid direct sun initially.
The most common issue you might encounter is rot. This usually happens if the soil stays too wet for too long or if the leaves are constantly damp. If you see a cutting going black and mushy, it’s usually a sign of overwatering. Don’t be disheartened! Just remove the affected cutting and check the moisture levels of your other propagation attempts. Sometimes, a cutting might just fail to root, and that’s okay too. Nature has a way of selecting the strongest.
A Encouraging Closing
See? Propagating Geophila cordifolia is a wonderfully rewarding little project. It’s a chance to connect with your plants on a deeper level and to multiply the beauty in your garden or home. Be patient with the process, enjoy watching those tiny roots emerge, and remember that every gardener, no matter how experienced, has had cuttings that didn’t make it. So, go ahead, grab those shears, and happy propagating!
Resource:
https://identify.plantnet.org/k-world-flora/species/Geophila%20cordifolia%20Miq./data