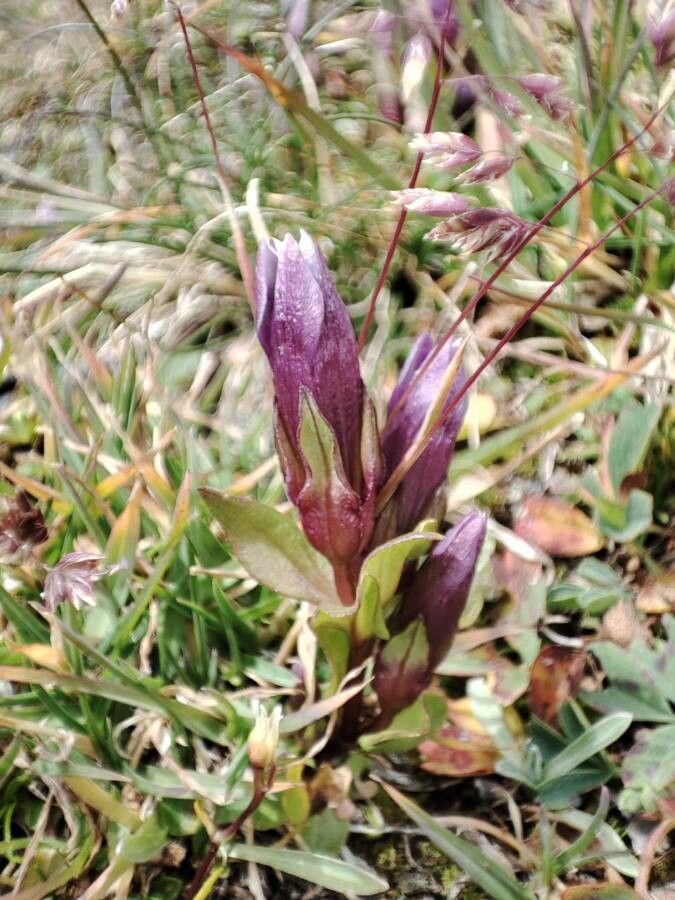
Oh, hello there! Let’s chat about growing your own Gentianella amarella, or as many of us affectionately call it, the Autumn Gentian. Isn’t it just a darling? Those vibrant blue blooms that show up just as the garden is starting to think about winding down are such a welcome sight. They bring a splash of jewel-toned joy to those late-season days. Propagating them feels like a real accomplishment, a way to extend that beauty year after year. Now, I won’t sugarcoat it – Gentianella amarella can be a little trickier than your average petunia, but don’t let that deter you! With a bit of patience and the right approach, you’ll be rewarded with a whole patch of these beauties.
The Best Time to Start
For the very best success, I always recommend propagating your Autumn Gentian from seed. The ideal time to sow them is right after you harvest them in late summer or early autumn. They actually benefit from a period of cold stratification, which is nature’s way of telling them it’s time to wake up and grow. So, sowing them directly outdoors in a prepared seedbed or in pots that you can leave outside over winter is usually the way to go. If you’re looking to take cuttings, then late spring or early summer, just as the plant is actively growing but before it gets too hot, is your window.
Supplies You’ll Need
Gathering your supplies makes the whole process smoother! Here’s what I usually have on hand:
- Sterile seed-starting mix: You want something light and airy that drains well. Avoid heavy garden soil.
- Small pots or seed trays: Clean ones are key to preventing disease.
- Sharp pruning shears or a clean knife: For taking cuttings.
- Rooting hormone (optional, but helpful for cuttings): I find it gives cuttings a little boost.
- A misting bottle: For keeping cuttings and seedlings hydrated without disturbing them.
- Plastic wrap or a propagation dome: To create a humid environment for cuttings.
- Gravel or grit: For added drainage in pots.
- Labels and a waterproof marker: Don’t forget what you’ve planted!
Propagation Methods
Let’s get our hands dirty!
From Seed (My Preferred Method!)
- Harvest Seeds: As soon as the seed pods on your Gentianella amarella start to dry and turn brown in late summer/early autumn, carefully collect them.
- Prepare Your Pots: Fill your pots or trays with your sterile seed-starting mix.
- Sow: Gently scatter the tiny seeds over the surface of the mix. Don’t bury them too deeply; they need light to germinate. A light dusting of the mix or vermiculite is all they need.
- Water Gently: Use your misting bottle to lightly moisten the surface. You don’t want to wash the seeds away.
- Stratify: Now, the crucial step for autumn sowing: leave the pots outdoors in a sheltered spot. The frost and cold will do their magic. You can also put them in an unheated greenhouse or cold frame.
- Germination: In spring, as the weather warms up, you should see tiny seedlings emerge.
From Cuttings (A Bit More Fiddly)
- Take Cuttings: In late spring or early summer, select healthy, non-flowering shoots from your parent plant. Using your sharp shears, take cuttings that are about 2-3 inches long. Make a clean cut just below a leaf node.
- Prepare the Cuttings: Gently remove the lower leaves. If you’re using rooting hormone, dip the cut end into it according to the product instructions.
- Potting Up: Fill small pots with your well-draining seed-starting mix. Make a small hole with a pencil or your finger.
- Insert Cuttings: Carefully insert the cuttings into the holes, ensuring the leaf nodes are below the surface of the soil. Gently firm the soil around them.
- Create Humidity: Water lightly and then cover the pots with plastic wrap or a propagation dome. This creates a mini-greenhouse effect.
- Location: Place the pots in a bright, indirect light location. Avoid direct sun, which can scorch the tender cuttings.
The “Secret Sauce” (Pro Tips)
As I’ve learned over the years, a few little tricks can make a big difference with these delicate plants.
- Here’s a big one for cuttings: ensure no leaves are touching the water or the soil surface if you’re using a water propagation method (though I don’t recommend it for Gentianella amarella as they can easily rot). For potted cuttings, if any leaves dip into any standing water, they’ll likely rot. Keep them up and away!
- For seeds, consider a “winter sowing” technique. This involves sowing seeds in used plastic milk jugs or soda bottles. You cut them in half, fill the bottom with your seed mix, sow the seeds, lightly water, and then tape the top back on. Place them in a sunny spot (not direct scorching sun) outdoors and they’ll germinate when conditions are right. It’s a fantastic, low-effort way to give them that necessary cold period.
Aftercare & Troubleshooting
Once your seedlings are a bit bigger or your cuttings have rooted (you’ll see new growth!), it’s time for more careful attention.
- Hardening Off: If you started seeds or cuttings indoors, you’ll need to gradually acclimatize them to outdoor conditions before planting them out permanently. Do this over a week or two, starting with a few hours a day in a shaded, sheltered spot.
- Watering: Keep the soil consistently moist, but not waterlogged. Overwatering is the quickest way to invite root rot, which is the most common problem.
- Signs of Trouble: Look out for wilting, yellowing leaves, or a mushy stem, which are all indicators of rot. If you see this, it’s often too late to save the plant, but you can try to salvage any healthier parts if possible and start again. Ensure good air circulation around your germinating seeds and cuttings.
A Little Patience Goes a Long Way
Growing Gentianella amarella is a journey, and like any good garden project, it’s about the process and the learning. Don’t be discouraged if your first attempt isn’t perfect. Keep experimenting, enjoy the anticipation of that first tiny seedling, and celebrate every bit of success. Happy gardening!
Resource:
https://identify.plantnet.org/k-world-flora/species/Gentianella%20amarella%20(L.)%20Börner/data