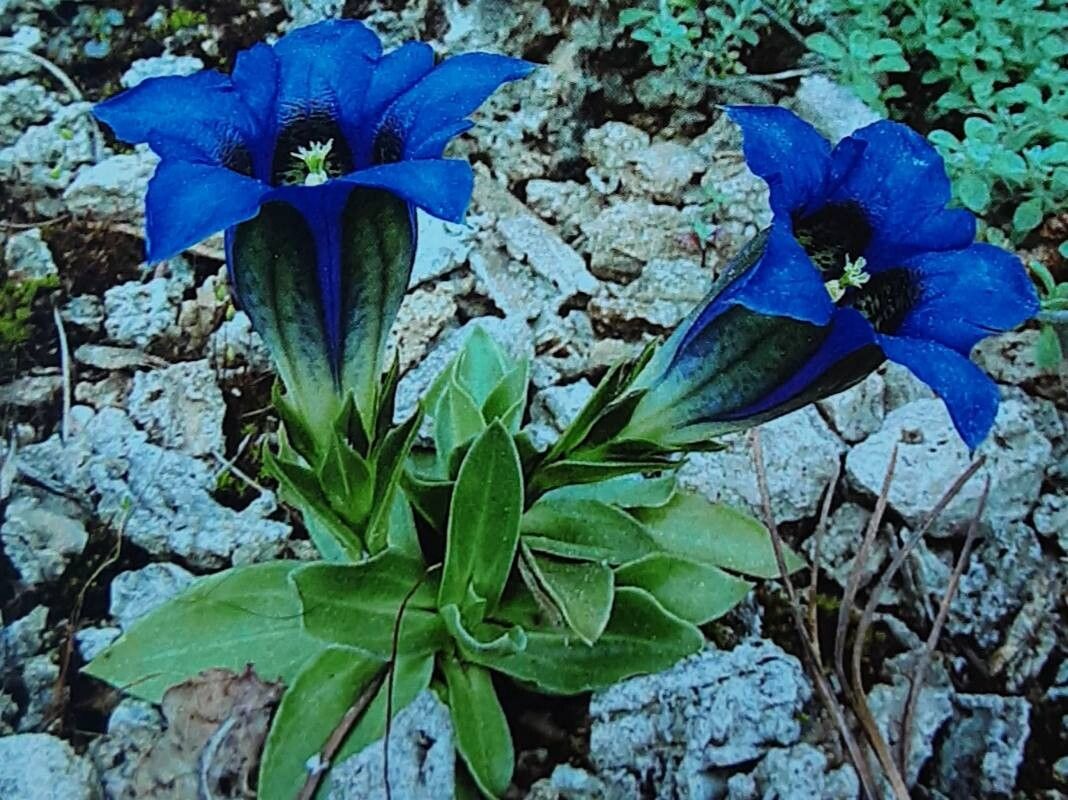
Well hello there, fellow garden enthusiasts! Today, we’re going to dive into the wonderful world of Gentiana ligustica, or as many of us fondly call it, the Ligurian Gentian. If you’ve ever been captivated by its vibrant, often electric blue, trumpet-shaped blooms, you know they’re a real showstopper. Growing them from seed can be a bit fiddly, but propagating them from cuttings or divisions? That’s where the real magic happens, and I promise, it’s a deeply rewarding process to witness new life springing from your favorite plants. Now, is it easy for a complete beginner? Honestly, Gentians can be a tad demanding. They appreciate specific conditions, so a little care and attention are key. But don’t let that deter you – with a few well-chosen techniques, you can absolutely succeed!
The Best Time to Start
For Gentiana ligustica, the sweet spot for propagation is generally in late spring to early summer. This is when the plant is actively growing and has plenty of fresh, pliable stems. It’s also a good time because the days are getting longer, giving those young cuttings the light they need to develop. If you’re considering division, then early spring, just as growth is starting, is ideal. This gives the plant a chance to recover and establish before the heat of summer sets in.
Supplies You’ll Need
Gathering your tools beforehand makes the whole process so much smoother. Here’s what I usually have on hand:
- Sharp pruning shears or a clean, sharp knife: For making clean cuts.
- Small propagation pots or trays: With good drainage is a must.
- A suitable potting mix: I like a well-draining blend. A good starting point is equal parts peat moss or coir, perlite, and coarse sand. Some seasoned gardeners also swear by a tiny bit of horticultural charcoal mixed in to help prevent fungal issues.
- Rooting hormone (optional but recommended): Especially for cuttings. Look for one that’s specifically for stem cuttings.
- A watering can with a fine rose: For gentle watering.
- Labels and a marker: To keep track of what you’ve planted and when.
- A plastic bag or propagation dome: To create a humid environment.
Propagation Methods
Let’s get our hands dirty! Here are two reliable ways to multiply your Gentians.
1. Stem Cuttings: This is my go-to for Gentiana ligustica.
- Select your material: Look for healthy, non-flowering shoots that are about 3-4 inches long. They should be firm but still a bit flexible. Avoid woody or very soft, new growth.
- Make the cut: Using your clean shears or knife, make a clean cut just below a leaf node. This is where new roots are most likely to form.
- Prepare the cutting: Gently remove the lower leaves, leaving just a couple at the top. If the leaves are quite large, you can even snip them in half to reduce water loss.
- Dip in rooting hormone (optional): Lightly moisten the cut end and dip it into your rooting hormone powder, tapping off any excess.
- Plant the cutting: Fill your pots with your prepared potting mix. Make a small hole in the center with a pencil or your finger. Insert the cutting, ensuring the leaf nodes are below the surface.
- Firm the soil: Gently firm the soil around the cutting.
- Water gently: Water thoroughly but carefully so you don’t dislodge the cuttings.
- Create humidity: Place the pots inside a plastic bag, sealed with a twist tie or rubber band, or cover them with a propagation dome. This creates a mini-greenhouse effect. Place them in a bright spot but out of direct sunlight.
2. Division: This method is best done with established plants.
- Timing is key: As I mentioned, early spring is the ideal time.
- Gently excavate: Carefully dig up the established Gentian. You want to disturb the roots as little as possible.
- Inspect and separate: Gently separate the root ball into smaller sections. Look for clumps that have their own healthy roots and shoots. You can often do this by hand, but if it’s a bit tough, a clean trowel or even sterile knife can help.
- Replant immediately: Plant each division into its own pot or directly into the garden in a well-prepared spot. Ensure the crown of the plant is at soil level.
- Water well: Water each division thoroughly to help settle the soil and reduce transplant shock.
The “Secret Sauce” (Pro Tips)
After years in the soil, a few little tricks have really made a difference for me.
- Think “airy, not soggy”: Gentians absolutely hate sitting in wet feet. When I’m doing cuttings, I make sure my potting mix is super light and drains like a sieve. If it feels heavy or damp, add more perlite or sand. This is probably the single biggest factor in preventing rot.
- The magic of bottom heat: For stem cuttings, especially if your home is a bit cooler, providing gentle bottom heat can significantly speed up root development. A seedling heat mat placed under your propagation tray can work wonders. Just make sure it’s set to a low temperature, nothing too hot.
- Don’t disturb too soon: Resist the urge to poke and prod at your cuttings to see if they have roots! Wait until you see clear, healthy new growth emerging from the top. This is your best indicator that roots have formed.
Aftercare & Troubleshooting
Once you see new leaves unfurling on your cuttings, you’re on your way!
- Acclimatize: Gradually introduce your rooted cuttings to normal room conditions. Open the plastic bag or dome for increasing periods each day over a week.
- Gentle watering: Continue to water regularly, but always allow the top inch of soil to dry out slightly between waterings.
- Transplanting: Once the new plants have developed a good root system (you can often see roots peeking out of the drainage holes), you can carefully transplant them into slightly larger pots. At this stage, you can begin to feed them with a diluted, balanced liquid fertilizer every few weeks during the growing season.
What if things go wrong? The most common culprit with Gentian propagation is rot. If your cuttings look soft, mushy, or turn black at the base, it’s usually a sign of overwatering or poor drainage. If this happens, remove the affected cutting immediately to prevent it from spreading. Clean your pot thoroughly. Sometimes, even with the best care, things just don’t take. Don’t get discouraged! Nature has a way of being unpredictable sometimes.
A Little Patience Goes a Long Way
So there you have it – a step-by-step guide to propagating your own Ligurian Gentians. Remember, gardening is as much about the journey as it is about the destination. Be patient with your new plants, enjoy the process of nurturing them, and soon you’ll be rewarded with those stunning blue blooms. Happy propagating!
Resource: