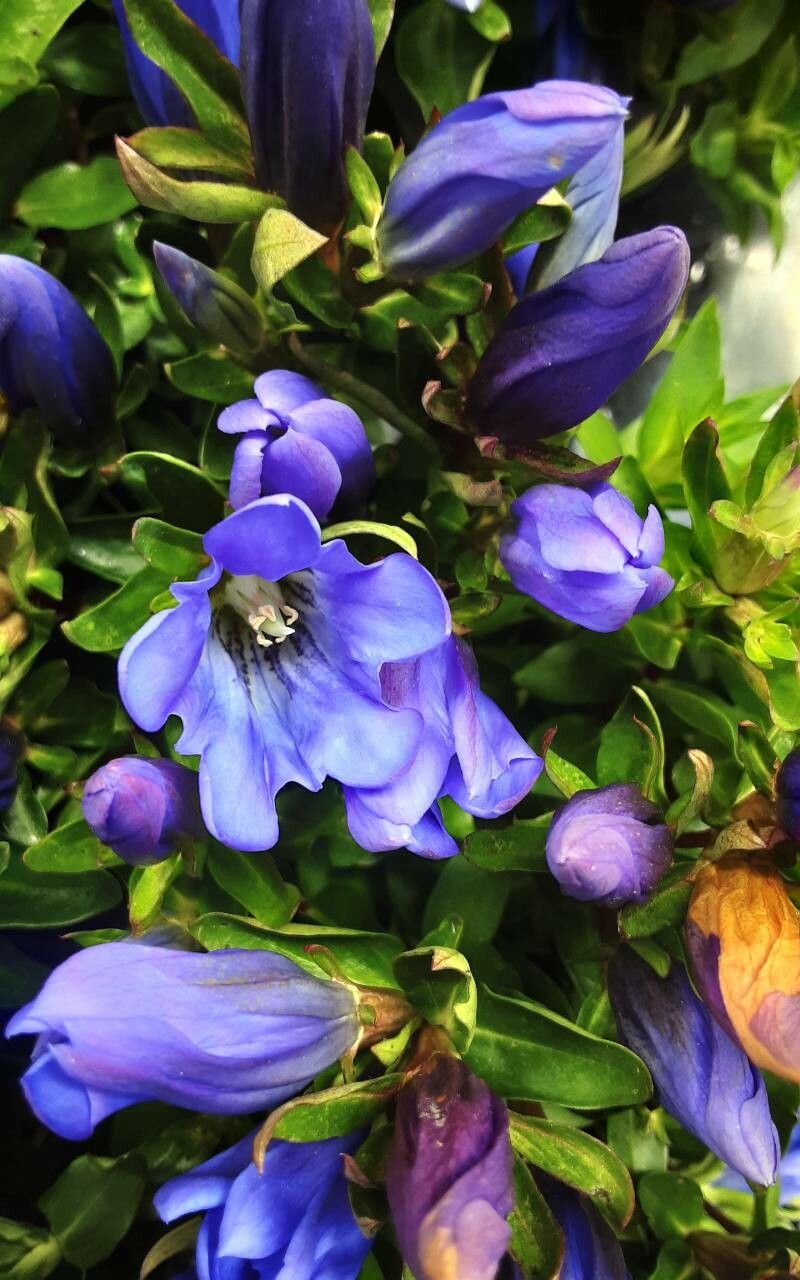
Hello, fellow plant lovers! I’m so glad you’ve stopped by. Today, we’re diving into the wonderful world of Gentiana calycosa, also known as the California Gentian. If you’ve ever spotted those stunning, trumpet-shaped, sky-blue blooms gracing a garden or a wild hillside, you know exactly why this plant is so captivating. Bringing that bit of alpine magic into your own space is a truly rewarding endeavor. Now, I’ll be honest – propagating these beauties isn’t quite as straightforward as potting up a petunia. It requires a bit of patience and a few specific techniques. But don’t let that deter you! With a little know-how, you’ll be well on your way to multiplying these treasures.
The Best Time to Start
For Gentiana calycosa, the sweet spot for propagation is late spring to early summer, just as the plant is finishing its main flush of blooming or is actively growing new shoots. This is when the plant has plenty of energy to put into developing new roots. Waiting until after the most intense flowering period ensures the parent plant isn’t stressed and has reserves to share.
Supplies You’ll Need
Gathering your tools beforehand makes the whole process smoother. Here’s what I usually have on hand:
- Sterile potting mix: A mix that drains exceptionally well is crucial. I often use a blend of equal parts peat moss, perlite, and compost. Some people find a gritty mix works even better.
- Sharp, clean pruners or a sharp knife: For making clean cuts. Sterilize them with rubbing alcohol between each cut to prevent disease spread.
- Small pots or propagation trays: Clean ones, of course!
- Rooting hormone (optional but recommended): A powdered hormone can give cuttings a boost.
- Plastic bags or a propagation dome: To create a humid environment.
- Watering can or spray bottle: For gentle watering.
- Labels: To keep track of what you’re propagating and when!
Propagation Methods
Gentiana calycosa can be a bit particular, but stem cuttings are generally the most successful and reliable method for home gardeners.
Stem Cuttings:
- Select healthy stems: Look for new, but not too soft, growth from your established plant. You want stems that are semi-hardwood – they should snap cleanly when bent gently, not be floppy or woody.
- Take your cuttings: Using your sterilized pruners, make a cut just below a leaf node (where a leaf attaches to the stem). Aim for cuttings that are about 3-4 inches long. Remove the lower leaves, leaving just two or three at the top.
- Apply rooting hormone (if using): Dip the cut end of the stem into the rooting hormone, tapping off any excess.
- Pot the cuttings: Gently insert the cut end of each cutting into your prepared, moistened potting mix. Make sure the leaf nodes you removed are below the soil surface, as that’s where roots will form.
- Create a humid environment: Lightly water the soil. Then, cover the pots with a clear plastic bag, propped up so the leaves don’t touch the plastic, or place them under a propagation dome. This traps humidity, which is vital for cuttings to root.
- Place in bright, indirect light: Find a spot that receives plenty of light but no direct sun, which can scorch the delicate cuttings.
- Maintain moisture: Keep the soil consistently moist but not soggy. Mist the leaves occasionally if they look a little wilted.
The “Secret Sauce” (Pro Tips)
Over the years, I’ve learned a few tricks that seem to make all the difference for fussy plants like gentians.
- Bottom heat is your friend: Gentians often root more readily when their roots are kept slightly warmer than the air temperature. A heated propagation mat can significantly speed up the rooting process and increase success rates.
- Don’t overwater, but don’t let them dry out: This is a delicate balance. The goal is consistently damp soil. If the potting mix becomes waterlogged, your cuttings are far more likely to rot. If it dries out completely, they’ll just shrivel up. Check the moisture daily by gently poking a finger into the soil.
- Be patient and observe: Gentians can be slowpokes! Don’t be discouraged if you don’t see signs of rooting for several weeks. Keep an eye out for any new leaf growth at the tip of the cutting, which is a good indicator that roots are forming.
Aftercare & Troubleshooting
Once you see signs of new growth – little leaves emerging from the tip or along the stem – you’re on your way!
- Acclimate them: Gradually remove the plastic bag or dome over a week or so to get your new plants used to normal humidity levels.
- Careful watering: Continue to keep the soil moist. As they grow, you can start watering them slightly less often, allowing the top inch of soil to dry out between waterings.
- Transplanting: Once the new plants have developed a good root system (you might see roots emerging from the drainage holes), you can carefully transplant them into individual, slightly larger pots with a well-draining soil mix.
- Troubleshooting: The most common problem you’ll encounter is rot. This is usually a sign of overwatering or poor drainage. If a cutting looks mushy or dark and shrivelled, it’s likely rotted and best discarded. Another sign of failure is if the cuttings simply wilt and dry out completely, which usually means they didn’t get enough humidity or the soil dried out too much.
A Encouraging Closing
Propagating Gentiana calycosa is a journey. There will be moments of doubt, I promise! But the thrill of seeing those tiny, new plants take hold, knowing you’ve nurtured them from a simple cutting, is truly immeasurable. Embrace the process, learn from each attempt, and most importantly, enjoy the quiet satisfaction of growing something beautiful. Happy gardening!
Resource:
https://identify.plantnet.org/k-world-flora/species/Gentiana%20calycosa%20Griseb./data