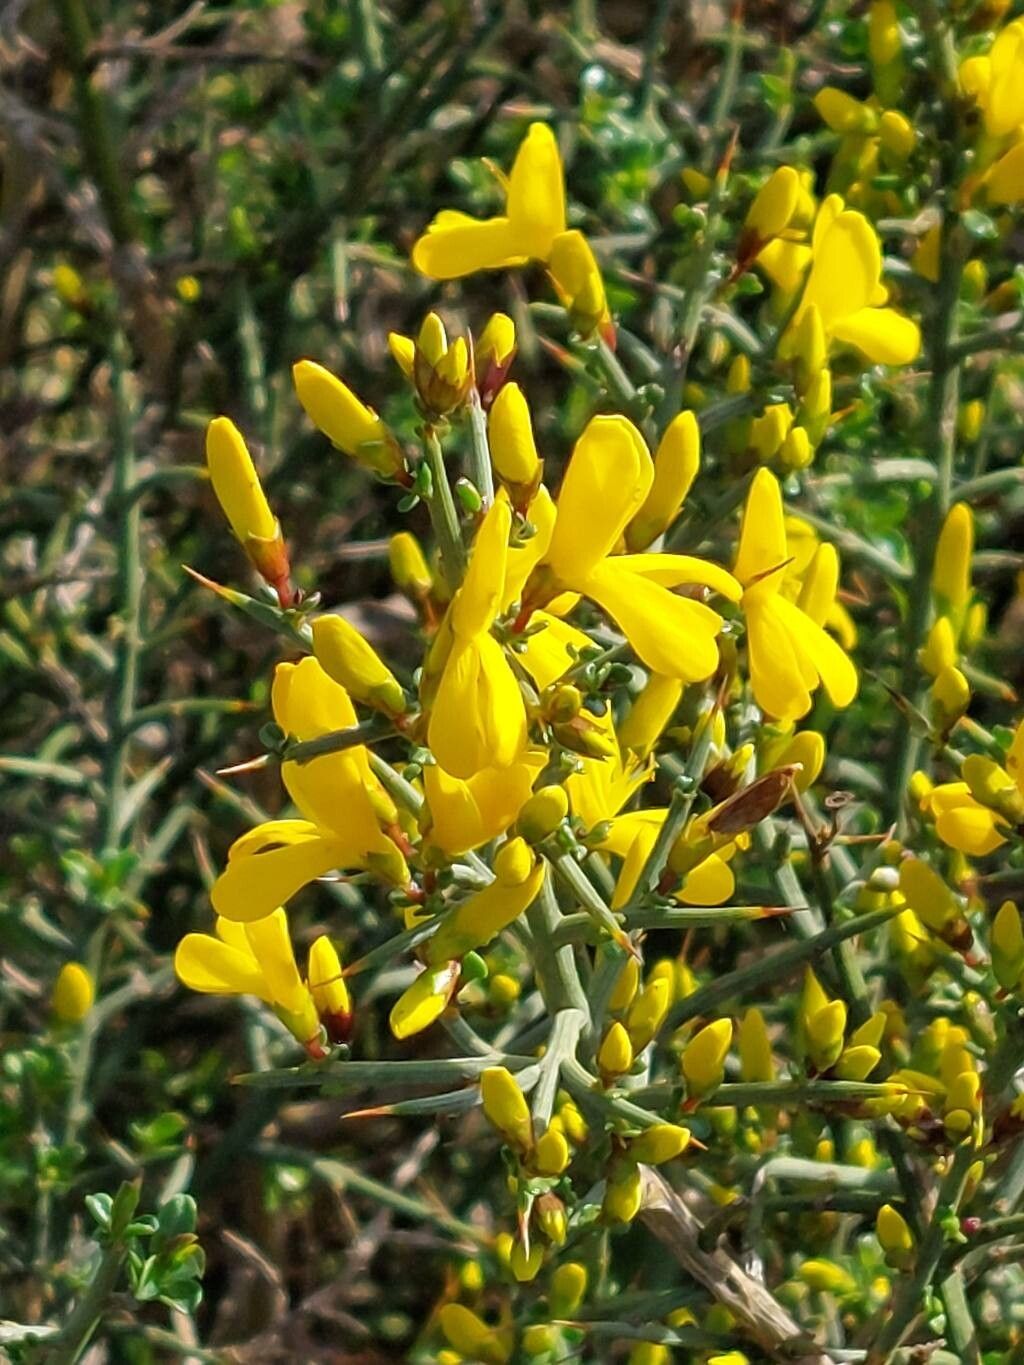
Hello fellow plant lovers! I’m so excited to chat with you today about a truly special gem: Genista corsica, or Corsican broom. If you’re looking for a splash of vibrant yellow and a beautifully fragrant addition to your garden, this is it. Its delicate, cascading blooms and lovely scent have won over many hearts, including mine. And the best part? Sharing that beauty by propagating your own plants is incredibly rewarding. Now, is it a breeze for absolute beginners? Honestly, it can be a little fussy, but with a little focused attention, you’ll be well on your way to success. Don’t let that deter you!
The Best Time to Start
My go-to season for propagating Genista corsica is late spring to early summer. When the plant is actively growing, but before it gets too hot and stressed, that’s when those cuttings are most eager to root. Think of it as catching them in their prime, full of youthful energy and ready to embark on their own gardening adventure.
Supplies You’ll Need
Here’s what I like to have on hand before I get started:
- Sharp, sterilized pruning shears or a sharp knife. Cleanliness is key!
- A well-draining potting mix. I often mix equal parts perlite, horticultural sand, and a good quality seed-starting mix.
- Small pots or seed trays with drainage holes.
- Rooting hormone (powder or gel) – this really gives those cuttings a boost.
- Clear plastic bags or a propagation lid to create a mini-greenhouse.
- A Dibber or a pencil to make planting holes.
- A watering can or spray bottle for gentle watering.
Propagation Methods
The most reliable way to multiply your Corsican broom is through stem cuttings. Here’s how I do it:
- Take Cuttings: In late spring or early summer, find healthy, non-flowering stems on your mature plant. Using your sterilized shears, cut pieces about 4-6 inches long. Make your cut just below a leaf node (where a leaf attaches to the stem).
- Prepare the Cuttings: Gently remove the leaves from the bottom half of each cutting. This prevents them from rotting once planted.
- Dip in Rooting Hormone: Dip the cut end of each stem into rooting hormone, tapping off any excess. This is like giving them a little encouragement to grow roots.
- Planting: Make a hole in your potting mix with your dibber or pencil. Carefully insert the cutting, making sure the hormone-coated part is in the soil. Gently firm the soil around the base.
- Create a Humid Environment: Water the soil gently until it’s moist but not waterlogged. Then, cover the pot with a clear plastic bag or a propagation lid. This traps humidity, which is crucial for getting those cuttings to root.
- Placement: Place your pots in a bright location, but out of direct, harsh sunlight. A little warmth from a sunny windowsill is perfect.
The “Secret Sauce” (Pro Tips)
Here are a few things I’ve learned over the years that really make a difference:
- Bottom Heat is Your Friend: If you have a seedling heat mat, pop your pots on it. This gentle warmth from below encourages root development like nothing else. It’s a game-changer, especially in cooler environments.
- Don’t Crowd Them: Give each cutting a bit of space in its pot, or plant them individually. Overcrowding leads to competition for resources and can encourage fungal issues. Trust me, a few well-rooted plants are better than a tray of struggling ones.
- Air Circulation is Key: While we want humidity, we don’t want stagnant air. Every few days, open the plastic bag or lid for a few minutes to let in some fresh air. This helps prevent mold and mildew from taking hold.
Aftercare & Troubleshooting
Once your cuttings have been in their humid little homes for a few weeks, you might start to see signs of life! Look for new leaf growth, which is a strong indicator that roots are forming. If you gently tug on a cutting and feel some resistance, that’s another good sign.
Once you see robust growth, you can gradually remove the plastic cover over a few days to let them acclimate. Continue to keep the soil consistently moist but not soggy. You can also repot them into slightly larger individual pots if they’ve outgrown their starter ones.
Now, what if things aren’t going as planned? The most common culprit is rot. If your cuttings turn mushy and black, or develop fuzzy mold, it’s usually a sign of too much moisture and not enough air circulation. Don’t despair! You can try to salvage healthy-looking parts by taking new cuttings, ensuring the soil is less wet and you’re airing them out more frequently. Sometimes, it just doesn’t work out, and that’s okay. Gardening is a continuous learning process.
A Encouraging Closing
Propagating Genista corsica is a wonderfully satisfying journey. There will be moments of anxious waiting, but the little thrill when you see that first tiny leaf emerge is absolutely worth it. Be patient with your cuttings, give them good care, and remember that every gardener has had their share of failed attempts. Enjoy the process, learn from it, and soon you’ll have a beautiful Corsican broom to admire – or even share with a fellow plant enthusiast! Happy propagating!
Resource:
https://identify.plantnet.org/k-world-flora/species/Genista%20corsica%20(Loisel.)%20DC./data