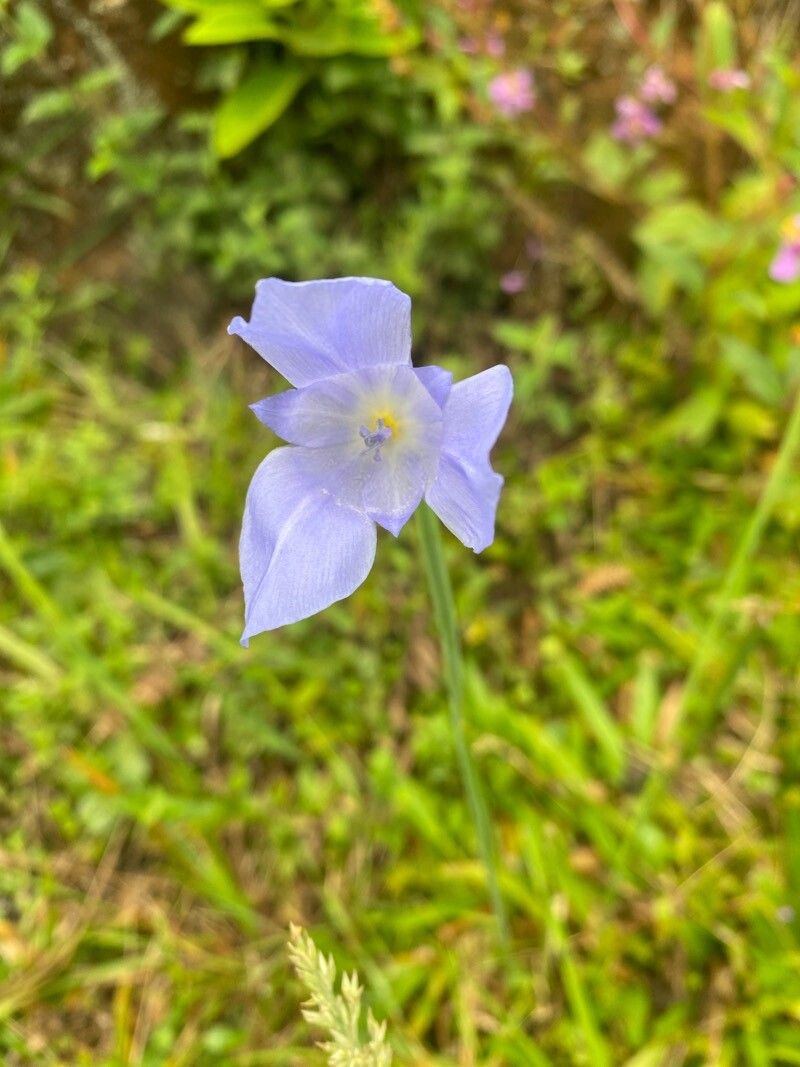
Hey there, fellow plant lovers! It’s wonderful to connect with you today. For years, I’ve been captivated by the ethereal beauty of Gelasine coerulea, with its delicate, sky-blue flowers that seem to dance in the breeze. There’s something truly special about coaxing new life from an existing plant, and the reward of seeing those first tiny roots form is just… magical. Now, if you’re new to the plant-propagation game, you might be wondering if Gelasine coerulea is a friendly face for beginners. I’ll be honest, it’s moderately easy, but a little know-how goes a long way!
The Best Time to Start
When it comes to getting the most bang for your buck with propagation, late spring to early summer is your golden window. This is when the plant is in its most vigorous growth phase after flowering, meaning it has plenty of energy to put into developing new roots. Aim for when the plant is actively producing new shoots.
Supplies You’ll Need
Let’s get our tools ready! Here’s what you’ll want to have on hand:
- Clean, sharp pruning shears or a sharp knife: For making neat cuts.
- Small pots or seed trays: Ideally with drainage holes.
- Well-draining potting mix: I like a blend of coco coir, perlite, and a little bit of compost.
- Rooting hormone (optional but recommended): Helps to encourage root development.
- Clear plastic bag or a propagation dome: To maintain humidity.
- Spray bottle: For misting.
- Small pebbles or gravel (for water propagation): To anchor cuttings.
- Container for water propagation: A clean glass jar or vase works well.
Propagation Methods
Gelasine coerulea is most commonly and successfully propagated through division and, with care, stem cuttings.
Division
This is my preferred method for Gelasine coerulea since it often forms clumps of bulbs that can be gently separated.
- Gently unpot the parent plant. Tip it out of its container, and try to loosen as much of the old soil from the root ball as you can without causing damage.
- Inspect the root system. You’ll be looking for natural divisions where the bulbs have multiplied. There should be distinct sections with their own sets of roots.
- Carefully separate the divisions. Use your fingers to gently pull apart the clumps. If they are stubborn, you can use a clean knife to make a cut, but try to ensure each division has at least a few healthy roots and a shoot or two.
- Pot up the divisions. Plant each division in its own small pot filled with your well-draining potting mix. Make sure the crown of the bulb is just at or slightly below the soil surface.
- Water lightly. Give them a gentle drink and place them in a bright, indirect light location.
Stem Cuttings
This method is a bit more hands-on but can be very rewarding if you’re patient.
- Select a healthy stem. Look for a new, non-flowering shoot that is at least 4-6 inches long.
- Make a clean cut. Just below a leaf node (where a leaf attaches to the stem), make a sharp cut with your clean shears or knife.
- Remove lower leaves. Strip off the bottom few leaves. This prevents them from rotting once in the soil or water.
- Apply rooting hormone (optional). Dip the cut end into rooting hormone powder or gel. This step can significantly speed up the process.
- Pot up or place in water.
- For soil propagation: Insert the cut end into your prepared potting mix. Gently firm the soil around it.
- For water propagation: Place the cutting in a clean glass of water. Make sure no leaves are submerged – only the cut stem. You can add a few small pebbles to help the cutting stand upright.
- Provide humidity. Cover the pot with a clear plastic bag or place it under a propagation dome. If using a jar of water, place it in a plastic bag tented over the top. This creates a mini-greenhouse effect.
- Find a good spot. Place your pots or jars in a warm location with bright, indirect light.
The “Secret Sauce” (Pro Tips)
Here are a few little tricks I’ve learned over the years that can make a big difference:
- When taking stem cuttings, use your sharpest tool. A clean cut heals faster and reduces the risk of introducing disease. A dull tool can crush the vascular tissues, making it harder for the cutting to root.
- For water propagation, change the water every few days. Stagnant water can quickly become a breeding ground for bacteria, which can kill your cutting before it even has a chance to root.
- If you’re struggling to get cuttings to root, consider using a heat mat. Many plant enthusiasts, myself included, swear by the gentle warmth radiating from the bottom of the pot to stimulate root growth. It mimics the feeling of being nestled in warm soil.
Aftercare & Troubleshooting
Once your divisions are potted up or your cuttings show signs of rooting (you’ll see little white nubs emerging from the cut end or new growth developing), it’s time to adjust their care.
- Gradually decrease humidity. Once roots have formed, you can slowly acclimate your new plants to lower humidity levels by opening the bag or dome a little more each day.
- Continue with bright, indirect light. Avoid direct sun, which can scorch their delicate new leaves.
- Water when the top inch of soil feels dry. Don’t let them sit in soggy soil.
- Watch for signs of trouble. The most common issue is rot. This usually happens if the soil is too wet and there isn’t enough air circulation. If you see a cutting turning mushy or black, it’s best to discard it to prevent it from spreading. Yellowing leaves can also be a sign of overwatering or insufficient light. Don’t get discouraged!
A Little Patience Goes a Long Way
Propagating Gelasine coerulea is a journey, not a race. Some cuttings will take off relatively quickly, while others might take their sweet time. Be patient, observe your plants, and enjoy the process of nurturing new life. Soon enough, you’ll have a whole collection of these stunning blue beauties to share! Happy gardening!
Resource:
https://identify.plantnet.org/k-world-flora/species/Gelasine%20coerulea%20(Vell.)%20Ravenna/data