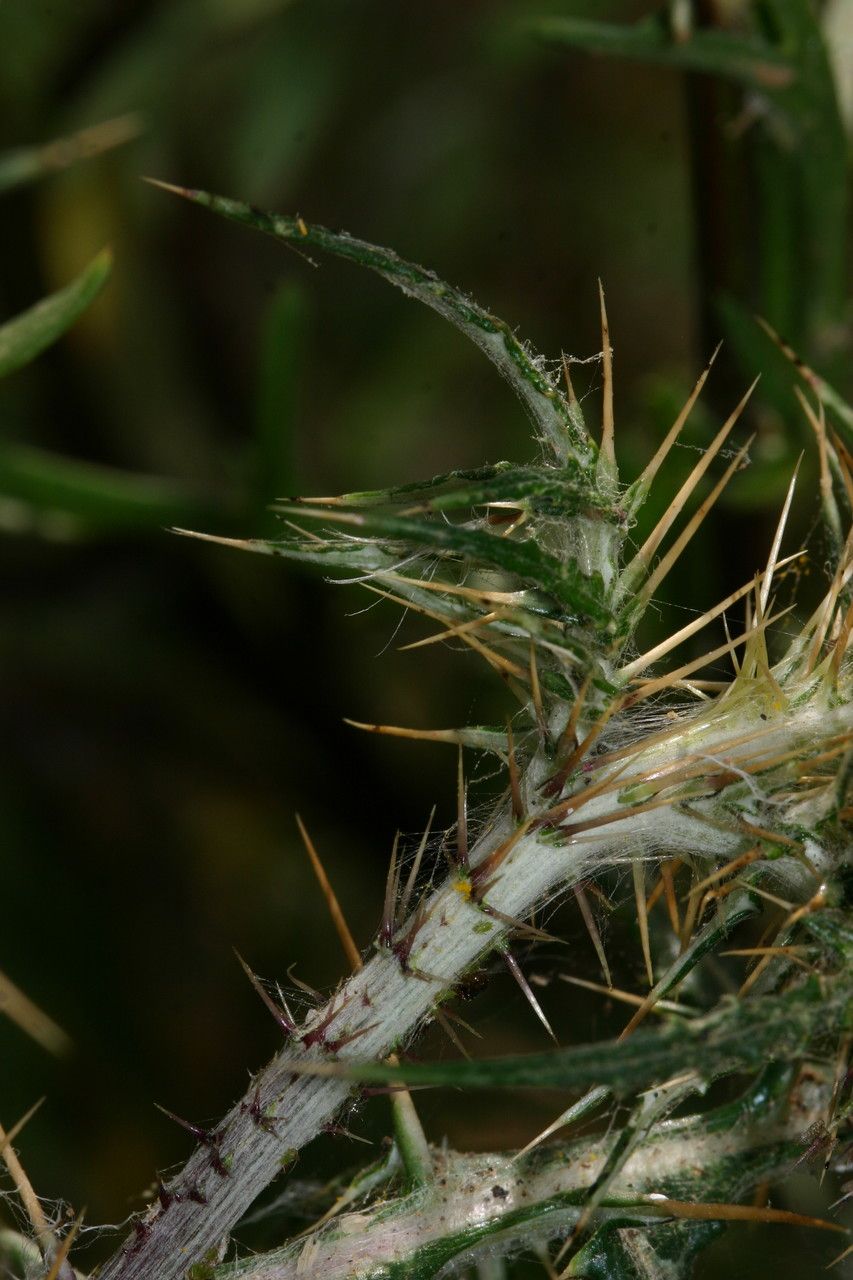
Hello fellow plant lovers! Today, we’re diving into the wonderful world of propagating Galactites mutabilis, also known as the lovely Milk Thistle relative with those striking silver leaves. If you’ve ever admired its architectural beauty in my garden or on a friend’s patio, you know it’s a real showstopper. Trust me, being able to create more of these beauties from just one is incredibly satisfying. And the good news? For you beginners out there, Galactites mutabilis is quite forgiving, making it a fantastic plant to start your propagation journey with.
The Best Time to Start
For Galactites mutabilis, spring is your golden ticket. As the weather warms up and the plant is emerging from its winter rest, it’s full of vigor and ready to put out new growth. This new growth is the most succulent and cooperative for taking cuttings. Aim for a time after any danger of frost has passed, but before the intense heat of summer sets in. You want active growth, not stressed-out survival mode!
Supplies You’ll Need
Here’s what you should have on hand before we get started:
- Sharp, clean pruning shears or a sharp knife: Essential for making clean cuts that heal well.
- Rooting hormone (optional but recommended): Helps cuttings develop roots faster and more reliably.
- A well-draining potting mix: I often use a blend of equal parts seed-starting mix and perlite. You want good aeration so those roots don’t drown.
- Small pots or trays: Clean containers with drainage holes are a must.
- A clear plastic bag or propagation dome: This creates a mini-greenhouse to keep humidity up.
- Water: For moistening the soil and, of course, for the cuttings themselves if you choose that method.
Propagation Methods
There are a couple of wonderfully effective ways to get more Galactites mutabilis going. Let’s explore them.
Stem Cuttings
This is my go-to method for this plant!
- Take Your Cuttings: In spring, look for healthy, non-flowering stems. Using your clean shears or knife, cut a stem that’s about 4-6 inches long. Make the cut just below a leaf node (where the leaf attaches to the stem).
- Prepare the Cuttings: Gently remove the lower leaves, leaving just a couple of leaves at the very top. This prevents them from rotting in the soil. If your cuttings are quite large, you can even trim the remaining leaves in half to reduce water loss.
- Apply Rooting Hormone: Dip the cut end of each stem into your rooting hormone, tapping off any excess.
- Pot Them Up: Fill your small pots with your moistened, well-draining potting mix. Make a small hole with your finger or a pencil and insert the cutting. Gently firm the soil around the base.
- Create a Humid Environment: Water the soil lightly. Then, cover the pot with a clear plastic bag or place it under a propagation dome. Make sure the bag isn’t touching the leaves too much.
Water Propagation
This method is incredibly visual and satisfying.
- Select and Cut: Similar to stem cuttings, select healthy, non-flowering stems about 4-6 inches long and make the cut just below a leaf node.
- Strip Lower Leaves: Remove all the leaves from the bottom half of the cutting.
- Place in Water: Fill a clean jar or glass with room-temperature water. Place the cuttings in the water, ensuring that no leaves are submerged. Leaves sitting in water will just rot.
- Find a Bright Spot: Place the jar in a bright location with indirect sunlight.
- Change Water Regularly: Change the water every few days to keep it fresh and prevent bacterial growth.
The “Secret Sauce” (Pro Tips)
Now for a few things I’ve learned over the years that make a big difference.
- Bottom Heat is Your Friend: If you’re using stem cuttings, popping them on a gentle heating mat can significantly speed up root development. A stable, warm soil temperature signals to the plant that it’s time to get busy growing.
- Don’t Be Afraid to Experiment: While spring is ideal, I’ve had success with late summer cuttings too, especially if I can provide a bit of protection from harsh sun and wind. If you have extra material, try it at different times!
- Watch for the “Wiggle Test”: When you think your cuttings have rooted, give them a very gentle tug. If you feel resistance, that’s a good sign roots have formed. For water propagation, you’ll see them!
Aftercare & Troubleshooting
Once you see signs of roots forming – whether it’s new leaf growth or visible roots in the water/soil – it’s time to transition your new babies.
For stem cuttings: Gradually acclimate them to normal room humidity by opening the plastic bag or dome for increasing amounts of time each day over a week. Once they’re fully open, you can remove the cover entirely. Water them when the top inch of soil feels dry.
For water propagation: Once the roots are about an inch long, you can pot them into your well-draining potting mix, following the steps for stem cuttings. Treat them gently as their root systems are still developing.
The biggest challenge you might face is rot. If your cuttings look mushy or blacken, it’s usually because there’s too much moisture and not enough air circulation. If using stem cuttings, ensure your soil is draining well and don’t overwater. For water propagation, change the water more frequently. Sometimes, despite our best efforts, a cutting just won’t take. Don’t despair! It happens to the best of us.
A Encouraging Closing
Propagating Galactites mutabilis is such a rewarding endeavor. It’s a lovely reminder of nature’s incredible ability to multiply and create abundance. Be patient with your new plants, observe them closely, and enjoy the process of watching them grow. Happy propagating, and may your gardens be ever fuller!
Resource:
https://identify.plantnet.org/k-world-flora/species/Galactites%20mutabilis%20Durieu/data