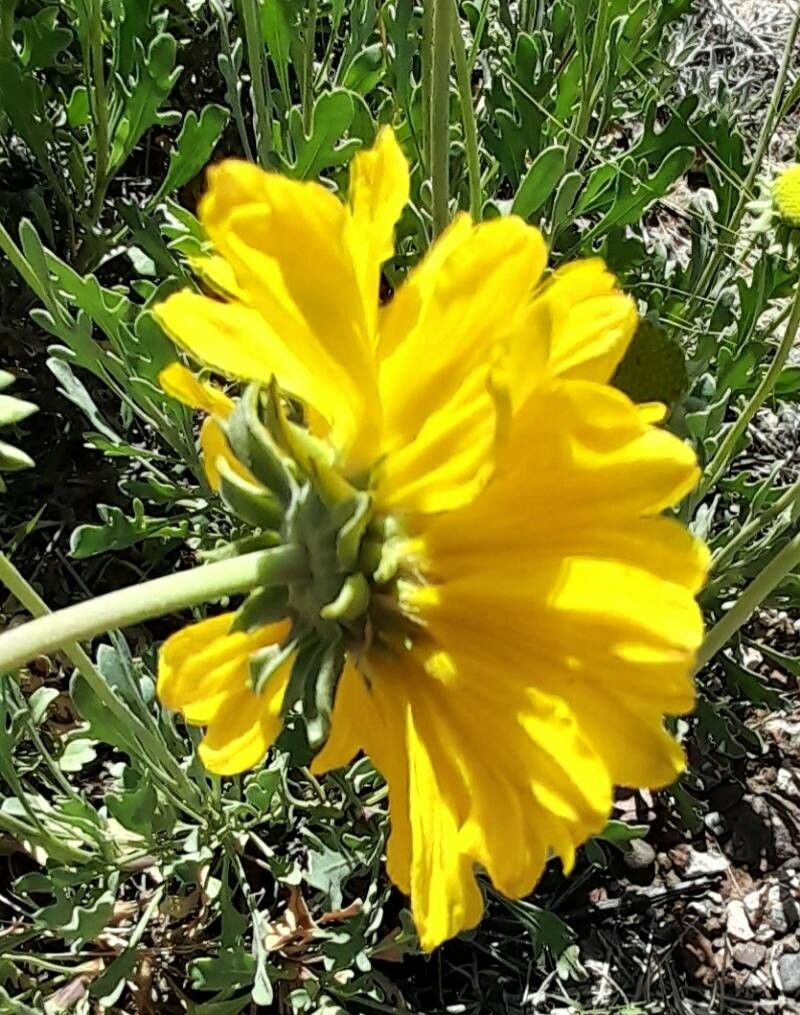
Oh, Gaillardia cabrerae! If you’re not familiar with this gem, let me tell you, it’s a plant that just radiates sunshine. Its daisy-like flowers, often in fiery shades of red, orange, and yellow, will bring a cheerful pop to any garden. Growing them from scratch is incredibly satisfying, giving you a greenhouse full of potential beauties or simply a way to share the love with friends. And the good news? For the most part, propagating Gaillardia cabrerae is quite forgiving, even for those just dipping their toes into the world of plant multiplication.
The Best Time to Start
My favorite time to get busy with Gaillardia cabrerae propagation is late spring or early summer. You’re looking for young, non-flowering shoots. These are full of vigor and have the best chance of developing strong roots. Waiting until the heat of mid-summer can sometimes stress the cuttings, and trying too late in the season might not give them enough time to establish before cooler weather arrives.
Supplies You’ll Need
To set yourself up for success, gather these essentials:
- Sharp, clean pruning shears or a sharp knife: For making clean cuts.
- Small pots or seed trays: With drainage holes, of course!
- A good quality potting mix: I prefer a well-draining mix, like a blend of peat moss, perlite, and a bit of compost. You can also buy pre-made cactus or succulent mixes, which work wonderfully.
- Rooting hormone (optional but recommended): This isn’t strictly necessary for Gaillardia, but it can give your cuttings a helpful boost.
- A spray bottle: For keeping humidity levels up.
- A clear plastic bag or propagation dome: To create a mini-greenhouse.
- Labels and a pen: To keep track of what’s what!
Propagation Methods
Let’s get our hands dirty! The easiest and most successful method for Gaillardia cabrerae is by stem cuttings.
- Take Your Cuttings: Select a healthy, vigorous shoot from your parent plant. Look for stems that are about 3-4 inches long. Make a clean cut just below a leaf node (where a leaf attaches to the stem). Ideally, these should be side shoots, not the main flowering stem.
- Prepare the Cuttings: Gently remove the lower leaves, leaving just a few at the top. This prevents them from rotting when you place them in the soil. If you’re using rooting hormone, dip the cut end into it, tapping off any excess.
- Plant Your Cuttings: Fill your small pots or trays with your prepared potting mix. Make a small hole with your finger or a pencil.
- Insert the Cuttings: Gently insert the cut end of each stem into the hole, ensuring the leaf nodes that were just below the soil are covered. Firm the soil around the base of the cutting to provide support.
- Water and Cover: Water the soil gently but thoroughly. You want it to be moist, not waterlogged. Then, cover the pots with a clear plastic bag or propagation dome to maintain humidity. Secure it loosely so there’s still some air circulation.
The “Secret Sauce”
Here are a couple of tricks I’ve learned over the years that really make a difference for these sun-loving beauties:
- Bottom Heat is Your Friend: While not strictly required, placing your pots on a gentle heat mat can significantly speed up root development. It mimics the warmth of spring and encourages those roots to form much more readily. Just a low setting is all you need!
- Don’t Over-Water, Especially at First: This is crucial. The cuttings have no roots yet to soak up excess moisture. They can easily develop rot. Stick your finger into the soil every few days. If it feels dry about an inch down, it’s time to water lightly.
Aftercare & Troubleshooting
Once your cuttings are planted, place them in a bright, but indirect light spot. Avoid direct sun, as it can scorch the young leaves. Keep the humidity high by misting the leaves with your spray bottle occasionally, especially if you’re not using a dome.
You should start to see new growth appearing within 2-4 weeks. You can gently tug on a cutting; if there’s resistance, roots have formed. Once your cuttings have developed a good root system, you can begin to acclimate them to less humid conditions gradually. Remove the plastic bag for longer periods each day before taking it off completely. Then, transplant them into slightly larger pots filled with regular potting soil.
The biggest problem you might encounter is rot, which usually happens due to overwatering or poor air circulation. If you see the stem turning mushy or black, unfortunately, that cutting is likely lost. Just remove it and check your watering habits for the others.
A Encouraging Closing
Propagating Gaillardia cabrerae is such a rewarding experience. Be patient with yourself and your new plant babies. Gardening is all about observation and learning. Enjoy the process of nurturing these tiny shoots into vibrant, blooming plants that will bring you joy for seasons to come! Happy propagating!
Resource:
https://identify.plantnet.org/k-world-flora/species/Gaillardia%20cabrerae%20Covas/data