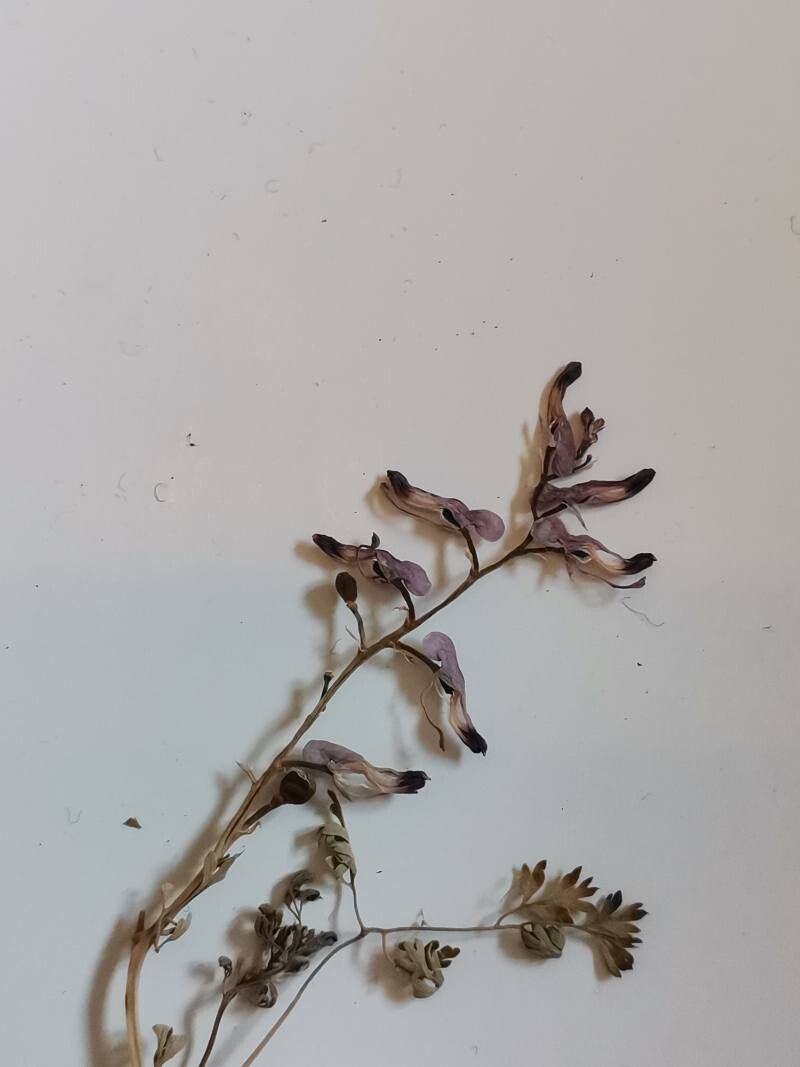
Well hello there, fellow garden enthusiasts! I’m so delighted you’re here to chat about a truly delightful plant: Fumaria rostellata. If you haven’t met it before, imagine delicate, airy foliage dancing in the breeze, often with charming little pops of color. It’s the kind of plant that adds a whisper of wild elegance to any garden corner. And propagating it? Oh, it’s a little victory, a way to share that charm and fill your space with even more of this gentle beauty.
Now, for those of you just dipping your toes into the world of propagation, I’ll be upfront: Fumaria rostellata can be a moderately challenging plant to start from scratch. It’s not impossible by any means, but it does appreciate a bit of thoughtful attention. But don’t let that deter you! With a little patience and the right approach, you’ll be rewarded.
The Best Time to Start
For the highest chance of success with Fumaria rostellata, I’ve found that late spring to early summer is truly your golden window. This is when the plant is in its active growth phase. Young, vigorous shoots are more likely to root and thrive. Waiting until after the initial flush of spring growth has matured a bit, but before the intense heat of mid-summer really sets in, gives your new cuttings the best start.
Supplies You’ll Need
Gathering your tools beforehand makes the whole process so much smoother. Here’s what I like to have on hand:
- A sharp, clean knife or pruning shears. For delicate stems, a small pair of razor-sharp secateurs is ideal.
- Rooting hormone (optional, but can give an extra boost). I usually opt for a powder form.
- A well-draining potting mix. A blend of equal parts peat moss or coco coir, perlite, and a little compost works beautifully. You want something that holds just enough moisture but doesn’t get waterlogged.
- Small pots or trays with drainage holes. Standard 3-4 inch pots are usually perfect.
- Plastic bags or a propagation dome. This is your humidity tent!
- A spray bottle filled with clean water.
Propagation Methods
Fumaria rostellata is most reliably propagated from stem cuttings. Division can sometimes work, but the root system can be a bit fussy to separate without causing stress.
Stem Cuttings: My Go-To Method
- Select Your Cuttings: Look for healthy, non-flowering stems that are about 4-6 inches long. You want stems that are flexible but have started to firm up a bit – not the very floppy new growth, and definitely not old, woody stems.
- Make the Cut: Using your sharp tool, make a clean cut just below a leaf node. A leaf node is where a leaf grows from the stem. This is a prime spot for root development.
- Prepare the Cuttings: Gently remove the leaves from the bottom half to two-thirds of the stem. This prevents leaves from rotting in the soil or water.
- Dip in Rooting Hormone (Optional): If you’re using rooting hormone, moisten the bottom end of the cutting slightly with water, then dip it into the powder, tapping off any excess.
- Plant Your Cuttings: Fill your small pots with your prepared potting mix. Make a dibble hole in the center with your finger or a pencil. Carefully insert the cutting into the hole, ensuring the bottom leaf nodes are below the soil surface. Gently firm the soil around the stem.
- Water Gently: Water the soil thoroughly but gently. You don’t want to dislodge your cuttings.
- Create a Humid Environment: This is crucial! Place the pots into plastic bags, creating a mini greenhouse effect. You can also use a propagation dome. Ensure the leaves aren’t pressed directly against the plastic if possible.
Water Propagation (Use with Caution!)
While I primarily use soil for Fumaria rostellata, some gardeners have success with water.
- Follow steps 1-3 above for selecting and preparing cuttings.
- Fill a small jar or glass with clean water.
- Place the cuttings in the water, ensuring only the stem is submerged and no leaves touch the water.
- Place the container in bright, indirect light.
- Change the water every few days to keep it fresh and prevent rot.
- Wait for roots to develop, which can take several weeks. Once roots are about an inch long, you can carefully transplant them into soil, being mindful of their delicate new root system.
The “Secret Sauce” (Pro Tips)
Trust me, a few little tricks can make all the difference.
- Don’t overcrowd your pots: Give each cutting a little space. This improves air circulation and reduces the risk of fungal diseases. If you’re using a tray, space them at least 2 inches apart.
- Bottom heat is your friend: If you have a propagation mat, placing your pots on it can significantly speed up root formation. It mimics the warmth of spring soil and encourages those roots to push out. Just a gentle warmth, not hot!
- Mist regularly, but let it breathe: While the humidity is important under your plastic tent, it’s a good idea to occasionally lift the plastic for an hour or so to air things out. This prevents mildew from setting in.
Aftercare & Troubleshooting
Once you start seeing new growth appearing on your cuttings, that’s usually a good sign roots are forming! You can gently tug on a cutting; if there’s a slight resistance, it has begun to root.
- Gradual Acclimatization: Once roots are established (this can take anywhere from 4-8 weeks), start to gradually acclimatize your new plants to normal humidity. This means slowly opening the plastic bag or dome over a week or two.
- Move to Larger Pots: When your new plants have developed a robust root system and are showing consistent new growth, it’s time to move them into slightly larger pots.
- Watering: Water them as you would a mature plant, allowing the soil to dry out slightly between waterings.
Now, for the troubleshooting part. The most common issues you might encounter are:
- Rotting: This is almost always due to overwatering or poor drainage. Ensure your soil is well-draining and you’re not keeping it constantly soggy. If a cutting feels mushy or has a foul smell, it’s likely rotted and best discarded.
- Wilting: If your cuttings wilt, it could be a sign they aren’t getting enough humidity or that they simply haven’t rooted yet and are struggling to take up water. Ensure your humidity tent is intact.
A Word of Encouragement
Propagating plants is such a rewarding journey. There will be times when things don’t quite work out, and that’s okay. Every gardener learns through trial and error. Be patient with your little Fumaria rostellata cuttings, be observant, and most importantly, enjoy the process of nurturing new life. Happy gardening!
Resource:
https://identify.plantnet.org/k-world-flora/species/Fumaria%20rostellata%20Knaf/data