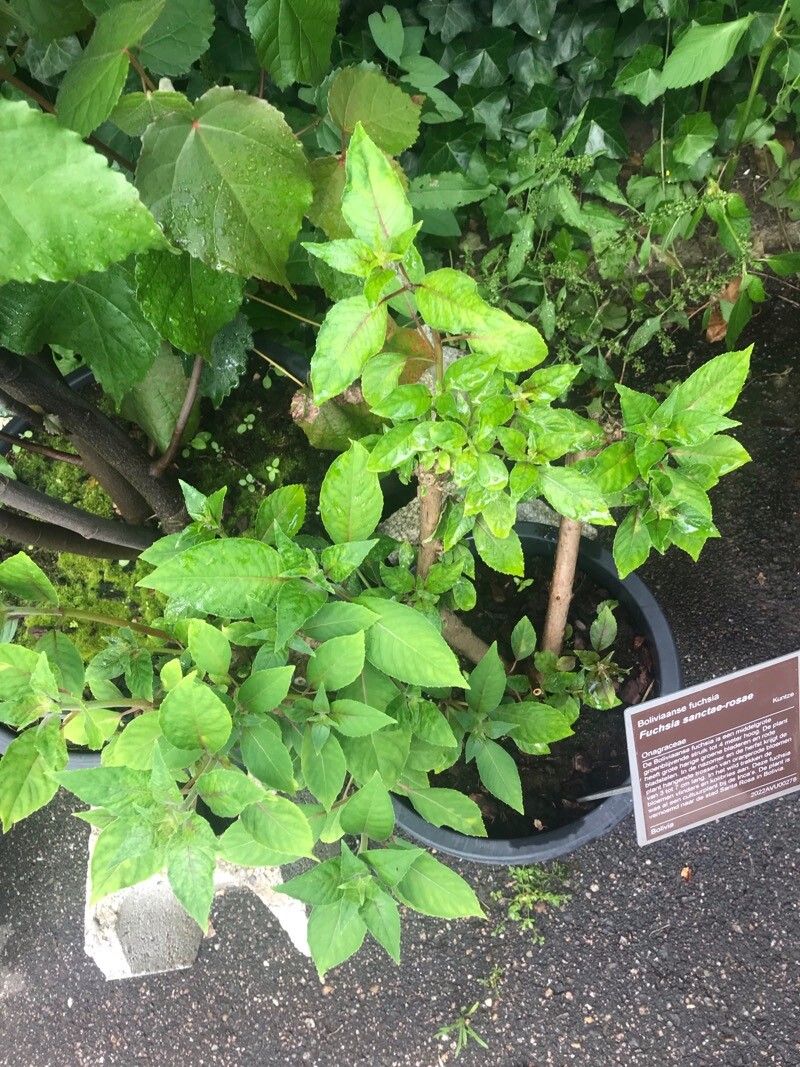
Hello fellow garden lovers! Today, I want to chat about a truly delightful plant: Fuchsia sanctae-rosae. If you’re looking for a burst of color and a bit of old-fashioned charm, this fuchsia is a winner. Its delicate, pendulous flowers have a way of making any garden corner feel magical. And the best part? You can easily multiply these beauties yourself! Propagating them is incredibly rewarding – it’s like giving the gift of plants to yourself (and maybe your friends!). For beginners, I’d say Fuchsia sanctae-rosae is moderately easy to propagate. It requires a little attention, but the results are well worth it.
The Best Time to Start
When it comes to striking while the iron is hot, so to speak, the ideal time for propagating Fuchsia sanctae-rosae is late spring to early summer. This is when the plant is actively growing and producing plenty of healthy new shoots. You’re looking for stems that are firm but not yet woody. Think of them as adolescent stems – flexible and full of life! If you miss this window, don’t fret; you can often get away with taking cuttings in early autumn too, but you might find your success rate dips a little.
Supplies You’ll Need
Let’s gather our tools! You don’t need anything too fancy, just the essentials:
- Sharp pruning shears or a clean, sharp knife: For making clean cuts.
- Rooting hormone powder or gel: This little helper encourages strong root development.
- Small pots or seed trays: Clean ones are key to preventing disease.
- A good potting mix: I like a mix that’s light and well-draining. A blend of peat moss or coco coir, perlite, and a bit of compost works wonders. You can also find specialized fuchsia or cutting mixes.
- Clear plastic bags or a propagator: To create a humid environment for your cuttings.
- Watering can or spray bottle: For gentle watering.
- Labels and a marker: To keep track of what you’ve planted!
Propagation Methods
There are a couple of ways to get more Fuchsia sanctae-rosae plants, and for this particular fuchsia, I find stem cuttings to be the most reliable and straightforward method.
Stem Cuttings:
- Select your cuttings: Look for healthy, non-flowering shoots that are about 4-6 inches long. Gently twist or snip them from the parent plant.
- Prepare the cutting: Carefully remove the lower leaves from the bottom half of the stem. If you have a very long cutting, you can also pinch off any tiny flower buds or developing flowers – these take energy away from root formation. You want to be left with a clean stem and a few sets of leaves at the top.
- Apply rooting hormone: Dip the cut end of the stem into your rooting hormone. Tap off any excess.
- Plant your cuttings: Insert the hormone-coated end into your prepared potting mix in small pots or trays. Make a small hole with a pencil or dowel first to avoid rubbing off the hormone. Gently firm the soil around the stem.
- Water gently: Water thoroughly but gently after planting. You want the soil to be moist, not waterlogged.
- Create humidity: Cover the pots with a clear plastic bag or place them in a propagator. Make sure the plastic doesn’t touch the leaves too much. You can use chopsticks or small stakes to prop it up if needed.
- Find a good spot: Place the pots in a bright location but out of direct sunlight. A warm spot is beneficial.
The “Secret Sauce” (Pro Tips)
Over the years, I’ve learned a few tricks that can really boost your success rate.
- Bottom heat is your best friend: If you have a propagation mat or can place your pots over a gently warm spot (like the top of a refrigerator that runs consistently), it makes a HUGE difference. Roots love warmth!
- Don’t let the leaves touch the water: If you opt for water propagation (which I sometimes do with fuchsias, though it can be a bit trickier for this specific variety), ensure the leaves are well above the water line. Any leaf in the water is a prime spot for rot. You’ll need to change the water frequently, too.
- Use a rooting hormone made for softwood cuttings: While general rooting hormones work, ones formulated for softwood cuttings often give that extra kick that fuchsias benefit from.
Aftercare & Troubleshooting
Once your cuttings are planted, the job isn’t quite done! Keep that plastic bag on to maintain humidity. Open it up for a few minutes each day to allow for air circulation – this helps prevent fungal issues.
You’ll know your cuttings are rooting when you see new leaf growth and feel a gentle resistance when you tug ever so lightly on the stem. This usually takes anywhere from 3-6 weeks.
Now, what if things go wrong?
- Rotting: If the stem turns black and mushy at the soil line, that’s rot. This usually means it was too wet, lacked air circulation, or the cutting wasn’t healthy to begin with. Sadly, a rotten cutting is a goner. Try again with fresh material and ensure good drainage and ventilation.
- Wilting: If your cuttings wilt dramatically, it could be they aren’t getting enough moisture, or they are getting too much direct sun which is drying them out too quickly. Adjust their location and check soil moisture.
Once you have a good root system, you can carefully remove the plastic bag and start to gradually acclimatize your new fuchsia to normal room or garden conditions. Water them when the top inch of soil feels dry. They’re not ready for a huge pot just yet; let them establish in their small pots for a few more weeks before considering a transplant.
A Bit of Patience, A Lot of Joy
Propagating plants is a journey, and like any good garden adventure, it requires a little patience. Not every cutting will make it, and that’s perfectly okay! Celebrate the successes, learn from the failures, and most importantly, enjoy the process of nurturing new life. Soon you’ll have a small fuchsia family, ready to brighten up your world. Happy propagating!
Resource:
https://identify.plantnet.org/k-world-flora/species/Fuchsia%20sanctae-rosae%20Kuntze/data