Oh, Fuchsia corymbiflora! Isn’t it a beauty? Those cascading blooms, the delicate shades of pink and white, and the way they dance in the breeze—it’s truly captivating. If you’ve fallen for this enchanting fuchsia, you’re in for a treat. Propagating it yourself is incredibly rewarding. You get to multiply that beauty, share it with friends, and frankly, it’s a wonderful way to connect even deeper with your garden. For beginners? I’d say it’s moderately easy. A little patience and a few key steps, and you’ll be well on your way.
The Best Time to Start
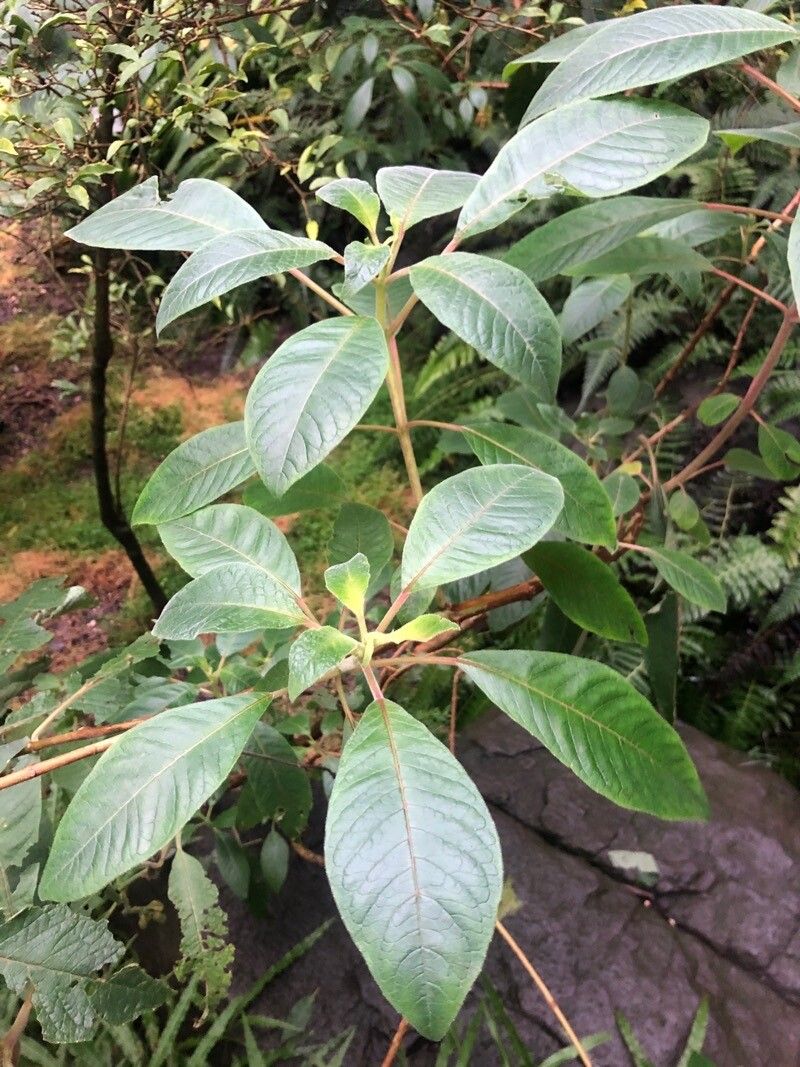
My favorite time to take cuttings from Fuchsia corymbiflora is in late spring or early summer. This is when the plant is actively growing, and the stems have that perfect blend of flexibility and maturity. You want to look for stems that are not brand new and soft, but also not old and woody. Think of it as “semi-hardwood” – they snap cleanly but have a bit of firmness to them.
Supplies You’ll Need
Before we get our hands dirty, let’s gather our tools. Having everything ready makes the whole process so much smoother:
- Sharp pruning shears or a clean, sharp knife: For taking your cuttings. Sterilize them with rubbing alcohol before and after use to prevent disease.
- Seed starting or propagation mix: A well-draining mix is crucial. I like a blend of equal parts peat moss, perlite, and a touch of coarse sand.
- Small pots or trays: Clean ones, of course! About 3-4 inch pots are usually ideal for starting.
- Rooting hormone: This isn’t strictly required for fuchsias, but it gives them a lovely boost and significantly increases your success rate. I prefer a powdered or gel type.
- Plastic bags or a propagator lid: To create a humid environment for your cuttings.
- Watering can with a fine rose: For gentle watering.
- Labels and a marker: To remember what you’ve planted and when!
Propagation Methods
Let’s dive into how we’ll create new little fuchsias. Stem cuttings are my go-to for Fuchsia corymbiflora.
Stem Cuttings:
- Select your stems: Find those healthy, semi-hardwood stems on your parent plant.
- Take your cuttings: Using your clean shears, cut sections about 4-6 inches long. Make your cut just below a leaf node (where a leaf meets the stem). These nodes are where the magic happens, encouraging root development.
- Prepare the cuttings: Gently remove the lower leaves, leaving just a couple of leaves at the very top. If the remaining leaves are quite large, you can carefully cut them in half. This reduces water loss through transpiration.
- Apply rooting hormone: Dip the cut end of each stem into your rooting hormone, tapping off any excess.
- Plant your cuttings: Fill your small pots with your damp propagation mix. Make a small hole in the center of the soil with a pencil or your finger. Gently insert the cut end of the fuchsia stem into the hole, ensuring the rooting hormone stays in place. Firm the soil gently around the stem.
- Water gently: Water your pots thoroughly with your fine-rose watering can. You want the soil to be moist, but not waterlogged.
- Create humidity: Place the pots into a clear plastic bag or cover them with a propagator lid. This traps moisture and keeps humidity high, which is vital for cuttings to root. You can support the bag with stakes so it doesn’t touch the leaves.
The “Secret Sauce” (Pro Tips)
Now for a few little tricks that have made a world of difference for me:
- Bottom Heat is Your Friend: If you have the space, placing your pots on a heat mat can seriously speed up the rooting process. It encourages the plant to put energy into root development from below. Just ensure the temperature stays consistent and not too hot – around 70-75°F (21-24°C) is perfect.
- Don’t Let Leaves Touch Water: If you opt for water propagation (which can work for fuchsias, though I find it a bit more prone to rot), it’s critical that the leaves don’t sit in the water. Only the stem should be submerged. Trim off lower leaves accordingly. Stagnant water is a breeding ground for disease.
- Patience with Dusting: When using powdered rooting hormone, give the excess a gentle tap. Too much can actually hinder rooting by forming a barrier. A light dusting is all you need.
Aftercare & Troubleshooting
Once your cuttings are planted, place them in a bright spot, but out of direct, harsh sunlight. A north-facing windowsill is often ideal. The goal is warmth and bright, indirect light.
You’ll want to check the soil moisture regularly. If it feels dry, give it a gentle watering. You can also mist the leaves occasionally if they look like they’re drying out, but try to avoid saturating the soil.
Signs of roots appearing usually take 3-6 weeks. You might see tiny white roots peeking out of the drainage holes, or new growth on the top of the cutting. Once you see good root development, you can gradually acclimate your new fuchsia to normal conditions by opening the plastic bag a little more each day.
Now, about troubleshooting. The most common issue with fuchsia cuttings is rot. This usually happens when the soil is too wet, there’s not enough air circulation, or the cuttings are kept in too cold an environment. If you see stems turning mushy and black, sadly, that cutting is likely lost. Don’t be disheartened! Just discard it and try again, adjusting your watering or location.
A Encouraging Closing
So there you have it! Propagating Fuchsia corymbiflora is a journey worth taking. It might take a little trial and error, and a lot of patience, but the joy of nurturing a new plant from a tiny cutting is truly special. Enjoy the process, learn from each attempt, and soon you’ll be surrounded by even more of these glorious blooms. Happy gardening!
Resource:
https://identify.plantnet.org/k-world-flora/species/Fuchsia%20corymbiflora%20Ruiz%20&%20Pav./data