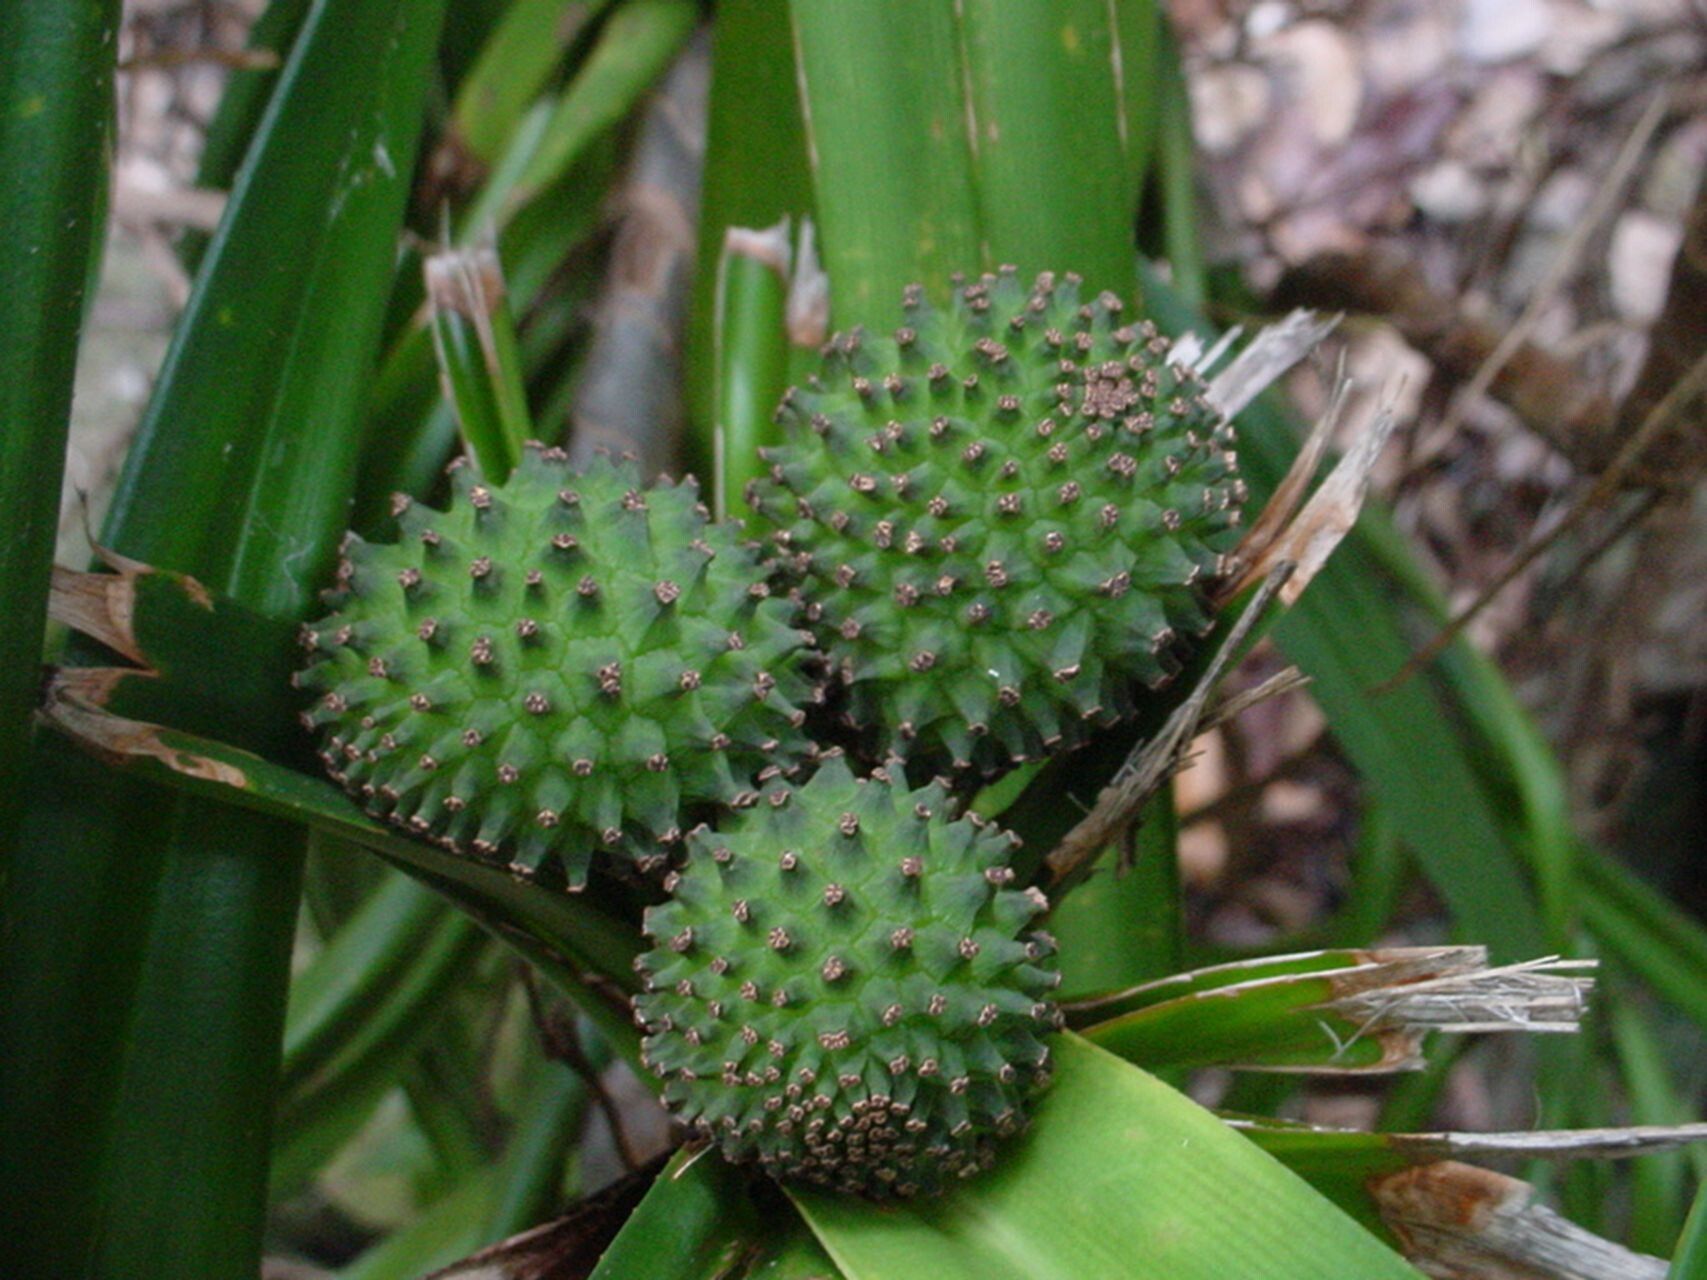
As a seasoned gardener with two decades of dirt under my fingernails, I’ve learned that some plants just have that spark. Freycinetia novocaledonica is one of them. With its striking, architectural foliage and vibrant aerial roots, it brings a touch of the exotic rainforest right into our homes. Propagating it is not only a fantastic way to share its beauty with friends (or just fill up your own space!), but it’s also incredibly satisfying. Now, for those of you just starting your green journey, I’d say Freycinetia can be a moderately easy plant to propagate. It’s not as simple as a spider plant cutting, but with a little attention, you’ll be rewarded.
The Best Time to Start
My go-to time for Freycinetia propagation is late spring to early summer. This is when the plant is in its active growing phase, meaning it has plenty of energy to put into developing new roots. You’ll see vigorous new growth, and those stems are usually quite pliable and ready to put on a show.
Supplies You’ll Need
To set yourself up for success, gather these essential tools:
- Sharp Pruning Shears or a Craft Knife: Clean cuts are crucial!
- Rooting Hormone (Optional but Recommended): A good powdered or liquid hormone can really speed things up and improve success rates.
- Well-Draining Potting Mix: I like a blend of perlite, coco coir, and a bit of peat moss. For Freycinetia, avoid anything too heavy or moisture-retentive.
- Small Pots or Propagation Trays: Clean and with drainage holes, of course.
- Clear Plastic Bag or Cover: To create a humid environment.
- Water: For water propagation, use filtered or distilled water if your tap water is heavily chlorinated.
Propagation Methods
Let’s get our hands dirty! Here are the methods that work best for Freycinetia:
Stem Cuttings
This is my favorite and most reliable method.
- Select Your Cuttings: Look for healthy, mature stems that are not flowering. Aim for cuttings that are about 4-6 inches long. You want to see at least a few sets of leaves.
- Make the Cut: Using your sharp pruning shears or craft knife, make a clean cut just below a leaf node (where a leaf attaches to the stem). This is where the magic happens for root development.
- Prepare the Cutting: Gently remove the lower leaves from the cutting, leaving two or three at the top. If you’re using rooting hormone, dip the cut end into the powder or liquid, tapping off any excess.
- Plant Your Cuttings: Fill your small pots with your well-draining potting mix. Make a small hole in the center with your finger or a pencil. Insert the cut end of the stem into the hole, ensuring the leaf nodes are buried. Gently firm the soil around the stem.
- Create Humidity: Water the potting mix lightly. Then, cover the pot with a clear plastic bag or place it in a propagation tray with a lid. This creates a mini-greenhouse effect, keeping humidity high, which is vital for cuttings to root.
Water Propagation
This method is visually satisfying as you can watch the roots grow!
- Take Your Cuttings: Follow steps 1 and 2 from the stem cutting method.
- Prepare for Water: Remove all but the top few leaves.
- Place in Water: Fill a clean container (a glass jar or vase works well) with filtered or distilled water. Place the cuttings in the water, ensuring that the leaf nodes are submerged but the leaves themselves are not.
- Change the Water: Change the water every few days to keep it fresh and prevent bacterial growth.
The “Secret Sauce” (Pro Tips)
Experience teaches us a few tricks, and here are mine for Freycinetia:
- Bottom Heat is Your Friend: If you can, place your pots on a heat mat designed for propagation. This gentle warmth from below encourages root development and significantly speeds up the process. It’s like a little spa treatment for your cuttings!
- Don’t Overwater Your Cuttings: While they need humidity, soggy soil is the fastest way to rot. Your potting mix should be consistently moist but not waterlogged. If you can squeeze water out of it, it’s too wet.
- Patience with Aerial Roots: You’ll notice those beautiful aerial roots on your parent plant. While they look ready to go, they are often best left attached to the mother plant until they are well-established and slightly woody. Taking them too early can stress the parent and the cutting.
Aftercare & Troubleshooting
Once you start seeing new growth or thicker roots forming (you might see them peeking out of the drainage holes!), it’s time to transition your baby Freycinetia.
- Acclimatize: Gradually remove the plastic bag over a few days to let the plant adjust to lower humidity.
- Potting Up: When the roots are well-developed and the plant looks sturdy, pot it up into a slightly larger container with fresh, well-draining potting mix.
- Watering: Water thoroughly after potting and then allow the top inch of soil to dry out between waterings.
- Light: Place your new plant in bright, indirect light, just like you would the mature plant.
Now, what if things go wrong? The most common issue you’ll face is rot. This usually happens from too much moisture and poor air circulation. If a cutting looks yellow, mushy, or dark brown at the base, sadly, it’s likely gone. Don’t be discouraged! Just clean your tools and try again.
A Encouraging Closing
Propagating plants is a journey, and every cutting is a lesson. Don’t worry if your first few attempts aren’t picture-perfect. The most important thing is to be patient and enjoy the process. Watching a tiny cutting transform into a thriving new plant is one of the greatest joys of gardening. So, grab your pruners, get inspired by that beautiful Freycinetia, and happy propagating!
Resource:
https://identify.plantnet.org/k-world-flora/species/Freycinetia%20novocaledonica%20Warb./data