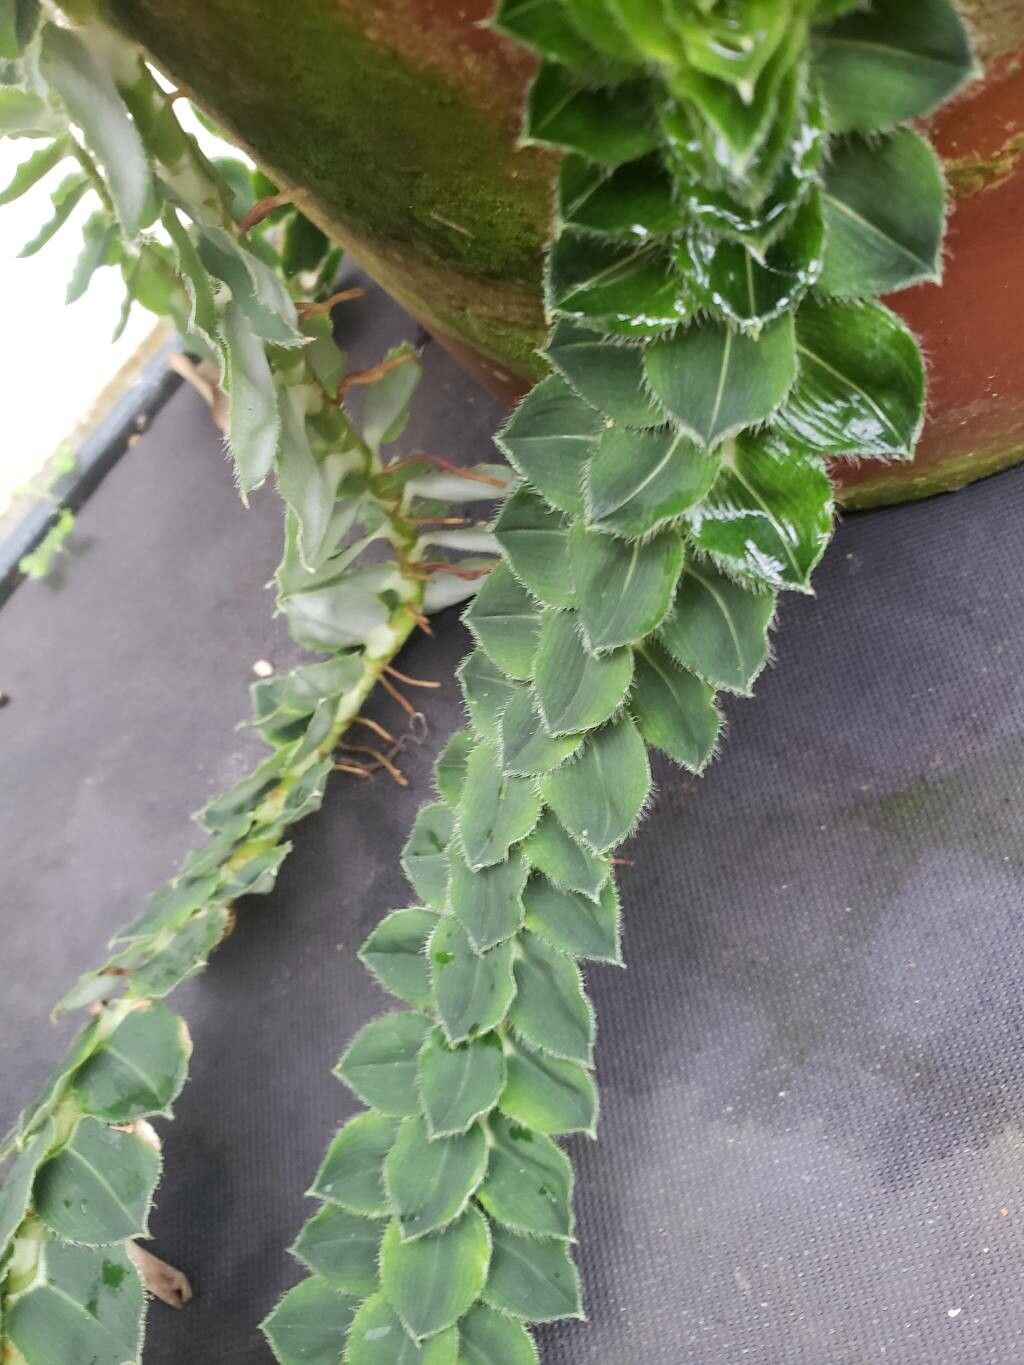
Hey there, fellow plant lovers! If you’ve ever admired the graceful cascade of Freycinetia elegantula – you know, those lovely arching leaves that bring a touch of the tropics to any space – you’re in for a treat. Growing more of these beauties from your existing plants is not only incredibly satisfying, but it’s also a fantastic way to fill your home or garden with their lush charm. While Freycinetia might sound a bit exotic, propagating it is surprisingly approachable, even for those new to the wonderful world of green thumbs.
When to Get Your Hands Dirty
For the best chances of success with Freycinetia elegantula, spring and early summer are your golden windows. This is when the plant is actively growing, full of energy, and more receptive to taking root. You’ll want to work with healthy, vigorous stems that aren’t actively flowering. That surge of new growth means your cuttings will have all the vigor they need to establish themselves.
Your Propagating Toolkit
Before we dive in, let’s gather our essentials. Having everything ready makes the whole process smooth and enjoyable:
- Sharp Pruning Shears or Scissors: Clean cuts are crucial for preventing disease and encouraging rooting.
- Rooting Hormone (Optional but Recommended): This little helper gives your cuttings a significant boost. Look for one suitable for stem cuttings.
- Well-Draining Potting Mix: A good blend of perlite, peat moss, and compost works beautifully. Or, grab a commercial seedling mix.
- Small Pots or Trays: Clean containers are a must. Yogurt cups with drainage holes work in a pinch!
- Plastic Bags or Domes: To create a mini-greenhouse effect.
- Spray Bottle: For keeping things consistently moist.
- Watering Can: For gentle watering once roots appear.
- Labels: To keep track of what you’ve planted and when.
Bringing New Life: Propagation Methods
Freycinetia elegantula is quite adaptable, and for many gardeners, stem cuttings are the go-to method. It’s straightforward and generally yields excellent results.
Stem Cuttings:
- Select Your Stem: Gently examine your healthy Freycinetia. Look for a stem that’s about 6-8 inches long and has at least a couple of leaf nodes (where the leaves attach to the stem).
- Make the Cut: Using your clean pruning shears, make a clean cut just below a leaf node. This is where the magic of rooting often happens.
- Prepare the Cutting: Carefully remove the lower leaves from the cutting, leaving just the top few leaves. This prevents them from rotting in the soil. If the remaining leaves are very large, you can even snip them in half to reduce water loss.
- Apply Rooting Hormone: Dip the cut end of the stem into your rooting hormone powder. Tap off any excess. This step is like giving your cutting a healthy start.
- Plant Them Up: Fill your small pots with your well-draining potting mix. Make a small hole in the center with your finger or a pencil.
- Insert the Cutting: Gently place the cut end of the stem into the hole, ensuring at least one leaf node is buried beneath the soil surface. Firm the soil gently around the base of the cutting.
- Water and Cover: Water gently to settle the soil. Then, cover the pot with a plastic bag or a clear dome to trap humidity. This is essential for preventing the cuttings from drying out!
- Placement: Place the pots in a bright spot that receives indirect sunlight. Avoid direct sun, as it can scorch your new babies.
My “Secret Sauce” for Success
Over the years, I’ve learned a few tricks that really make a difference, and I’m happy to share them with you!
First, when you pot up your cuttings, I always give them a gentle misting with water, but I make sure no leaves are touching the soil. If leaves sit directly on damp soil, they’re far more prone to getting fuzzy with rot. It’s a small detail, but it saves a lot of heartache.
Second, for an extra boost, especially if your home is a bit cooler, I highly recommend bottom heat. You can achieve this by placing your pots on a heat mat designed for seedlings. A warm soil temperature encourages the roots to form much more quickly. It’s like giving your cuttings a cozy, warm bed to grow in!
Keeping Them Happy: Aftercare and Troubleshooting
Be patient! It can take anywhere from 3 to 6 weeks for your Freycinetia cuttings to develop a good root system. You’ll know they’re ready when you see new growth emerging and feel a gentle resistance when you lightly tug on the cutting.
Once roots have formed, carefully remove the plastic covering gradually over a few days to acclimate your new plants to normal humidity. Water them when the top inch of soil feels dry.
The most common issue you might encounter is rot. If you see your cutting turn yellow, mushy, or black at the base, it’s likely that rot has set in. This usually happens due to overwatering or not enough air circulation. If you catch it early, you might be able to salvage it by cutting away any rotted parts and repotting in fresh, dry soil, but often, it’s best to start again with a fresh cutting.
Go Forth and Propagate!
There you have it! Propagating Freycinetia elegantula is a rewarding journey, and the feeling of nurturing a new plant from a tiny cutting is truly special. Don’t be discouraged if your first few attempts aren’t perfect. Every plant and every home is a little different, so keep experimenting, observe your plants, and most importantly, enjoy the process. Happy gardening!
Resource:
https://identify.plantnet.org/k-world-flora/species/Freycinetia%20elegantula%20B.C.Stone/data