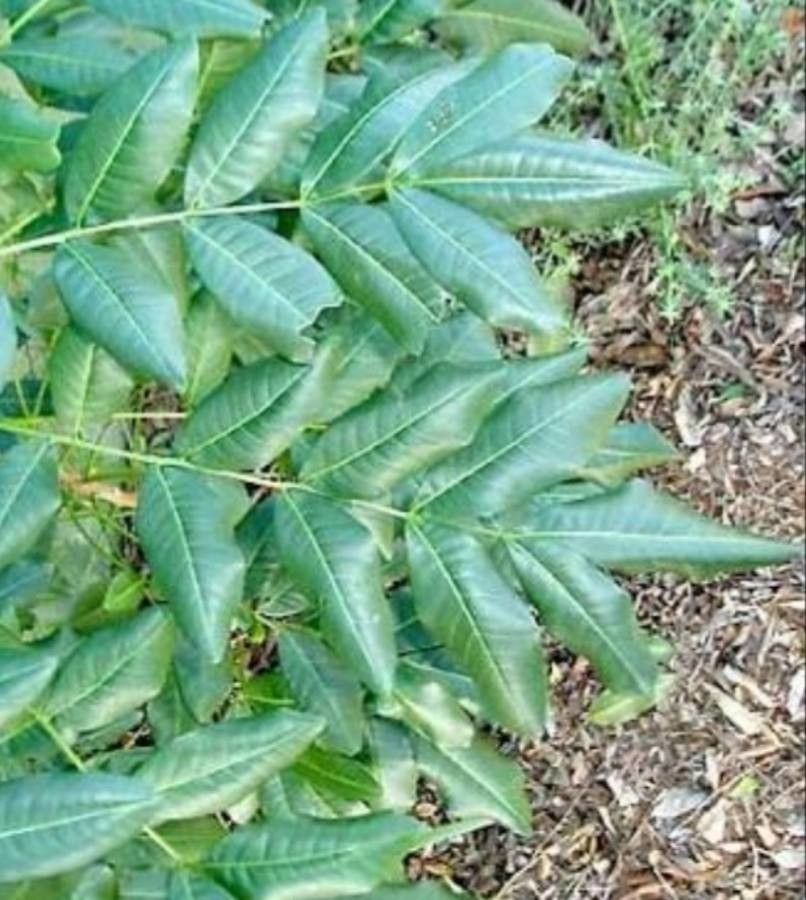
Oh, hello there! It’s so lovely to have you join me today. We’re going to talk about a truly special Australian native, Flindersia australis, also known as the Australian Teak or Lemon-Scented Ironwood. This tree is just magnificent, isn’t it? Its glossy, leathery leaves and its stunning, often fragrant, creamy white flowers are a real treat for the senses. Plus, the wood is incredibly durable, making it a treasured material. Propagating it yourself… well, that’s just the most rewarding kind of gardening. It’s a little bit of a challenge, I’ll be honest, not the easiest plant for a complete beginner, but with a bit of know-how and patience, you can absolutely succeed.
The Best Time to Start
For Flindersia australis, the sweet spot for propagation is definitely late spring to early summer. This is when the plant is in its active growing phase. You want to take cuttings from stems that are semi-hardwood. This means they’ve matured a bit from the soft, brand-new growth but aren’t yet old and woody. Think of a stem that bends a little but doesn’t snap easily.
Supplies You’ll Need
Gathering your supplies before you start makes the whole process so much smoother. Here’s what you’ll want:
- Sharp, clean pruning shears or a craft knife: For taking clean cuts that heal well. Sterilize them with rubbing alcohol between cuts.
- A well-draining potting mix: I like to use a blend of coarse horticultural sand, perlite, and a good quality peat-free potting compost. Something like a 1:1:1 ratio works wonders.
- Rooting hormone powder or gel: This isn’t strictly essential for all plants, but for something a bit trickier like Flindersia australis, it gives you a real edge.
- Small pots or a propagation tray: Make sure they have drainage holes!
- A clear plastic bag or propagation dome: To create a humid environment.
- A small trowel or dibber: For making planting holes.
- Watering can or spray bottle: For gentle watering.
Propagation Methods
While you might try a few things, stem cuttings are generally the most successful method for Flindersia australis.
- Taking the Cuttings: First, locate a semi-hardwood stem on a healthy parent plant. Using your sterilized pruning shears, take cuttings that are about 15-20 cm (6-8 inches) long. Make your cut just below a leaf node (where a leaf attaches to the stem).
- Preparing the Cuttings: Gently remove the lower leaves from your cuttings. You want to leave just a few leaves at the top to photosynthesize. If the remaining leaves are very large, you can cut them in half horizontally. This reduces water loss.
- Applying Rooting Hormone: Dip the cut end of each stem into the rooting hormone, tapping off any excess.
- Planting the Cuttings: Fill your pots or tray with the prepared well-draining potting mix. Make a hole with your trowel or dibber, insert the cutting so that at least one leaf node is buried in the soil, and gently firm the soil around it.
- Creating Humidity: Lightly water the soil. Then, cover the pots with a clear plastic bag or place them under a propagation dome. This traps moisture and keeps the humidity high, which is crucial for preventing the cuttings from drying out before they can form roots.
The “Secret Sauce” (Pro Tips)
Here are a few little tricks I’ve learned over the years that can make a big difference with plants like Flindersia australis:
- Consider Bottom Heat: Flindersia australis really loves a little warmth from below. Placing your pots on a heated propagation mat can significantly speed up root development. It mimics the natural warmth of summer soil.
- Don’t Drown Them: While humidity is vital, you don’t want soggy soil. Make sure the potting mix is moist but not waterlogged. If you’re using a plastic bag, check the soil moisture every few days and mist lightly if needed. Too much water can lead to rot, which is the quickest way to lose a cutting.
- Patience is Key (and Observation!): Don’t be tempted to pull up your cuttings too soon to check for roots. Give them at least 6-8 weeks, sometimes longer. You’ll know they’re rooting when you see new leaf growth appearing at the top.
Aftercare & Troubleshooting
Once you see that lovely new growth, your cuttings are on their way!
- Acclimatizing: Gradually introduce your new plants to normal air. For the first week or so, open the plastic bag or dome a little each day to let them adjust.
- Watering: Continue to keep the soil moist but not soggy. As they grow stronger, you can water them a bit more thoroughly, allowing the top inch of soil to dry out between waterings.
- Light: Place your new plants in a spot with bright, indirect light. Avoid direct, scorching sun for the first few months.
- Troubleshooting: The most common issue is rot. If you see the stem turning black and mushy at the soil line, it’s likely too wet. Unfortunately, cuttings that rot are usually lost. Another sign of trouble is if the cuttings wilt and shrivel despite being in a humid environment; this usually means they haven’t been able to form roots and are drying out faster than they can absorb water.
A Little Bit of Patience, A Lot of Reward
Propagating Flindersia australis is a journey, not a race. There might be a few failures along the way, and that’s perfectly okay. Every gardener learns from their experiences. The feeling of nurturing a tiny cutting into a healthy young plant is truly special. So, gather your tools, get your hands in the soil, and give it a go. I’m cheering you on! Happy gardening!
Resource:
https://identify.plantnet.org/k-world-flora/species/Flindersia%20australis%20R.Br./data