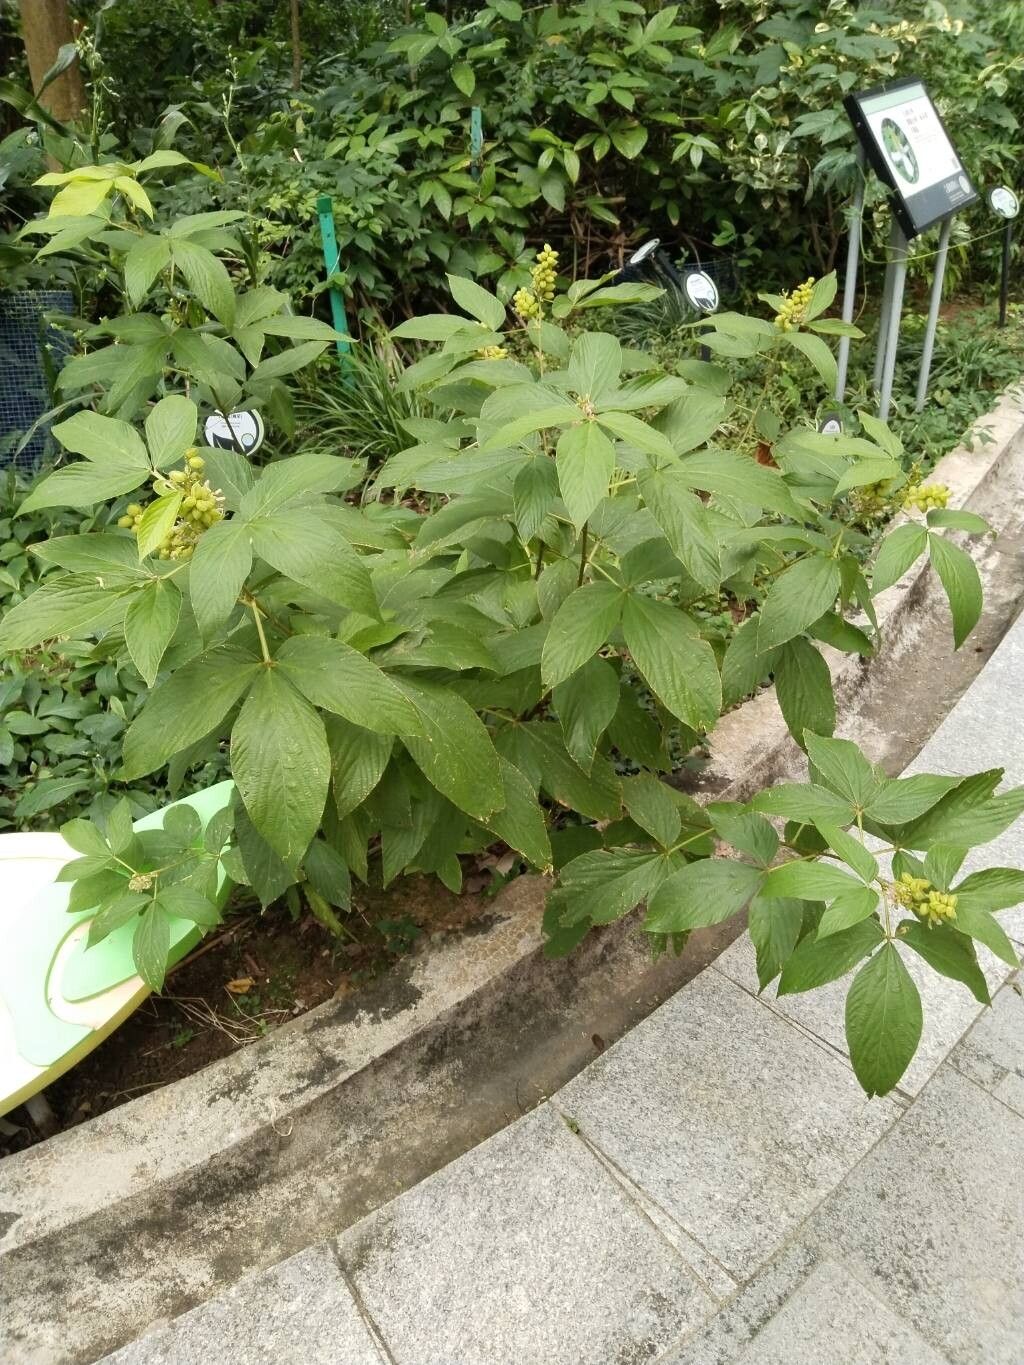
Hey there, fellow plant lovers! Let’s talk about a gem that deserves a spot in more gardens: Flemingia macrophylla. This beauty, with its lovely foliage and sometimes charming flowers, is quite a looker. And honestly, the satisfaction you get from creating new plants from an existing one? Pure magic. I’ve found Flemingia macrophylla to be reasonably straightforward to propagate, which is great news for everyone, even if you’re just dipping your toes into the world of creating more green friends.
The Best Time to Start
For the highest success rates with Flemingia macrophylla, I always aim to take cuttings in the late spring or early summer. This is when the plant is actively growing and has a good amount of energy to put into rooting. You’re looking for stems that are mature but not woody – think of them as “semi-hardwood” cuttings.
Supplies You’ll Need
Before we get our hands dirty, let’s gather our tools:
- Sharp pruning shears or a clean knife: For taking clean cuts.
- Rooting hormone (optional but recommended): A little boost can make a big difference.
- Well-draining potting mix: I often use a balanced mix of peat moss, perlite, and a little coarse sand.
- Small pots or trays: With drainage holes, of course!
- Clear plastic bag or cloche: To create a humid environment.
- Watering can with a fine rose: For gentle watering.
- Labels: To keep track of what you’ve planted!
Propagation Methods
My go-to method for Flemingia macrophylla is stem cuttings. It’s reliable and yields great results.
- Take Your Cuttings: Using your sharp shears, select a healthy stem that’s about 4-6 inches long. Make a clean cut just below a leaf node (where a leaf attaches to the stem). This is where the magic of rooting usually happens.
- Prepare the Cuttings: Gently remove the lower leaves from the stem, leaving only the top couple of leaves. If the leaves are very large, you can cut them in half to reduce water loss.
- Dip in Rooting Hormone: If you’re using rooting hormone, dip the cut end of the stem into it, tapping off any excess. This really helps encourage root development.
- Pot Up Your Cuttings: Fill your pots or trays with your well-draining potting mix. Make a small hole in the center of the soil with a pencil or your finger. Insert the cutting into the hole, making sure the nodes where you removed leaves are buried. Gently firm the soil around the stem.
- Create a Humid Environment: Water the soil gently until it’s moist but not soggy. Then, place the pots inside a clear plastic bag, or cover them with a cloche. Make sure the plastic doesn’t touch the leaves of the cuttings. This traps humidity, which is crucial for successful rooting. Secure the bag loosely around the pot.
The “Secret Sauce” (Pro Tips)
Here are a couple of things I’ve learned over the years that can really set you up for success:
- Bottom Heat is Your Friend: If you have a heat mat designed for seedlings and cuttings, using it for your Flemingia cuttings can dramatically speed up the rooting process. The gentle warmth encourages root formation from below.
- Don’t Be Afraid to Prune: Sometimes, the original mother plant can be a bit leggy. Pruning it back in the spring not only encourages bushier growth on the parent plant but also provides you with plenty of material for cuttings! I often find that the cuttings from pruned branches root even better.
Aftercare & Troubleshooting
Once your cuttings are potted up, place them in a bright, indirect light location. Avoid direct, harsh sun, which can scorch young cuttings. Keep the soil consistently moist but never waterlogged. Gently lift the plastic bag daily to allow for some air circulation and check on moisture levels.
You can expect roots to start forming within a few weeks to a couple of months. You’ll know they’re rooting when you see new leaf growth or feel a slight tug when you gently pull on the cutting – don’t tug too hard, though!
The most common issue you might encounter is rot. This usually happens if the cuttings are kept too wet or if there isn’t enough air circulation. If you notice any mushy, brown stems, it’s best to discard that cutting to prevent it from spreading.
A Little Patience Goes a Long Way
And there you have it! Propagating Flemingia macrophylla is a rewarding journey. Don’t get discouraged if every single cutting doesn’t make it – it’s all part of the learning process. Just keep trying, enjoy the simple act of nurturing new life, and soon you’ll have a whole collection of these lovely plants to share or enjoy yourself. Happy propagating!
Resource: