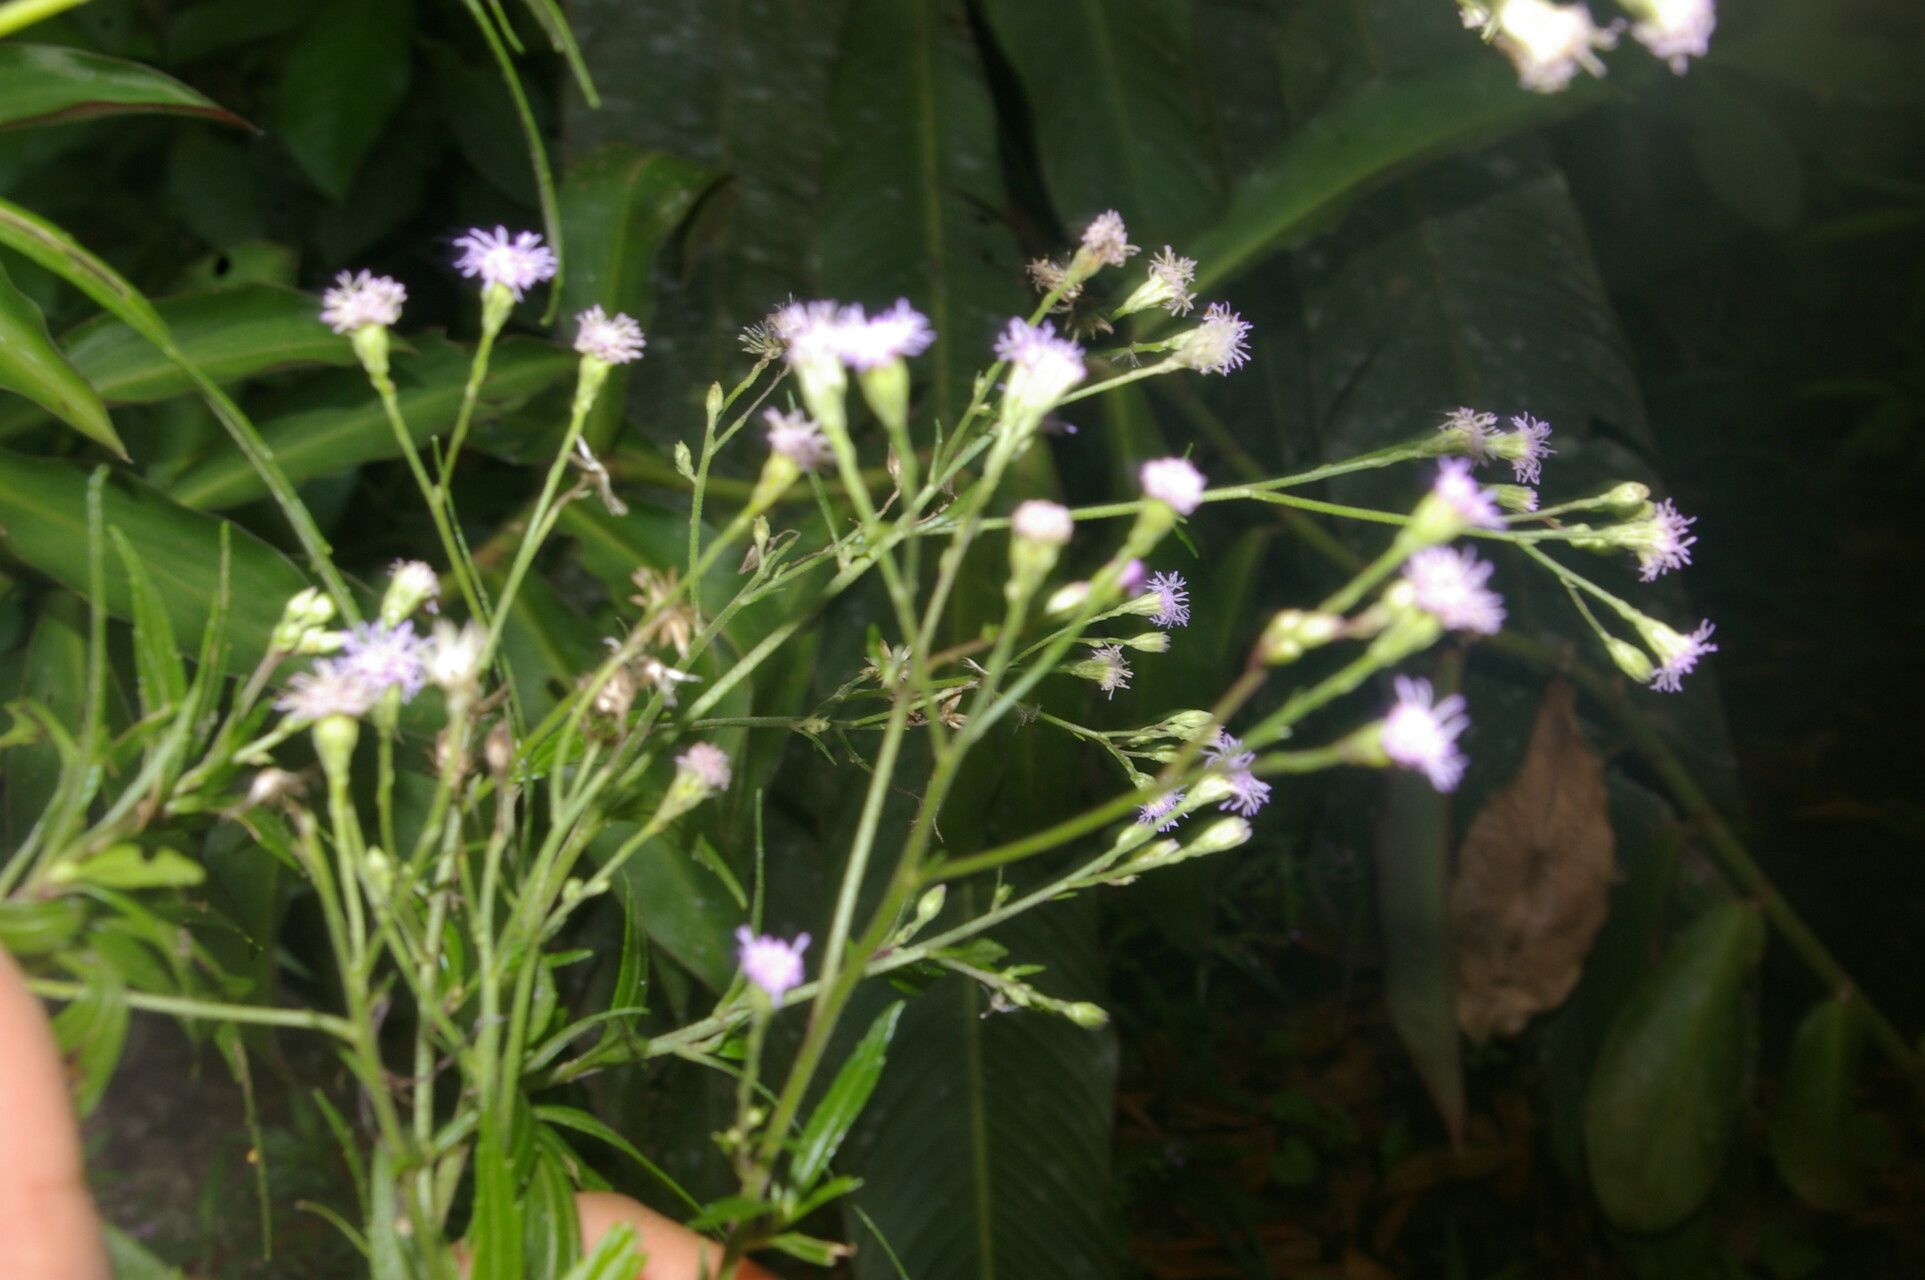
Oh, hello there! Pull up a chair and let’s chat about a truly delightful plant: Fleischmannia sideritidis. If you’re looking for a little bit of airy charm and delicate beauty in your garden or on your windowsill, you’ve found it. Its ethereal sprays of tiny white flowers are just lovely, especially when they catch the sunlight. And the best part? Bringing new life into the world by propagating it is a wonderfully rewarding experience. Now, to be honest, Fleischmannia sideritidis isn’t exactly the “plant it and forget it” kind of species when it comes to propagation. It requires a little attention and a gentle hand, but don’t let that deter you! With a few key steps, you’ll be well on your way.
The Best Time to Start
When it comes to getting the best results, spring is your best friend for propagating Fleischmannia sideritidis. As the days get longer and warmer, the plant is bursting with new energy and vigor. The new growth you’ll find at this time is generally more responsive and eager to root. You can also have success in early summer, but I find the spring excitement makes for the quickest root development.
Supplies You’ll Need
Gathering your tools beforehand makes the whole process so much smoother. Here’s what I like to have on hand:
- Sharp, clean pruning shears or a sharp knife. Cleanliness is key to preventing disease.
- A well-draining potting mix. I often use a blend of equal parts perlite and a good quality potting soil. Some growers also like to add a bit of orchid bark for extra aeration.
- Small pots or propagation trays with drainage holes.
- Rooting hormone (optional, but can speed things up). A powder form is my preference.
- A plastic bag or a clear plastic dome to create a humid environment.
- A spray bottle filled with clean water.
- Labels so you don’t forget what you’ve planted where!
Propagation Methods
Let’s get our hands dirty! The most reliable way I’ve found to propagate Fleischmannia sideritidis is through stem cuttings.
- Take Your Cuttings: First, locate healthy, non-flowering stems on your parent plant. You want to take cuttings that are about 3-4 inches long. Make your cut just below a leaf node (that’s the spot where a leaf attaches to the stem). Remove the lower leaves from your cutting, leaving just a few at the top.
- Apply Rooting Hormone (Optional): If you’re using rooting hormone, dip the cut end of the stem into the powder. Tap off any excess.
- Plant Your Cuttings: Fill your small pots or trays with your prepared potting mix. Make a small hole with your finger or a pencil. Gently insert the cut end of the Fleischmannia sideritidis cutting into the hole. Firm the soil gently around the stem to ensure good contact.
- Water Lightly: Water the soil lightly until it’s evenly moist. You don’t want it soggy; just nicely damp.
- Create Humidity: This is a crucial step! Place your pots into a clear plastic bag, sealing it loosely, or cover them with a clear plastic dome. This creates a mini-greenhouse that keeps the humidity high, which is essential for cuttings to root. Place the tray in a bright spot, but out of direct sunlight. A little bit of warmth from the bottom can also be beneficial.
The “Secret Sauce” (Pro Tips)
Now, for a couple of little tricks I’ve picked up over the years that can really make a difference:
- Don’t Let the Leaves Touch the Water (if water propagating): While I prefer stem cuttings in soil for Fleischmannia sideritidis, if you ever try water propagation with other plants, remember that submerged leaves will rot. Always keep leaves above the water line. For our Fleischmannia, this translates to ensuring the lower leaves are completely removed from the stem before planting.
- Bottom Heat is Your Friend: If you can, place your propagation tray on a heating mat designed for seedlings. A gentle warmth from below can significantly speed up the rooting process, providing that little extra push the cuttings need. It mimics the feeling of being nestled in warm soil.
Aftercare & Troubleshooting
Once your cuttings have rooted – usually after 4-6 weeks, though sometimes longer – you’ll start to see new growth emerging from the top. That’s your signal! Gently tug on the cutting; if there’s resistance, it means roots have formed.
Once roots are established, you can gradually remove the plastic cover over a few days to acclimate the new plants to normal humidity. Water them as you would the parent plant, letting the soil dry out slightly between waterings. Keep them in bright, indirect light.
What about when things go wrong? The most common issue you might encounter is rot. If a cutting turns mushy and dark, it’s likely rotted. This usually happens from too much moisture and poor air circulation. To avoid this, ensure your soil is well-draining, don’t overwater, and maintain good air movement once the initial humidity dome is removed. If you see a bit of wilting, don’t despair; sometimes they just need a little time to adjust.
A Encouraging Closing
Propagating plants is a journey, and with Fleischmannia sideritidis, it’s one that requires a touch of patience and observation. Don’t get discouraged if your first few attempts aren’t perfect. Each cutting, each new plant that takes root, is a small victory. Enjoy the process, learn from each step, and soon you’ll have a beautiful collection of these charming plants! Happy gardening!
Resource: