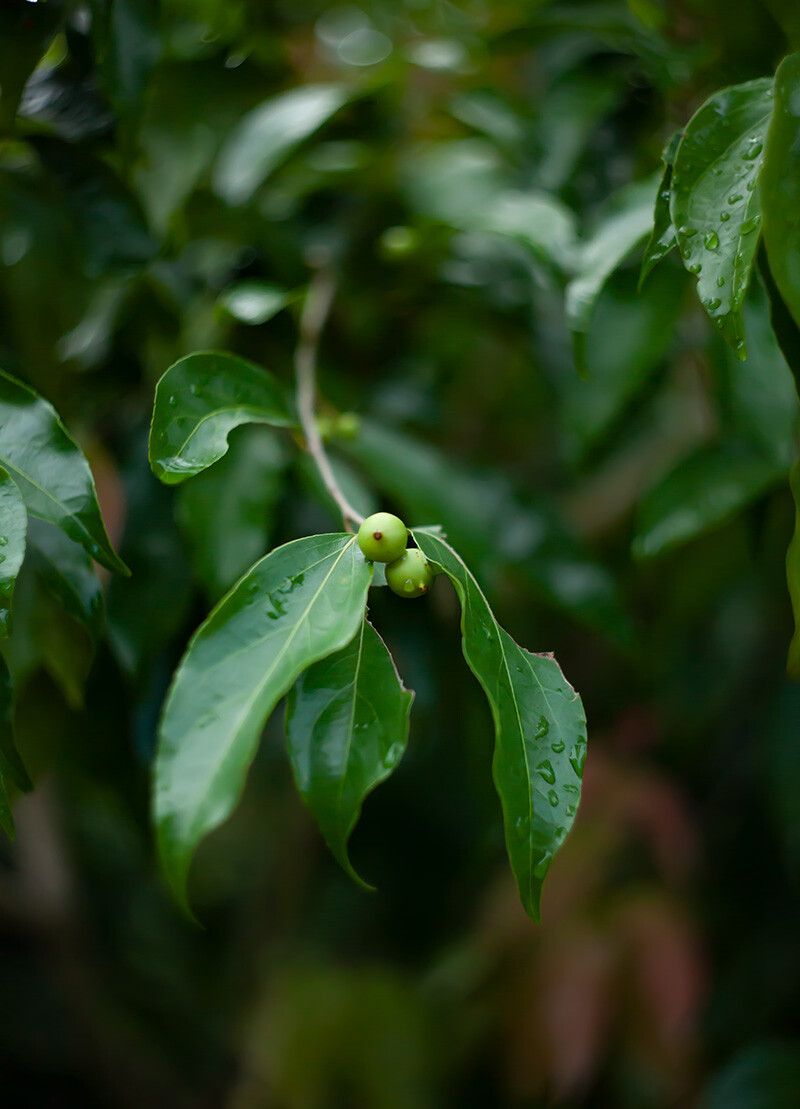
Oh, hello there! I’m so glad you’re interested in Flacourtia jangomas, also known as the Indian Plum or Coffee Plum. What a joy this plant is to have in the garden! The fruit is tart and delicious – makes a fantastic jam, by the way – and the glossy, evergreen foliage is simply lovely. Growing more of them from cuttings is incredibly satisfying, and while it has a little bit of a learning curve, it’s definitely achievable for anyone willing to put in a bit of care. Think of it as a fun gardening adventure!
The Best Time to Start
For Flacourtia jangomas, the absolute sweet spot for propagation is late spring to early summer. This is when the plant is actively growing and has plenty of energy to put into forming new roots. You’ll want to select stems that are semi-hardwood, meaning they’ve started to firm up but aren’t woody and old. Imagine the snap of a young twig – that’s what you’re aiming for.
Supplies You’ll Need
- Clean, sharp pruning shears or a sharp knife: Essential for making clean cuts.
- A well-draining potting mix: I like a blend of equal parts peat moss or coco coir, perlite, and coarse sand. This ensures good aeration and prevents waterlogging.
- Rooting hormone (optional, but recommended): A powdered or liquid hormone like IBA (Indole-3-butyric acid) can give your cuttings a real boost.
- Small pots or seed trays: Clean ones are a must to prevent disease.
- A clear plastic bag or propagation dome: To create a humid environment.
- Small pebbles or perlite (for water propagation): To provide support.
Propagation Methods
Let’s get our hands dirty! I find stem cuttings to be the most reliable method for Flacourtia jangomas.
- Take Your Cuttings: In your chosen timeframe, snip off several healthy shoots that are about 4-6 inches long. Make your cut just below a leaf node (where a leaf meets the stem). Remove the lower leaves, leaving just a few at the top.
- Prepare the Cuttings: Dip the cut end of each stem into your rooting hormone, tapping off any excess.
- Plant the Cuttings: Fill your small pots with the prepared potting mix. Make a hole in the center of the mix with a pencil or your finger and gently insert the cutting, ensuring the bottom leaf nodes are covered by soil. Firm the soil around the stem.
- Create Humidity: Water the soil gently, then cover the pots with a clear plastic bag or place them under a propagation dome. This traps moisture and prevents the cuttings from drying out. Make sure the leaves aren’t touching the sides of the bag if possible.
- Provide the Right Environment: Place your pots in a warm, bright location with indirect sunlight. Avoid direct sun, which can scorch the delicate cuttings.
The “Secret Sauce” (Pro Tips)
- Bottom Heat is Your Friend: If you can, place your pots on a gentle heat mat. This warmth from below encourages root development like nothing else. It’s especially helpful if your home is a bit cooler.
- Don’t Disturb Too Soon: Resist the urge to tug at your cuttings to check for roots. Wait at least 4-6 weeks. You’ll see signs of new growth at the top first; this is a good indicator that roots are forming below.
- Consider a “Misting Routine”: Even with the plastic bag, a light mist of water inside the bag every few days can provide extra humidity, which is crucial for these vulnerable cuttings.
Aftercare & Troubleshooting
Once you see tiny roots poking out from the drainage holes or new shoots appearing, it’s time to transition your little plant.
- Acclimatize Gradually: Slowly remove the plastic bag or ventilation from your dome over a week or so. This helps the new plant adjust to normal humidity levels.
- Gentle Watering: Water whenever the top inch of soil feels dry. Avoid overwatering, as this is the quickest way to invite rot.
- Watch for Rot: Signs of trouble include blackening stems, mushy leaf bases, or a foul smell. If you see this, it’s often too late to save the cutting, but don’t despair. You can try taking more cuttings from healthy parts of the parent plant. Ensure your potting mix is draining well and that you aren’t keeping them too soggy.
A Little Patience Goes a Long Way
Growing plants is a journey, and propagating Flacourtia jangomas is a beautiful way to multiply this delightful fruit-bearing shrub. Don’t be discouraged if your first few attempts aren’t perfect – every gardener has had their share of failures! Keep trying, observe your plants, and enjoy the magic of coaxing new life from a simple stem. Happy propagating!
Resource:
https://identify.plantnet.org/k-world-flora/species/Flacourtia%20jangomas%20(Lour.)%20Raeusch./data