Hello fellow garden enthusiasts!
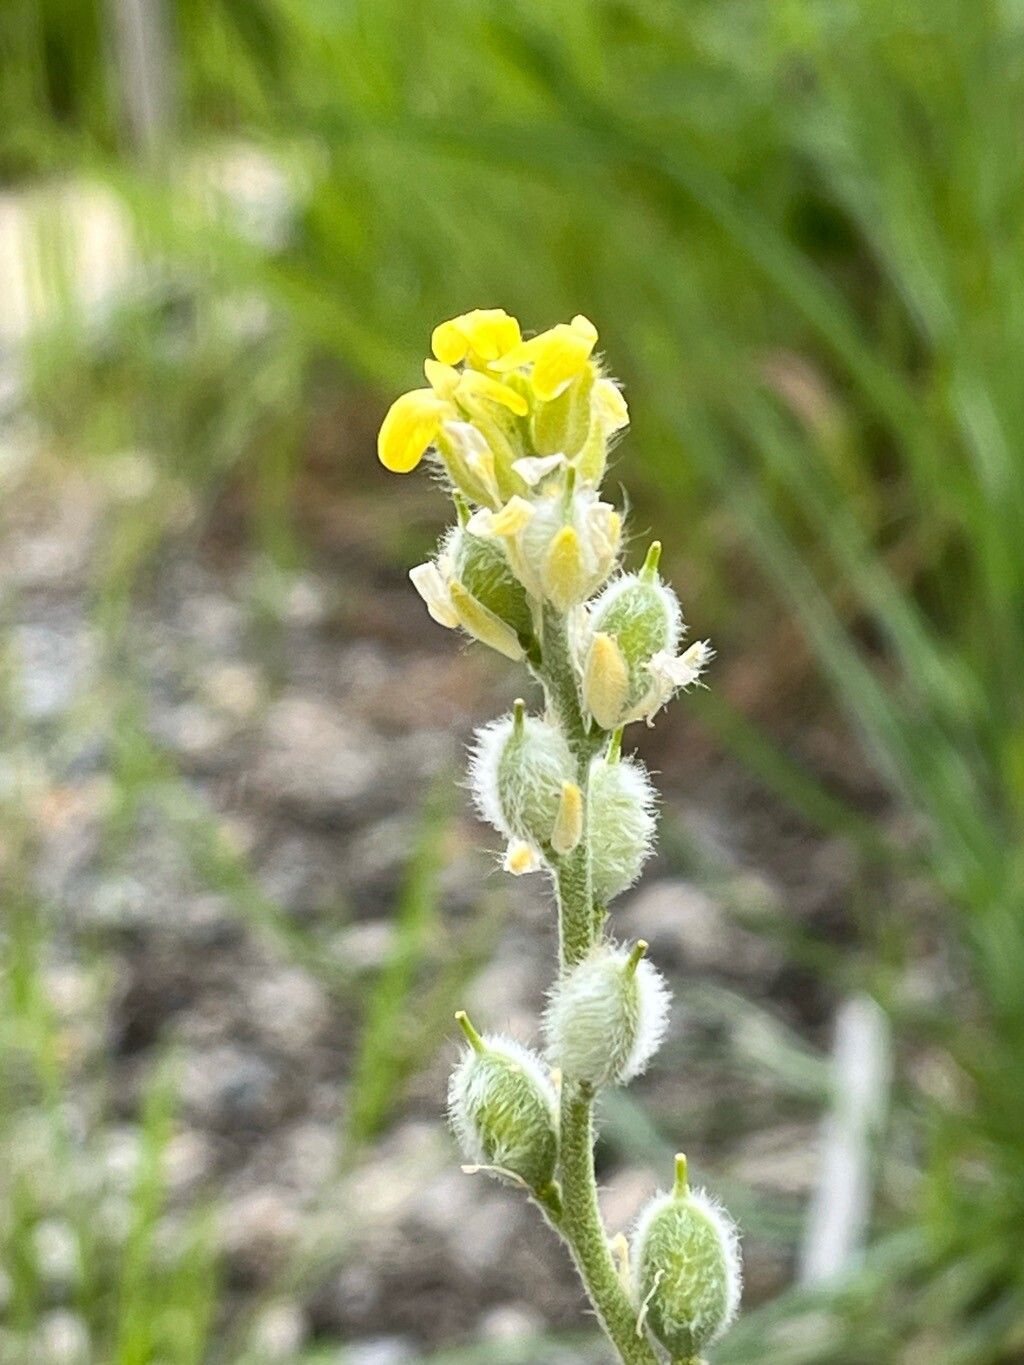
Today, I want to chat with you about a truly charming plant: Fibigia clypeata. You might know it by its more common names, like Mediterranean rock cress or yellow alyssum. It’s one of those delightful little groundcovers that blankets itself in a profusion of sunshine-yellow flowers, usually with silvery foliage to boot. It’s absolutely perfect for rock gardens, spilling over walls, or even adding a touch of delicate charm to containers. The real reward, though, comes from coaxing new life from your existing plants. Propagating Fibigia clypeata is a wonderfully satisfying endeavor, and I’m happy to say, it’s quite approachable for most gardeners. You don’t need a degree in botany, just a little patience and a willingness to get your hands dirty!
The Best Time to Start
For the highest success rates with Fibigia clypeata, I’ve found that late spring to early summer is your golden window. This is when the plant is actively growing after its main bloom period. You’re looking for stems that have a bit of new growth but are still flexible enough to root. Avoid trying to propagate from very old, woody stems or when the plant is stressed from heat or drought.
Supplies You’ll Need
Gathering your tools beforehand makes the whole process much smoother. Here’s what I usually have on hand:
- Sharp Pruning Shears or a Craft Knife: Make sure they’re clean to prevent disease.
- Seed Starting Mix or a Well-Draining Potting Mix: I often mix my own with equal parts peat moss, perlite, and a bit of sand.
- Small Pots or Trays: Five-inch pots work well, or cell trays if you’re starting many.
- Rooting Hormone (Optional, but Recommended): A powder or gel can give your cuttings a helpful boost.
- Small Labels and a Marker: For keeping track of what you’ve planted and when.
- Plastic Bags or a Propagation Dome: To create a humid environment.
- Watering Can with a Fine Rose: For gentle watering.
Propagation Methods: Stem Cuttings
This is my go-to method for Fibigia clypeata. It’s reliable and gives you a great chance of success.
Step 1: Take Your Cuttings. Find a healthy, non-flowering stem. You’re looking for a piece that’s about 4-6 inches long. Make a clean cut just below a leaf node (the point where a leaf attaches to the stem). This node is where the magic happens – that’s where roots will form.
Step 2: Prepare the Cuttings. Gently remove the lower leaves from the cutting, leaving only the top two or three. This prevents leaves from rotting once they’re in the soil. If the cutting is very long, you can even snip off the very tip of the new growth.
Step 3: Dip in Rooting Hormone (Optional). If you’re using rooting hormone, lightly dip the cut end into the powder or gel. Tap off any excess.
Step 4: Plant Your Cuttings. Fill your small pots with your prepared mix. Make a small hole in the center of the soil with your finger or a pencil. Carefully insert the cut end of your Fibigia clypeata stem into the hole. Gently firm the soil around the cutting to ensure good contact.
Step 5: Water and Cover. Water the soil thoroughly but gently so it’s moist, not waterlogged. Then, cover the pot with a plastic bag or place it under a propagation dome. This creates a mini-greenhouse that keeps the humidity high, which is crucial for rooting.
Step 6: Place in Bright, Indirect Light. Find a spot that gets plenty of bright light, but avoid direct, harsh sunlight. A sunny windowsill that doesn’t get baked by the afternoon sun is usually perfect.
The “Secret Sauce” (Pro Tips)
Okay, between you and me, here are a couple of things that have really helped me over the years:
- Bottom Heat is Your Friend. While not strictly necessary, placing your pots on a gentle heating mat designed for seedlings can significantly speed up root formation. It mimics the warmth of spring soil and gives the roots a real kickstart. Just make sure it’s a gentle heat, not scorching hot.
- Watch for Pests in Humidity. While high humidity is good for rooting, it can also attract tiny pests like whiteflies or fungus gnats if you’re not careful. Periodically remove the plastic bag or dome to allow for air circulation for an hour or so. This helps prevent mold and keeps things fresh.
Aftercare & Troubleshooting
Once you start seeing new growth, that’s a good sign that roots are forming! You might even be able to give your cutting a very gentle tug, and if there’s resistance, you’ve got roots!
- Gradually Acclimate. Once roots are established (usually after 4-6 weeks), you can slowly start to introduce your new plant to drier air. This means gradually removing the plastic bag or dome over a week or so.
- Patience with Potting Up. Don’t rush to pot them into larger containers. Let them develop a good root system in their initial small pots. Once they’re a decent size and the roots are filling the pot, you can transplant them into slightly larger containers.
- Watch for Rot. The most common issue you’ll encounter is rot. This usually happens if the soil stays too wet or if there’s poor drainage. If you see your cutting go limp and mushy, or if it develops a dark, wet base, it’s likely succumbed to rot. Unfortunately, there’s not much you can do once this happens, so it’s best to discard it and try again, paying close attention to soil moisture and drainage. Another sign of trouble is yellowing leaves that aren’t from insufficient light; this can also indicate too much water.
Propagating Fibigia clypeata is a journey, and like any gardening endeavor, it’s about the process as much as the outcome. Don’t be discouraged if your first few attempts aren’t perfect. Observe your plants, learn from any setbacks, and celebrate every little success. Before you know it, you’ll have a whole collection of these sunny beauties to brighten your garden or share with friends. Happy propagating!
Resource:
https://identify.plantnet.org/k-world-flora/species/Fibigia%20clypeata%20(L.)%20Medik./data