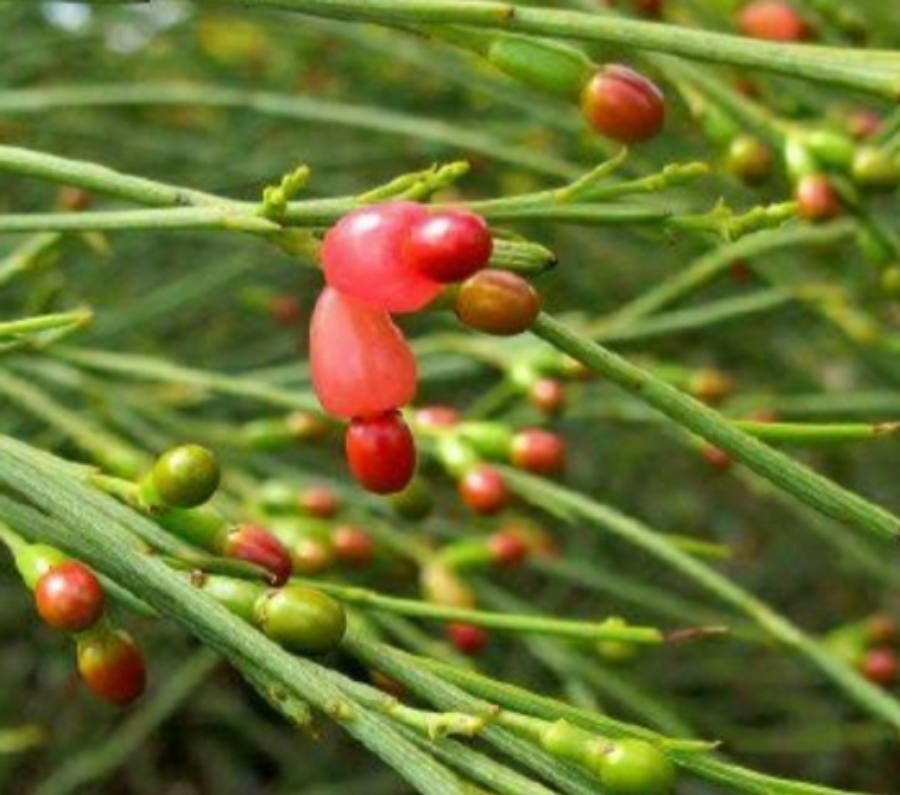
Oh, hello there! Come on in, grab a mug of something warm. I’ve been so looking forward to chatting with you about this little gem, Exocarpos nanus. Have you seen them? They’re just darling, aren’t they? So compact and charming, with their fine, almost needle-like foliage. They have this lovely, understated elegance that brings a real touch of the wild to a garden, even a small one.
And the best part? You can create more of your own! Propagating Exocarpos nanus is a wonderfully rewarding experience. It lets you extend that beauty, share it with friends, or simply fill in those little gaps in your garden. Now, for beginners, I’d say it’s moderately challenging, but with a little patience and the right approach, you’ll definitely get there. It’s not a ‘set it and forget it’ plant to propagate, but the results are so worth the effort.
The Best Time to Start
Timing is everything in the garden, and with Exocarpos nanus, spring and early summer are your golden window. This is when the plant is actively growing, and the new shoots are tender enough to take. You want to be looking for softwood or semi-hardwood cuttings. These are the bits that are green and flexible, but just starting to firm up a bit. Avoid any old, woody stems; they just won’t root as readily.
Supplies You’ll Need
Gathering your tools beforehand makes the whole process so much smoother. Think of it as setting your kitchen up for a delicious baking project!
- Sharp, clean pruning shears or a craft knife: For making neat cuts.
- Rooting hormone powder or gel: This is a real game-changer for encouraging root development.
- A well-draining potting mix: I like a blend of perlite, coco coir, and a little bit of seed-starting mix. You want it light and airy.
- Small pots or seed trays: Clean ones, of course!
- A clear plastic bag or a propagation dome: To create a humid environment.
- Watering can with a fine rose: For gentle watering.
- Labeling sticks and a pen: So you don’t forget what you’ve planted where!
Propagation Methods (My Favorites!)
For Exocarpos nanus, I find stem cuttings to be the most successful and straightforward method.
Stem Cuttings:
- Take your cuttings: In late spring or early summer, select healthy stems that are about 4-6 inches long. Make a clean cut just below a leaf node. A leaf node is where a leaf attaches to the stem; this is where the magic really happens for rooting.
- Prepare the cuttings: Gently remove the lower leaves, leaving just a few at the top. If any of the cuttings have flowers or developing seed pods, pinch those off. We want all the plant’s energy to go into rooting, not flowering or making seeds.
- Dip in rooting hormone: Lightly dip the cut end of each prepared cutting into your rooting hormone. Tap off any excess.
- Pot them up: Fill your small pots or trays with your well-draining potting mix. Make a little hole in the center – I usually use a pencil or the end of my finger.
- Insert the cuttings: Gently place the hormone-dipped end of each cutting into the prepared hole. Firm the soil gently around the base of the cutting to ensure good contact.
- Water gently: Give them a light watering to settle the soil and hydrate the cuttings.
- Create humidity: This is crucial! Cover the pots with a clear plastic bag (making sure the leaves don’t touch the plastic) or place them under a propagation dome. This traps moisture and creates a mini-greenhouse.
- Place them: Find a bright, indirect light spot for your cuttings. Avoid direct sun, which can scorch or dry them out too quickly.
The “Secret Sauce” (Pro Tips)
Here are a couple of little tricks I’ve picked up over the years that really make a difference:
- Bottom heat is your friend: If you have a heated propagator mat, using it is a fantastic way to encourage root formation from below. It mimics the warmth of spring soil and gives those emerging roots a real boost. Just place your pots on top of it.
- Don’t rush the watering: Once you’ve watered them in, try not to overwater. The humidity inside the bag will keep them moist. Check the soil moisture by gently touching it, or feeling the weight of the pot. You only need to water lightly if the surface feels dry. Soggy roots are unhappy roots!
Aftercare & Troubleshooting
Once you start seeing signs of new growth – tiny leaves unfurling at the top – it’s a good indication that roots are forming below! You can tentatively tug on a cutting; if there’s resistance, you’ve got roots!
When that happens, gradually acclimate them to lower humidity. This means opening the plastic bag a little more each day over a week or so. Once they’re clearly growing and have developed a good root system (you might see them peeking out of the drainage holes), it’s time to pot them into slightly larger, individual pots with your regular potting mix. Keep them in a protected spot, just out of direct sun, for a few more weeks before introducing them to their final garden home.
Now, what if things go wrong? The most common culprit is rot, which usually signals too much moisture and not enough airflow. Your cuttings might turn mushy, go black, or simply refuse to show any signs of life. If you see this, unfortunately, it’s best to discard them and start again. Don’t be discouraged! It’s all part of the learning process. Sometimes, even with the best intentions, a cutting just won’t take.
A Encouraging Closing
So there you have it! Propagating Exocarpos nanus is a journey, and like all good garden adventures, it requires a bit of patience and a willingness to learn. Don’t be afraid to experiment, and most importantly, enjoy the process! There’s a special kind of joy that comes from watching a tiny cutting transform into a healthy, thriving plant. Happy propagating!
Resource:
https://identify.plantnet.org/k-world-flora/species/Exocarpos%20nanus%20Hook.f./data