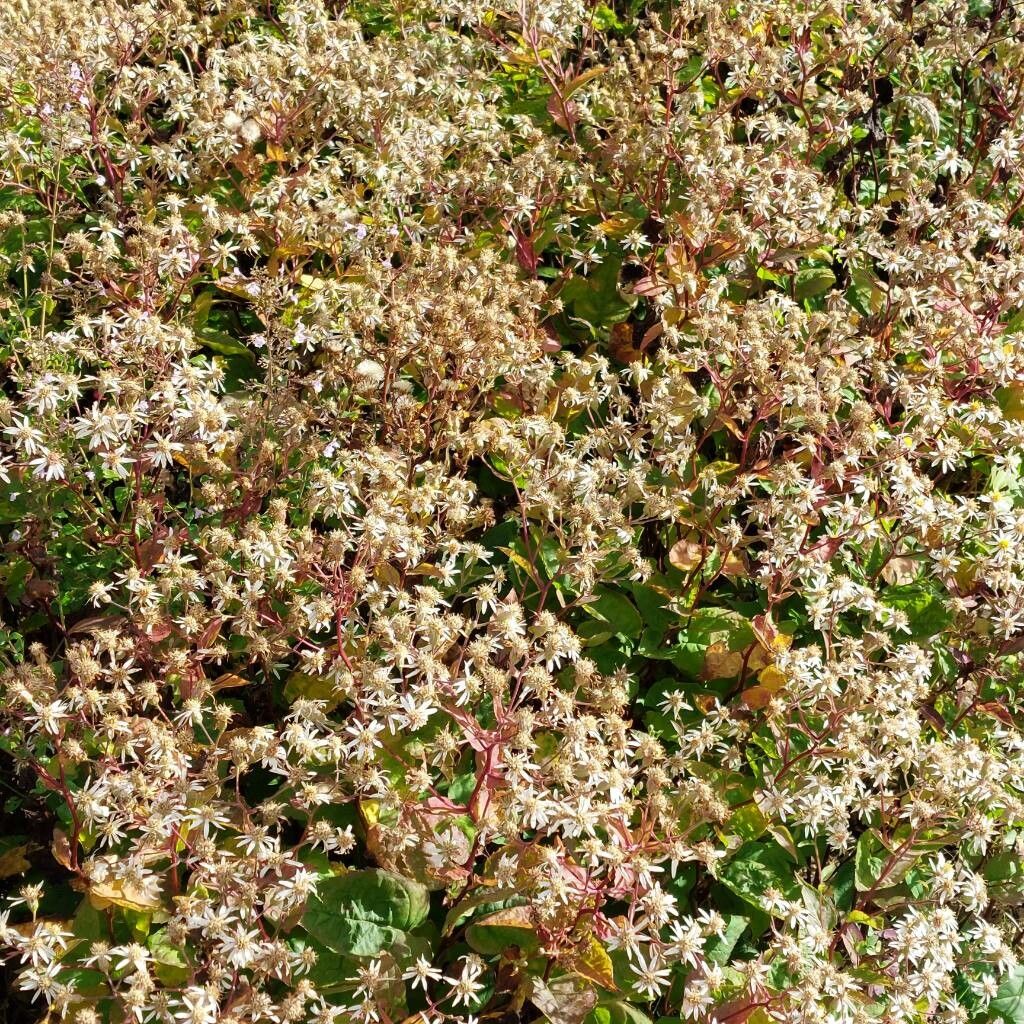
Hello there, fellow plant enthusiasts! Today, we’re diving into the wonderful world of Eurybia divaricata, also known as the Woodland Aster. If you’re a fan of delicate, star-shaped white flowers that dance in dappled shade, you’re in for a treat. This charming native aster brings a touch of woodland magic to any garden, and the joy of creating more of these beauties from your existing plants is incredibly rewarding. And the good news? Eurybia divaricata is relatively easy to propagate, making it a fantastic project for both seasoned gardeners and those just starting their green-thumb journey.
The Best Time to Start
For the highest success rate, I always recommend starting your propagation efforts in late spring or early summer. This is when the plant is actively growing and has plenty of energy to put into developing new roots. You’ll want to choose new, non-flowering shoots for cuttings. If you’re looking to divide plants, the same timing works beautifully, as the plant is coming out of its spring growth spurt.
Supplies You’ll Need
Before we get our hands dirty, let’s gather our tools and materials:
- Sharp Pruning Shears or Scissors: Clean, sharp tools are crucial for making clean cuts, which helps prevent disease.
- Small Pots or Trays: For rooting cuttings.
- Rooting Medium: A well-draining mix is key. I like to use a blend of perlite and peat moss or coco coir (about a 50/50 ratio). Some gardeners also swear by a sterile seed-starting mix.
- Rooting Hormone (Optional but Recommended): This isn’t strictly necessary for Eurybia, but it can significantly speed up the rooting process and improve success rates.
- Plastic Bags or Dome Covers: To create a humid environment for cuttings.
- Watering Can with a Fine Rose: For gentle watering.
- Labels and a Marker: To keep track of what you’ve propagated and when.
Propagation Methods
Eurybia divaricata is amenable to a couple of straightforward propagation methods. Let’s explore them:
Stem Cuttings
This is my go-to method for increasing my Eurybia population.
- Take Cuttings: In late spring or early summer, select healthy, non-flowering shoots that are about 4-6 inches long. Using your clean pruning shears, make a clean cut just below a leaf node (where the leaves attach to the stem).
- Prepare the Cuttings: Gently remove the lower leaves from the cutting, leaving just a few at the top. This concentrates the plant’s energy on root development and prevents leaves from rotting in the soil. If the remaining leaves are particularly large, you can even cut them in half horizontally to reduce water loss.
- Apply Rooting Hormone (Optional): Dip the cut end of the stem into your rooting hormone powder, tapping off any excess.
- Plant the Cuttings: Fill your small pots or trays with your prepared rooting medium. Make a small hole with your finger or a pencil and insert the cutting, ensuring the leaf nodes are buried in the mix. Gently firm the soil around the cutting.
- Water and Cover: Water the cuttings thoroughly but gently. Then, cover the pots with a plastic bag or dome cover to maintain high humidity. You can prop up the bag with skewers if needed to keep it off the leaves.
- Provide Light: Place the pots in a bright location, but out of direct sunlight. A north-facing windowsill or a spot under grow lights works well.
Division
This is a fantastic and often overlooked method for Eurybia, especially when you’re tidying up established clumps.
- Dig Up the Plant: In late spring or early summer, carefully dig up the entire Eurybia clump from your garden.
- Identify Divisions: Gently shake off excess soil. Look for natural divisions within the clump. You want to separate sections that have their own healthy roots and shoots.
- Separate the Clumps: Using your hands or a clean spade, carefully pull or cut the clump into smaller sections. Aim for divisions with at least a few stems and a good root system.
- Replant Immediately: Replant the divided sections in their desired locations in the garden, or pot them up for later planting. Water them in well.
The “Secret Sauce” (Pro Tips)
Now, for a few insider tricks that can really make a difference:
- Bottom Heat is Your Friend: For stem cuttings, placing your pots on a gentle heating mat designed for propagation can dramatically speed up root formation. Eurybia roots just love a little warmth from below.
- Don’t Drown Your Cuttings: While humidity is important, overwatering is the enemy. Ensure your rooting medium is consistently moist but not waterlogged. If you see water pooling, carefully tip out the excess.
- A Gentle Airflow Helps: Once your cuttings show signs of rooting, it’s a good idea to gradually introduce more air circulation. This means occasionally opening the plastic bag or cover, or even removing it for a few hours a day. This helps prevent fungal issues and hardens off your new plants.
Aftercare & Troubleshooting
Once your Eurybia cuttings have developed a good root system (you can often tell by gently tugging on a cutting – if there’s resistance, roots have formed, or by seeing roots emerge from the drainage holes), it’s time for a little extra attention.
- Transplanting: You can transplant your rooted cuttings into individual pots filled with a regular potting mix. Continue to keep them in a bright, indirect light location.
- Watering: Water them regularly, allowing the top inch of soil to dry out between waterings.
- Hardening Off: Before planting them out into the garden, harden them off by gradually exposing them to outdoor conditions over a week or two.
The most common sign of failure is wilting and browning, which can be due to a lack of roots, not enough humidity, or exposure to direct sun. Rotting at the base of the cutting is usually a sign of overwatering or poor drainage. If you see this, sadly, that particular cutting is likely lost, but don’t get discouraged!
A Little Patience Goes a Long Way
Propagating Eurybia divaricata is a wonderfully accessible way to expand your plant collection and share this delightful aster with friends. Remember to be patient. Nature works on its own schedule, and sometimes cuttings take a little longer to show signs of life. Enjoy the process, learn from every attempt, and soon you’ll have a beautiful abundance of these charming woodland beauties. Happy gardening!
Resource:
https://identify.plantnet.org/k-world-flora/species/Eurybia%20divaricata%20(L.)%20G.L.Nesom/data