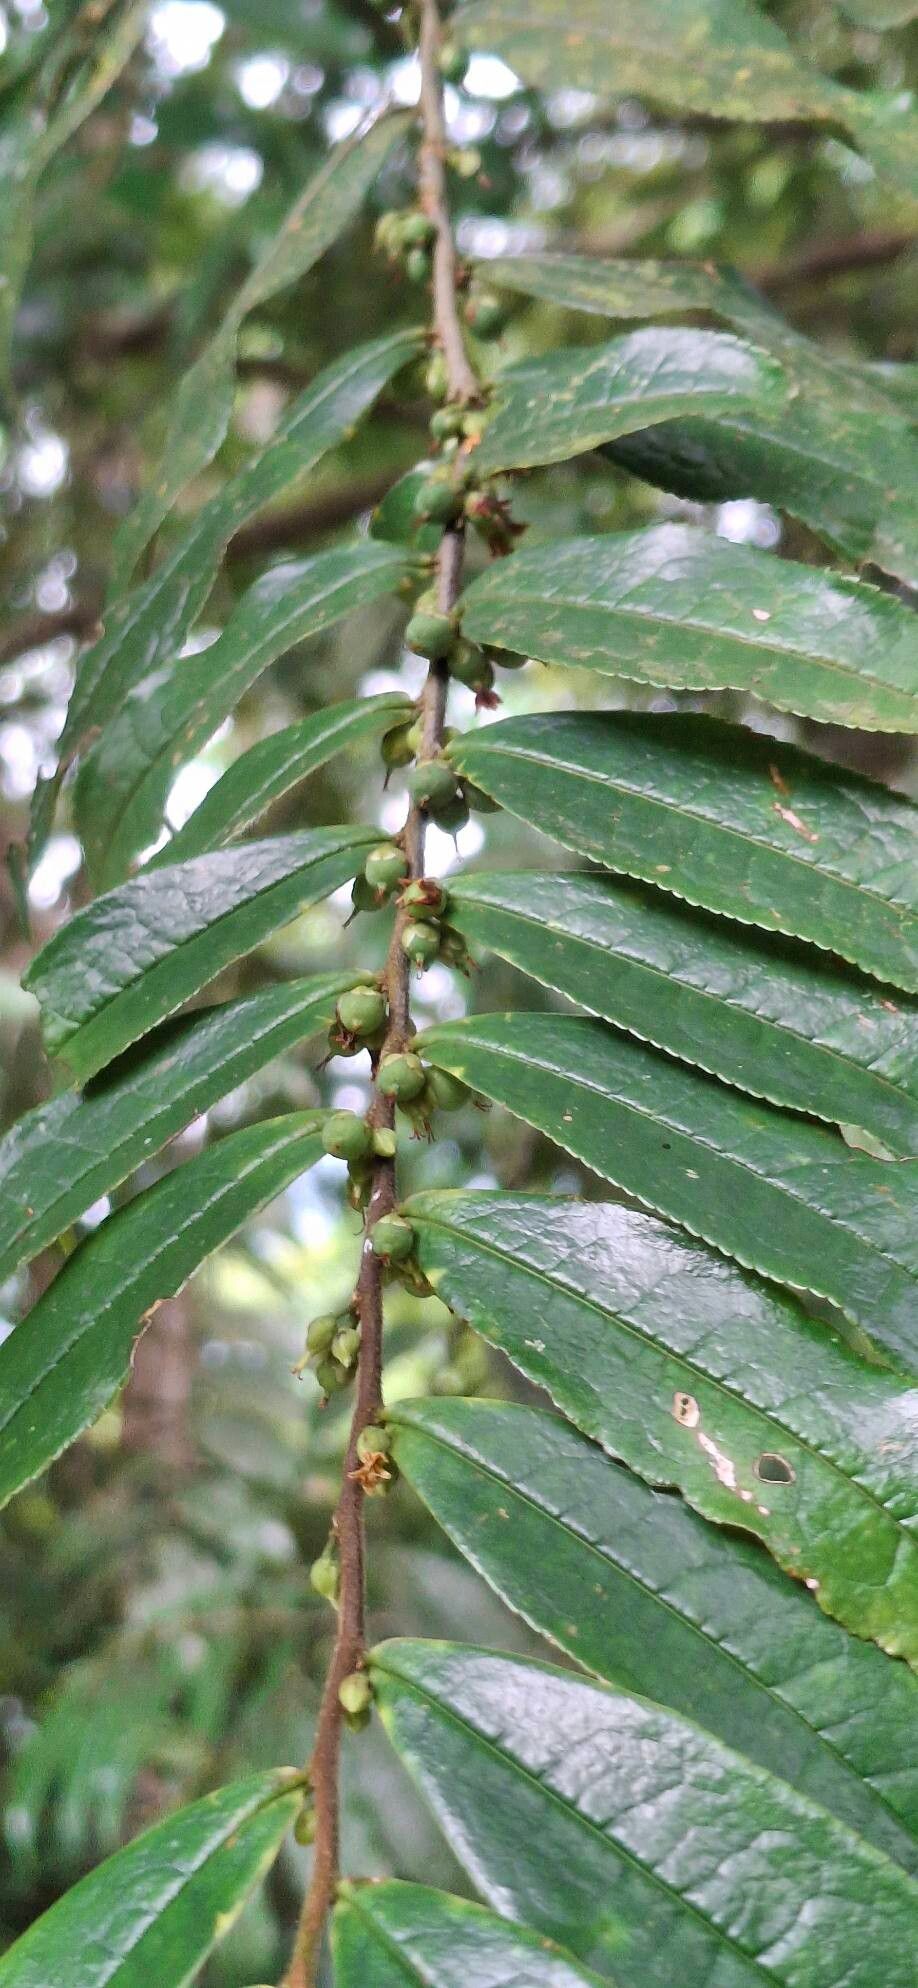
Oh, Eurya acuminata! What a beauty. Those glossy, evergreen leaves with their hint of bronze as they unfurl – it’s a plant that just brings a touch of understated elegance to any garden corner. And the best part? You can share that elegance! Propagating Eurya acuminata is a wonderfully rewarding endeavor. It’s not the absolute easiest plant to start from scratch for a complete beginner, but with a little care and a willingness to learn, you’ll find it quite manageable. Seeing a tiny cutting transform into a robust new plant is one of gardening’s greatest joys, in my book.
The Best Time to Start
For Eurya acuminata, I find that late spring to early summer is your sweet spot. This is when the plant is actively growing, and those younger, semi-hardwood stems have enough stored energy to put out roots. Avoid trying to propagate from old, woody growth or brand new, soft growth. You want that happy medium where the stem is firm but not rigid.
Supplies You’ll Need
- Sharp, clean pruning shears or a razor blade: For making precise cuts.
- Rooting hormone powder or gel: This is a game-changer, especially if you’re a bit nervous about success rates.
- Small pots or seedling trays: Clean ones are essential to prevent disease.
- Light, well-draining potting mix: A blend of peat moss, perlite, and a little bit of slow-release fertilizer works nicely. Or, you can use a dedicated seedling starter mix with added perlite.
- Plastic bags or a propagation dome: To create a humid environment.
- Watering can with a fine rose: For gentle watering.
Propagation Methods
I’ve had the most consistent success with stem cuttings for Eurya acuminata. It’s straightforward and reliable when done correctly.
- Select Your Cuttings: Find healthy stems on your mature Eurya. Look for pieces that are about 4-6 inches long. They should have some leaves, but you’ll want to trim some off.
- Prepare the Cuttings: Using your sharp shears or razor, make a clean cut just below a leaf node (where a leaf attaches to the stem). Remove the lower leaves, leaving only a few at the top. This prevents them from rotting in the soil.
- Apply Rooting Hormone: Dip the cut end of the stem into your rooting hormone, tapping off any excess. This kickstarts the root development process.
- Plant Your Cuttings: Fill your small pots or trays with your prepared potting mix. Make a small hole in the center of the soil with a pencil or your finger. Gently insert the hormone-dipped end of the cutting into the hole, ensuring the leaf nodes you removed are below the soil surface. Firm the soil gently around the stem.
- Create Humidity: Water the soil lightly. Then, cover the pot or tray with a clear plastic bag (like a bread bag or a produce bag) or place it under a propagation dome. This traps moisture and creates the humid environment cuttings crave. You can use stakes to keep the bag from touching the leaves.
The “Secret Sauce” (Pro Tips)
- My first big secret? Don’t let those remaining leaves touch the plastic. If they’re pressed against the bag, they can develop fungal issues. Use stakes or a dome to keep everything airy.
- This next one is a favorite of mine: Bottom heat is your best friend. If you have a heat mat designed for seedlings, place your pots on it. It mimics what happens underground in the summer, encouraging root growth from the bottom up. It really speeds things along!
- And a little nudge on watering – water when the soil feels dry to the touch, but don’t let it get waterlogged. Soggy soil is the quickest way to invite rot. A gentle misting on the leaves every few days inside the humidity dome can also be beneficial.
Aftercare & Troubleshooting
Once your cuttings have rooted (this can take anywhere from 4-8 weeks, sometimes longer), you’ll see new leaf growth. That’s your sign! Gently tug on the cutting; if there’s resistance, roots are forming.
Once you see good root development, gradually acclimate them to less humid conditions. This means opening the plastic bag a little more each day for a week. Once they’re used to open air, you can transplant them into slightly larger pots or your garden.
Troubleshoot: The most common problem you’ll face is rot. If a cutting turns black and mushy, it’s usually due to too much moisture or poor air circulation. If you see this, remove the affected cutting immediately to prevent it from spreading. Sometimes, if the whole cutting is gone, it means it just didn’t take. Don’t be discouraged!
A Encouraging Closing
So there you have it! Propagating Eurya acuminata is a journey worth taking. Be patient with your little ones, observe them closely, and remember that every gardener has had their share of cuttings that just didn’t make it. That’s all part of the learning process. Enjoy the quiet satisfaction of nurturing new life, and happy gardening!
Resource:
https://identify.plantnet.org/k-world-flora/species/Eurya%20acuminata%20DC./data