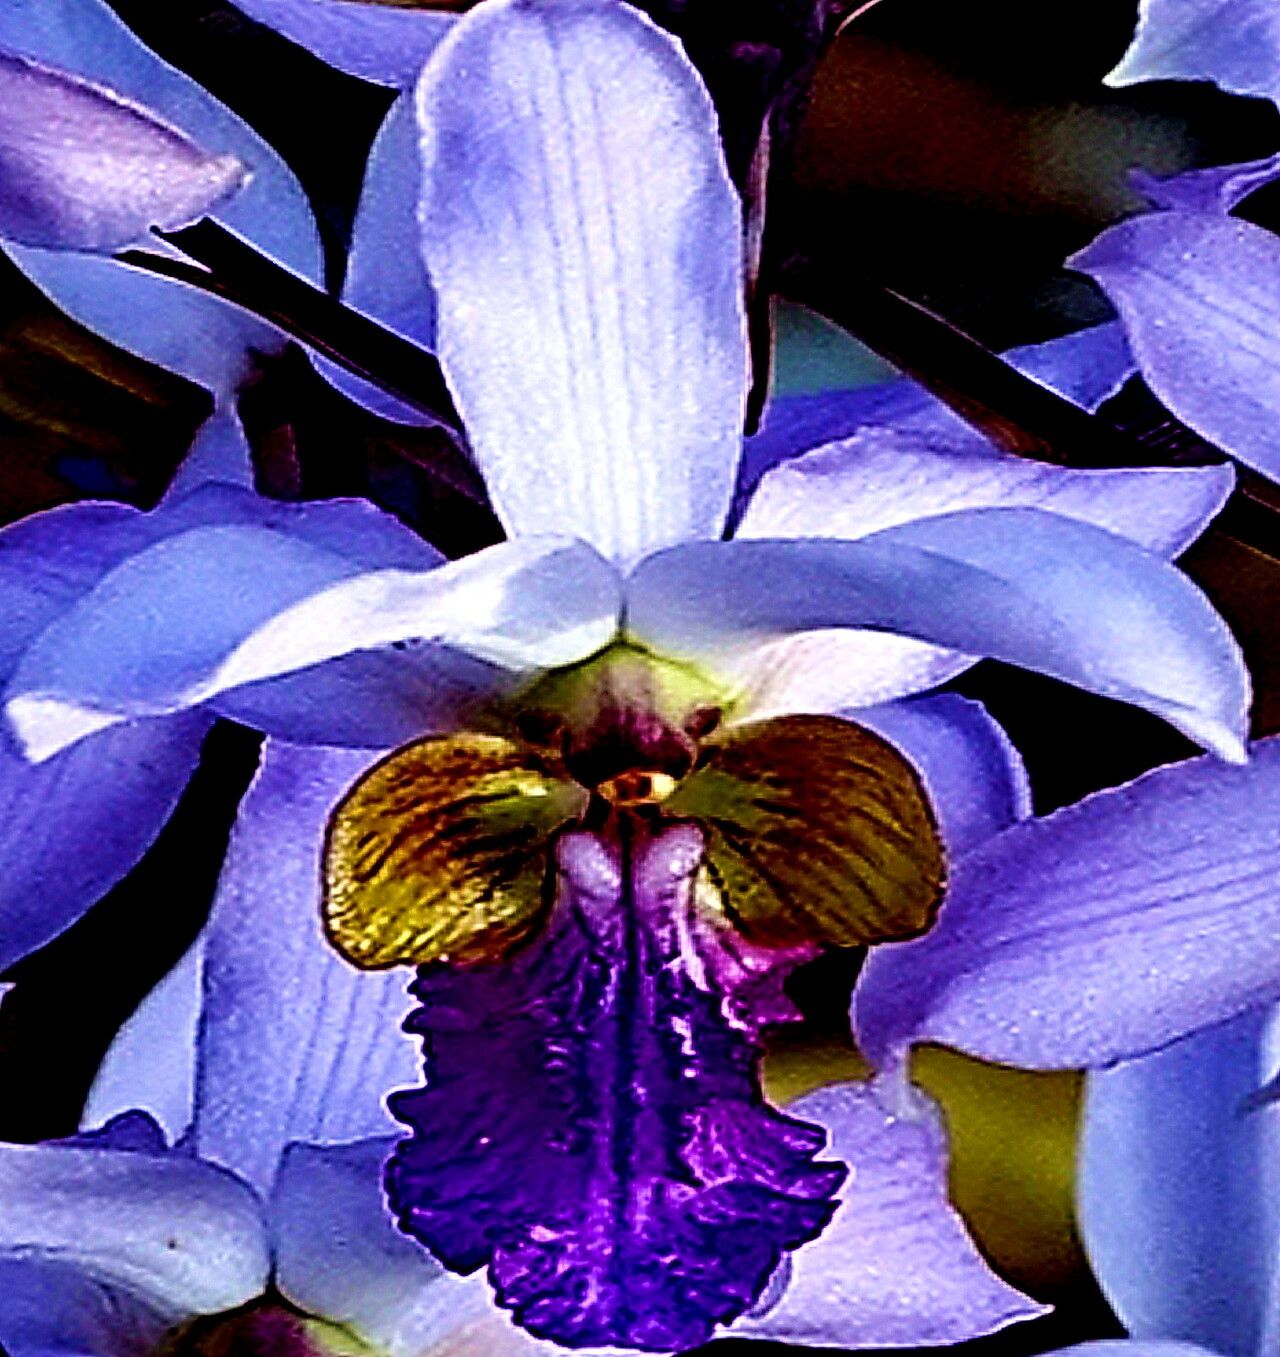
Now, let’s dive into the world of Eulophia cristata! I’m thrilled you’re interested in this particular gem. I’ve been growing and tinkering with plants for two decades now, and there’s just something special about successfully coaxing a new life from an existing one. Eulophia cristata, with its unique charm and often understated elegance, is a rewarding plant to propagate. It’s not one of those throw-it-in-a-jar-and-watch-it-grow types, but with a little patience and know-how, you’ll be well on your way to a thriving new specimen. While it might seem a tad intimidating at first, I promise, it’s quite manageable with the right approach.
The Best Time to Start
When it comes to propagating Eulophia cristata, timing is everything. I find the spring and early summer are your golden windows. This is when the plant is naturally ramping up its growth after a period of rest. You’ll typically pick up on this by seeing new shoots emerge or existing ones looking plump and vigorous. Avoid propagating when the plant is dormant or stressed. A happy, actively growing Eulophia is a giving Eulophia!
Supplies You’ll Need
Gathering your tools before you start is like prepping your ingredients before you cook – it makes everything so much smoother. Here’s what I usually have on hand:
- Sharp, sterile pruning shears or a clean knife: Essential for clean cuts that heal well.
- Well-draining potting mix: I often use a blend of orchid bark, perlite, and a bit of coco coir. A mix for aroids or cacti also works well.
- Small pots or propagation trays: Enough to house your new cuttings.
- Rooting hormone (optional but recommended): A powder or gel form can give your cuttings a little boost.
- Clear plastic bags or humidity domes: To keep humidity levels high around your cuttings.
- Watering can with a fine rose or spray bottle: For gentle watering.
- Gravel or perlite (for seed starting, if applicable): To improve drainage and aeration.
Propagation Methods
For Eulophia cristata, the most reliable methods I’ve found are division and stem cuttings. Seed propagation is also possible but can be a much slower and more technical process, so I’ll focus on the vegetative routes here.
Division: The Gentle Approach
This is often my go-to method because it’s less stressful for the parent plant and gives you substantial new plants right away.
- Wait for the right moment: Ideally, you’ll divide your Eulophia when it’s actively growing, usually in spring. Look for a plant that is starting to get crowded in its pot, with multiple pseudobulbs or growth points.
- Gently remove the plant from its pot. If it’s a bit stuck, a gentle tap on the bottom of the pot or carefully running a knife around the edge can help.
- Inspect the root system. You’re looking for natural divisions, spots where the pseudobulbs meet and have their own root structure.
- Use your clean tool to separate the divisions. Try to make clean cuts, ensuring each division has at least one healthy pseudobulb and a good portion of roots. Don’t be afraid to gently tease apart roots if you can.
- Allow the cut surfaces to air dry for a day or two. This helps prevent rot.
- Pot each division into its own container with your well-draining mix.
Stem Cuttings: For the Enthusiastic Gardener
This method takes a bit more patience, as you’re waiting for roots to form on a section of the stem.
- Identify a healthy, mature stem. Look for a stem with at least two or three nodes – those little bumps where leaves emerge.
- Using your sterile shears, cut a section of the stem, making sure to include a few nodes above and below where you make your cut. Aim for sections about 4-6 inches long.
- Remove any lower leaves that might end up submerged in water or soil, as these can rot.
- (Optional) Dip the cut end in rooting hormone. This can encourage faster root development.
- Choose your medium:
- Water Propagation: Place the cutting in a jar or vase filled with clean water. Ensure the nodes are submerged, but absolutely do not let any leaves touch the water. Change the water every few days to keep it fresh.
- Soil Propagation: Plant the cut end of the stem about an inch deep into your well-draining potting mix.
- Provide humidity. Cover the pot or jar with a clear plastic bag or a humidity dome. This creates a mini-greenhouse effect, which is crucial for cuttings to root. Ensure there are a few small holes for air circulation.
The “Secret Sauce” (Pro Tips)
Over the years, I’ve learned a few things that make a big difference. These aren’t always written in the basic guides, but they’ve certainly helped me.
- Don’t overwater cuttings! This is probably the most common mistake. Cuttings in soil need to be kept evenly moist, but not soggy. Stick your finger into the soil – if the top inch feels dry, then water. In water propagation, a clean environment is key to preventing bacterial growth.
- Bottom heat is your best friend. If you’re using soil propagation for your stem cuttings, placing the pot on a gentle heat mat can significantly speed up root formation. Eulophia roots love a little warmth to get going. Just ensure the heat isn’t too intense.
Aftercare & Troubleshooting
Once you see signs of new roots (they might peek out of the drainage holes in the pot, or you might feel resistance when you gently tug a water cutting), you’re entering a new phase.
- Transition slowly. If you propagated in water, gently introduce your rooted cutting to soil. Don’t shock it with a drastic change. The soil mix should be the same well-draining blend you used for divisions.
- Maintain humidity. Continue to keep your new plant in a humid environment for a few more weeks until it’s established. Gradually acclimate it to lower humidity levels.
- Water consistently but cautiously. Water deeply when the top inch of soil is dry.
- Watch for rot. The most common sign of failure is rot, which manifests as mushy, blackening stems or leaves. This is usually a sign of overwatering or poor air circulation. If you suspect rot, trim away any affected parts with a sterile knife, allow the cuts to dry, and adjust your watering and ventilation.
- Patience is key. Don’t expect rapid growth. New Eulophia plants take their time putting down roots and getting established.
A Little Encouragement
Propagating any plant is an act of faith and a journey of learning. Don’t be discouraged if your first attempt isn’t a roaring success. Every cutting, every division, teaches you something new. Enjoy the process of nurturing these tiny beginnings, and celebrate each small sign of life. Before you know it, you’ll have a beautiful Eulophia cristata that you’ve grown yourself, and that’s a truly special feeling. Happy gardening!
Resource: