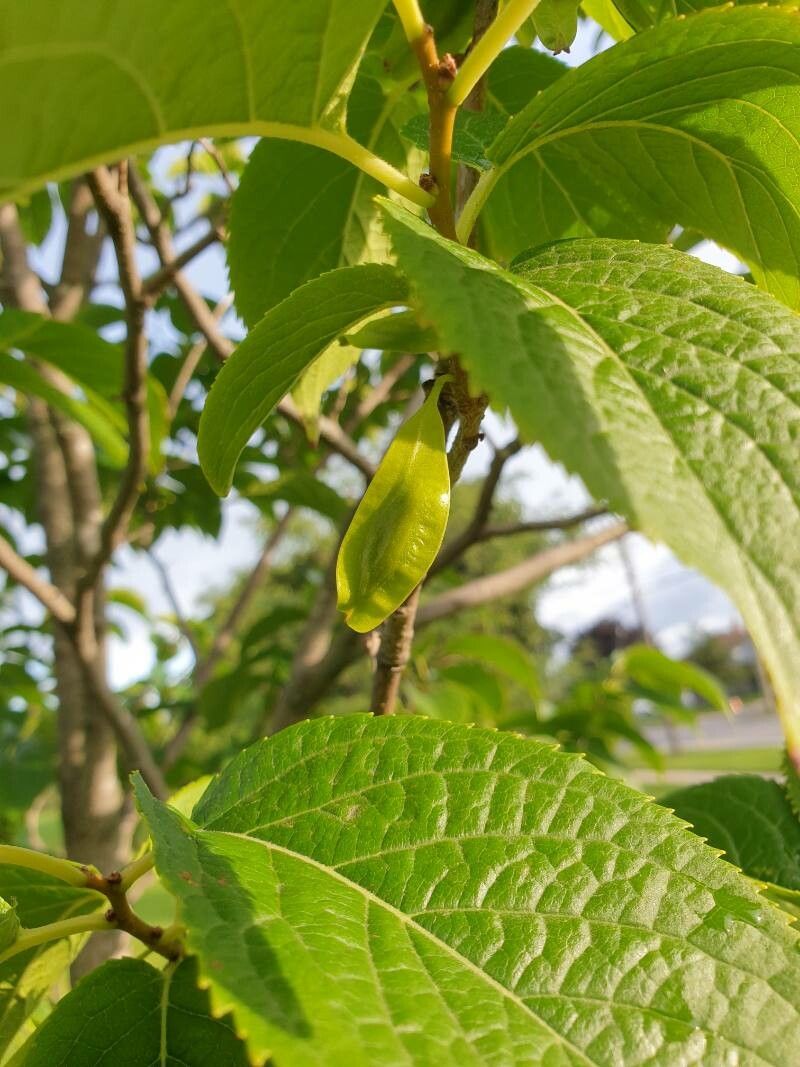
Hello there, fellow garden enthusiasts! Today, I want to chat about a truly remarkable tree that’s been a favorite of mine for years: Eucommia ulmoides, or the Gutai-mu tree. You might know it as the rubber tree, but this one’s a bit different, offering beautiful foliage and a fascinating history. What I adore about it is its quiet resilience and the satisfaction of bringing another one to life.
Propagating Eucommia ulmoides isn’t the absolute easiest task for a complete beginner, but it’s certainly achievable with a little patience and the right approach. With these tips, I’m confident you’ll find success!
The Best Time to Start
For the highest success rates, I always aim to take cuttings in late spring to early summer. This is when the plant is actively growing, and the wood is semi-hard. Young, vigorous stems snap cleanly rather than bend, which is a good sign they’re ready. You can also try in the fall with slightly harder wood, but spring is generally more forgiving.
Supplies You’ll Need
Here’s what you’ll want to have on hand before you get started:
- Sharp Pruning Shears or a Knife: Sterilize them first to prevent disease.
- Rooting Hormone Powder or Gel: This really gives your cuttings a boost.
- Potting Mix: A well-draining mix is crucial. I like a blend of peat moss, perlite, and a bit of coarse sand.
- Small Pots or Trays: Ensure they have drainage holes.
- Plastic Bags or a Propagator: This creates a humid environment, which is key.
- Water: For watering your cuttings.
- Labels: To keep track of what you’ve propagated and when.
Propagation Methods
There are a couple of ways to go about this, but my go-to is stem cuttings.
- Select Your Cutting: Look for healthy, current-year growth. You want stems that are about pencil-thick and have at least two sets of leaves.
- Make the Cut: Using your sharp shears, make a clean cut just below a leaf node (where a leaf attaches to the stem). Aim for cuttings that are 4-6 inches long.
- Prepare the Cutting: Gently remove the lower leaves, leaving just one or two at the very top. This prevents them from rotting in the soil. If your leaves are particularly large, you can even cut them in half horizontally to reduce water loss.
- Apply Rooting Hormone: Dip the cut end into your rooting hormone. Tap off any excess.
- Plant Your Cuttings: Fill your pots with your prepared potting mix. Make a small hole with your finger or a pencil, and insert the cutting, ensuring the nodes where you removed the leaves are below the soil surface.
- Water Gently: Water the soil thoroughly but avoid waterlogging.
- Create Humidity: Place the pots inside a clear plastic bag or a propagator. Seal it up to trap moisture. If using a bag, you might want to use a stake or two to keep the bag from touching the leaves.
- Provide Light and Warmth: Place your cuttings in a bright spot, but out of direct, scorching sunlight. A little bottom heat from a heat mat can significantly speed up root development.
The “Secret Sauce” (Pro Tips)
Okay, here are a few things I’ve learned over the years that make a real difference:
- Don’t Be Afraid to Experiment with Leaf Nodes: Sometimes, using the leaf node below the soil line can actually help encourage roots to form a bit more readily, as it’s a natural point for bud formation.
- The “Bagging” Trick is Your Best Friend: I can’t stress enough how important that humid environment is. If you see condensation building up heavily inside the bag, vent it for a few hours to prevent mold.
- Bottom Heat is a Game Changer: If you can swing it, a small seedling heat mat underneath your pots really encourages root growth. It mimics the warmth of springtime soil.
Aftercare & Troubleshooting
Once you start seeing new leaf growth, that’s a good sign that roots are forming! You can gently tug on a cutting; if there’s resistance, it’s rooted.
- Gradually Acclimate: Slowly begin to remove the plastic bag over a week or two, allowing the new plant to adjust to your home’s humidity.
- Keep Them Watered: Continue to water them, but let the top inch of soil dry out between waterings.
- Watch for Rot: The most common sign of failure is rot, which looks like mushy, dark stems. This usually happens from overwatering or not enough air circulation. If you see this, unfortunately, that cutting is likely lost.
A word of encouragement
Propagating plants is a journey of discovery. Some cuttings will take off beautifully, while others might not. Don’t get discouraged if you have some failures – every gardener does! The key is to be patient, observe your cuttings, and enjoy the process of nurturing new life. Happy propagating!
Resource:
https://identify.plantnet.org/k-world-flora/species/Eucommia%20ulmoides%20Oliv./data