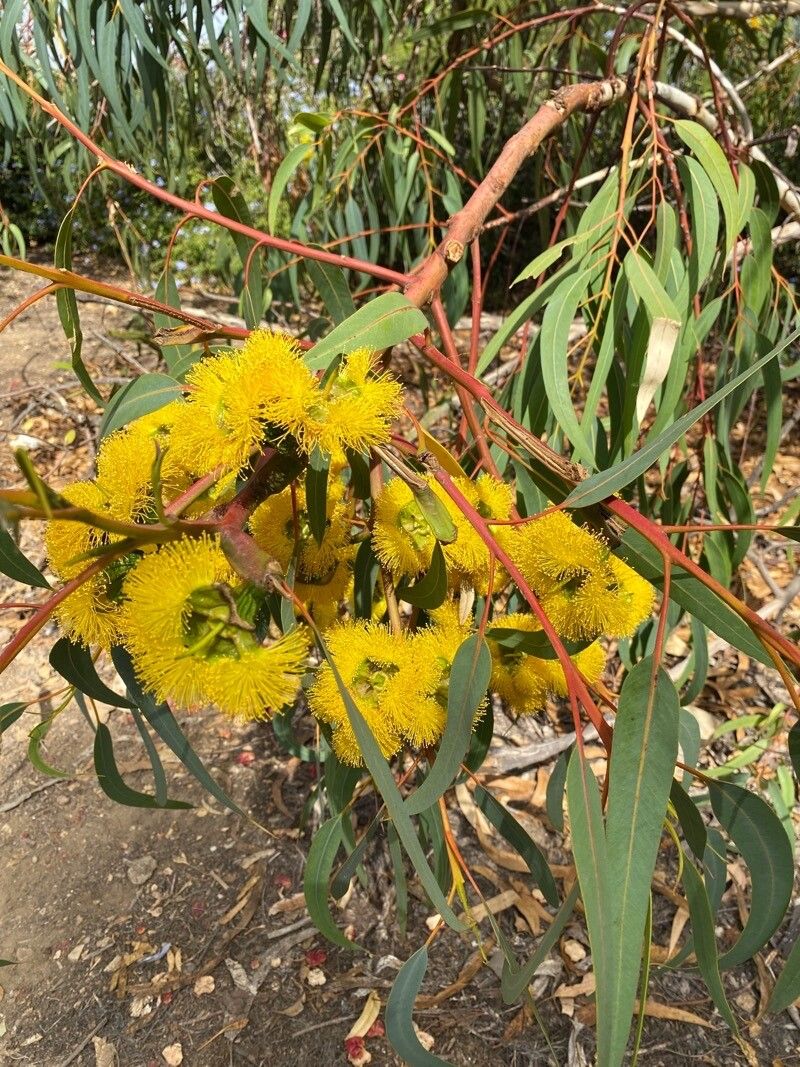
Oh, hello there! Pull up a chair and let’s chat about one of my absolute favorites: Eucalyptus erythrocorys, or as it’s more commonly known, the Illyarrie. If you’re looking for a gum with a truly spectacular flower – think fluffy, bright red stamens against creamy white – then this is your tree. It’s not just the flowers though; the smooth, often peeling bark and the beautiful, distinctive shape make it a real standout in any garden.
Propagating the Illyarrie is a journey I’ve taken many a time, and honestly, it’s incredibly rewarding to see a tiny cutting transform into a young tree. While it’s not the absolute easiest plant to propagate – you might encounter a few hiccups – it’s certainly achievable with a little patience and the right approach. It’s a wonderful way to multiply that beauty and share it with fellow garden lovers.
The Best Time to Start
For the highest chance of success with your Eucalyptus erythrocorys cuttings, I’ve found the late spring or early summer to be the sweet spot. This is when the plant is actively growing, and the new, softwood growth is just starting to mature. You’re looking for stems that are flexible but not too soft and floppy. Think of it as the “just right” stage – not brand new and delicate, but not old and woody either.
Supplies You’ll Need
Gathering your supplies beforehand makes the whole process smoother. Here’s what I always have on hand:
- Sharp Pruning Shears or a Craft Knife: Cleanliness is key for preventing disease.
- Rooting Hormone: A powder or gel containing auxins will significantly boost your success rate.
- Well-Draining Potting Mix: A good blend of perlite, coarse sand, and a bark-based potting mix works wonders. Avoid anything too heavy.
- Small Pots or Seedling Trays: Ensure they have drainage holes!
- Clear Plastic Bags or a Propagator: To create a humid environment.
- A Spray Bottle: For misting.
- Labels and a Marker: To keep track of what you’ve potted.
Propagation Methods: Stem Cuttings
This is generally the most effective way to get new Illyarrie plants.
- Take Your Cuttings: In the late spring or early summer, select healthy, vigorous shoots from your parent plant. Using your clean shears or knife, cut pieces about 4-6 inches long. Make the cut just below a leaf node (where the leaves attach to the stem).
- Prepare the Cuttings: Gently remove the lower leaves, leaving just a few at the top. This helps prevent them from rotting in the soil. If the remaining leaves are quite large, you can even cut them in half to reduce water loss through transpiration.
- Apply Rooting Hormone: Dip the cut end of each cutting into your rooting hormone, ensuring it’s coated up to the point where you removed the lower leaves. Tap off any excess.
- Pot Them Up: Fill your small pots or trays with your well-draining potting mix. Make a hole with a pencil or your finger for each cutting. Gently insert the cuttings, firming the soil around them.
- Create Humidity: Water the soil gently. Then, cover the pots with a clear plastic bag, securing it with a rubber band or placing the pots inside a propagator. This creates a mini-greenhouse effect, keeping the humidity high, which is crucial for cuttings.
The “Secret Sauce” (Pro Tips)
Here are a couple of things I’ve learned along the way that can make a real difference:
- Bottom Heat is Your Friend: Eucalyptus, in general, loves a bit of warmth from below. If you have a heat mat designed for propagation, place your pots on it. This encourages root development and can dramatically speed things up. I’ve seen cuttings that seemed stalled suddenly take off when given that gentle warmth.
- Don’t Drench, Just Dampen: While humidity is key, soggy soil is the enemy and the fastest way to rot. Water your cuttings initially, then rely on misting the leaves and the inside of the plastic cover. You want the soil to be consistently moist, not waterlogged. Check by poking your finger in – if it feels dry an inch down, give it a light mist.
Aftercare & Troubleshooting
Once your cuttings have been potted, place them in a bright spot but out of direct, harsh sunlight. Misting them every day or two will help keep the humidity up.
The real magic happens when you start to see signs of new growth. This often means roots are forming! You might see tiny new leaves emerging. Once you see this, you can gradually acclimate them to lower humidity by opening the plastic bag for longer periods each day. After a week or two, you can remove the cover entirely.
The most common problem you’ll encounter is rot. If a cutting turns black and mushy, it’s a goner. This is usually a sign of too much moisture or poor drainage. Don’t be discouraged; just remove the affected cutting and try again, perhaps with a slightly drier mix or less frequent watering. Sometimes, cuttings just don’t strike – it’s part of the process, and it’s always worth another attempt!
A Encouraging Closing
Growing new Illyarries from cuttings is a wonderful way to connect with nature and bring more of that stunning red-blossomed beauty into your world. Be patient with these little guys. Some will sprout roots quickly, others might take their sweet time. Enjoy the process, learn from each attempt, and before you know it, you’ll have a collection of these gorgeous trees to admire. Happy propagating!
Resource:
https://identify.plantnet.org/k-world-flora/species/Eucalyptus%20erythrocorys%20F.Muell./data