Growing Your Own Golden Stars: Propagating Erythronium Grandiflorum
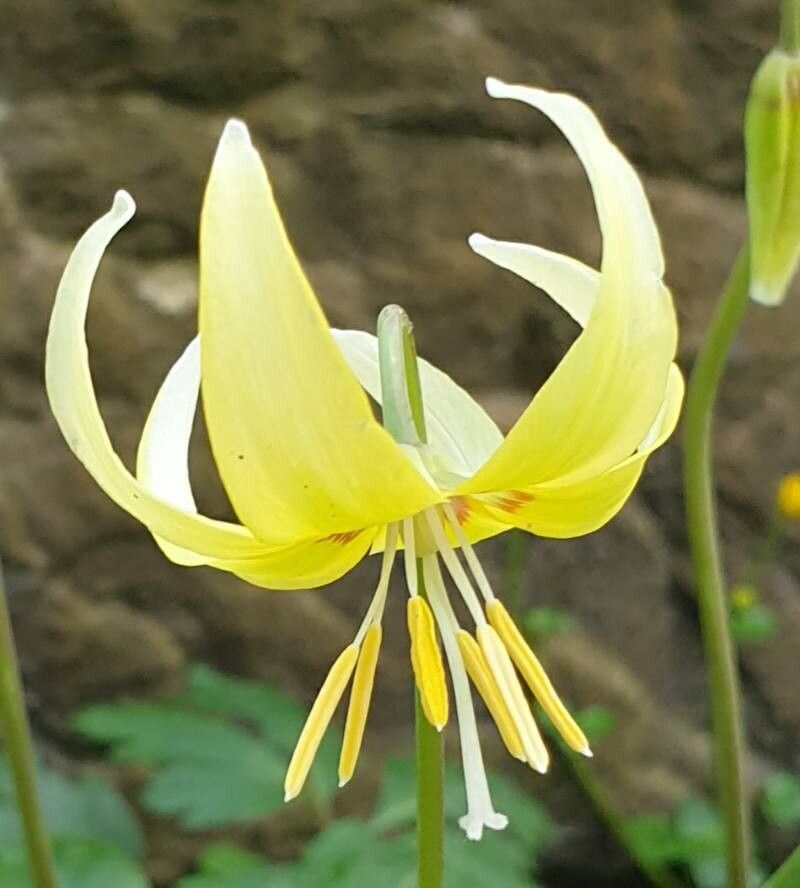
Oh, Erythronium grandiflorum! Aren’t they just the sweetest things? Those nodding, golden bells, often appearing as one of the first brave blooms after a long winter, always bring a smile to my face. There’s something truly magical about seeing these little woodland gems unfurl.
And what’s even more rewarding? Growing them yourself! But I’ll be honest, propagating Erythronium grandiflorum isn’t exactly a beginner’s walk in the park. They are a bit particular, but with a little care and understanding, you can absolutely multiply these beauties. Think of it as a delightful challenge for the more seasoned gardener, or a fantastic learning opportunity for those eager to expand their skills!
When to Get Down and Dirty
The absolute best time to propagate Erythronium grandiflorum is shortly after flowering. As soon as those lovely blooms start to fade, the plant is transitioning its energy into producing new bulbs and storing up for its dormancy. This is when the bulbs themselves are nice and plump, and any divisions you make are less likely to shock the plant. Aim for late spring or early summer, depending on your climate.
Your Propagation Toolkit
Before we get our hands in the soil, let’s gather our supplies. Having everything ready makes the process much smoother:
- Sharp, clean trowel or hori hori: For gently digging and dividing.
- Pruning shears or a sharp knife: For cleanly separating bulb offsets if needed. Make sure they’re sanitized!
- Well-draining potting mix: I like a blend of potting soil, perlite, and a bit of compost. The key is to avoid anything that holds too much moisture.
- Small pots or trays: For housing your new propagations.
- Labels and a permanent marker: To keep track of what you’ve sown and when.
- Watering can with a fine rose: To water gently without disturbing the soil.
- Optional: Mycorrhizal fungi: A little boost of beneficial fungi can help establish your new plants.
Let’s Get Propagating: Bulb Division
For Erythronium grandiflorum, the primary and most successful propagation method is bulb division. These plants form small offsets, or bulblets, that grow from the main bulb.
- Gently Excavate: After the foliage has yellowed and died back (this is crucial – don’t disturb them while they’re actively growing!), carefully dig around the parent plant. You want to expose the cluster of bulbs without damaging them.
- Inspect Your Treasures: You’ll likely see the main bulb and several smaller bulblets attached. They might be loosely connected or a bit more firmly attached.
- Make the Cut (or Twist): This is where the clean shears or knife come in. Gently separate the offsets from the main bulb. If they are just starting to form and are very small, you might leave them attached for a bit longer. For larger, well-formed bulblets, a clean cut is best. Be sure each offset has at least a tiny bit of what looks like a root or the base of where a root will form.
- Plant Them Up: Fill your small pots with your well-draining mix. Plant each offset at about the same depth it was growing previously. A good rule of thumb is to plant them so the top of the bulb is just covered with soil.
- Water Lightly: Give them a gentle watering, enough to settle the soil around the bulbs.
The “Secret Sauce”: My Insider Tips
Here are a few things I’ve learned over the years that make a real difference:
- Don’t Rush the Dormancy: I cannot stress this enough – wait for the foliage to die back completely. Trying to divide bulbs when they are actively growing will stress them, and you’ll likely have little to no success. Patience is a gardener’s best friend!
- The Power of the Potting Mix: Erythronium grandiflorum absolutely loathes soggy feet. If your soil mix isn’t draining freely, you’re inviting rot faster than you can say “golden star.” Use more perlite than you think you need!
- A Touch of Warmth (Sometimes): While not strictly necessary, if you’re propagating in slightly cooler conditions, a gentle bottom heat can encourage root development. A seed-starting mat set on a low setting can work wonders for those stubborn bulblets. Just monitor closely to avoid drying out the soil.
Aftercare and When Things Go Wrong
Once your little bulblets are planted, keep them in a bright spot, but out of direct, harsh sunlight. Water sparingly, only when the top inch of soil feels dry to the touch. The goal is to keep the soil consistently moist but never wet.
What could go wrong? The biggest culprit is rot. If you see the bulblet becoming soft, mushy, or developing black spots, it’s likely succumbing to excess moisture. Unfortunately, there’s not much you can do once rot sets in. It’s a tough lesson, but a crucial one for learning when to adjust your watering or soil consistency. If you see no signs of growth after a good while, it could be the bulblet was too small, or perhaps it just needs more time. Sometimes, they take an entire growing season to show signs of life.
Go Forth and Grow!
Propagating Erythronium grandiflorum is a journey, not a race. There will be triumphs and maybe a few head-scratching moments. But the joy of seeing those delicate golden blooms appear year after year, knowing you helped bring them into existence, is truly unparalleled. So, embrace the process, be patient, and most importantly, enjoy the magic of your garden. Happy growing!
Resource:
https://identify.plantnet.org/k-world-flora/species/Erythronium%20grandiflorum%20Pursh/data