Oh, hello there! Come on in, grab a mug. Let’s talk about one of my absolute favorite little plants: Erythranthe moschata, or as many of us affectionately call it, the Musk Monkeyflower.
A Little Bit of Magic
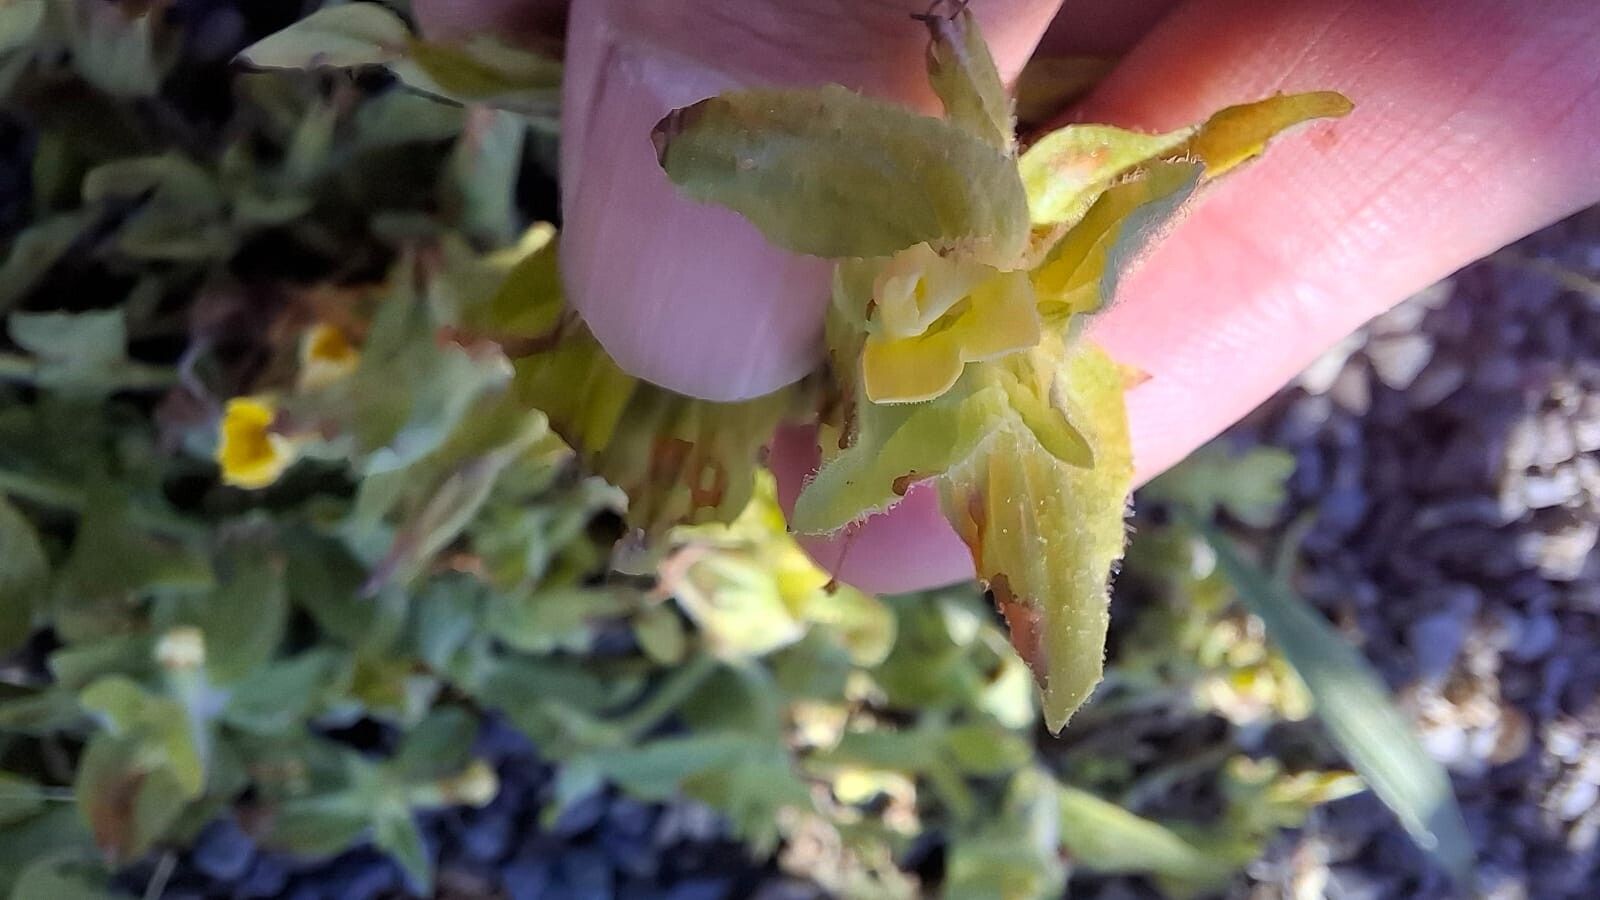
I just adore these little beauties. Their delicate, often oddly shaped flowers are an absolute delight. They come in such lovely shades of apricot, pink, and buttery yellow, and some even have a subtle, sweet fragrance – hence the “musk” in their name. Plus, they have this wonderfully arching, somewhat floppy habit that makes them perfect for spilling over edges or tucking into a shady nook.
Now, if you’re wondering about propagating them, I’m happy to tell you that Erythranthe moschata is, for the most part, quite forgiving. Even if you’re new to the world of plant babies, you’ve got a good chance of success with these. It’s incredibly rewarding to see a tiny cutting transform into a thriving plant you can share or simply enjoy even more of.
When to Get Your Hands Dirty
The absolute best time to try your hand at propagating Musk Monkeyflowers is during their active growing season. For most of us, this means late spring through early to mid-summer. This is when the plant has plenty of energy to put into developing new roots. You’ll want to look for healthy, vigorous shoots that haven’t yet flowered.
Your Propagation Toolkit
Don’t worry, you don’t need a whole fancy setup for this. Here’s what I usually have on hand:
- Sharp Pruning Shears or a Craft Knife: Cleanliness is key! You want to make clean cuts.
- Well-Draining Potting Mix: A mix of potting soil and perlite or coarse sand (around a 2:1 ratio) works wonderfully. You could also use a dedicated seed-starting mix.
- Small Pots or Trays: Clean, small containers are perfect for starting cuttings.
- Rooting Hormone (Optional, but Recommended): This little helper can significantly increase your success rate. I like to use a gel or powder.
- Plastic Bag or Humidity Dome: To create a humid environment for your cuttings.
- Watering Can or Spray Bottle: For gentle watering.
Bringing New Life: Propagation Methods
For Erythranthe moschata, I find stem cuttings to be the most reliable and straightforward method.
-
Select Your Cuttings: Head out to your healthy, established plant. Look for plump, non-flowering stems that are about 3-4 inches long. Gently snip or cut them from the parent plant, making sure to get a clean cut just below a leaf node (where a leaf attaches to the stem).
-
Prepare the Cuttings: Once you have your stems, remove the lower leaves. You want to expose at least one or two leaf nodes, as this is where the roots will emerge. You can leave the top few leaves on. If the leaves are quite large, I’ll often cut them in half horizontally to reduce moisture loss through transpiration.
-
Apply Rooting Hormone: Dip the cut end of each stem into your rooting hormone, tapping off any excess. This step is completely optional, but in my experience, it really gives the cuttings a boost.
-
Plant Your Cuttings: Fill your small pots or trays with your prepared potting mix. Make a small hole in the center of the soil with your finger or a pencil. Gently insert the cut end of each cutting into the hole, ensuring that at least one leaf node is below the soil surface. Firm the soil around the base of the cutting.
-
Water Gently: Water the cuttings thoroughly but gently, making sure the soil is moist but not waterlogged. A good watering can with a fine rose or a spray bottle works best.
-
Create a Humid Environment: This is crucial! Cover the pots loosely with a plastic bag or place them under a humidity dome. You can use little stakes to keep the plastic from touching the leaves directly. Place the pots in a bright location, but out of direct sunlight.
The “Secret Sauce”
Here are a couple of little tricks I’ve learned over the years that really seem to make a difference:
- Bottom Heat is Your Friend: If you have a seedling heat mat, placing your pots on it can dramatically speed up root formation. This gentle warmth mimics spring conditions and encourages those roots to get going.
- Cleanliness is Next to Gardenliness: I can’t stress this enough. Make sure all your tools, pots, and even your hands are clean before you start. This helps prevent any nasty fungal infections that can quickly take hold of tender cuttings.
- Don’t Drown Your Dreams: While humidity is key, you absolutely don’t want soggy soil. Overwatering is the surest way to invite rot. The soil should feel consistently moist, like a wrung-out sponge, but never be pooling water.
Aftercare and What to Watch For
Once your cuttings are planted and enjoying their humid home, be patient! It can take anywhere from 2 to 6 weeks for roots to develop. You’ll know they’re ready when they feel firm when you gently tug on them, or you might even see little roots peeking out of the drainage holes.
Once roots have formed, you can gradually remove the plastic bag or dome over a few days to acclimatize them to normal room humidity. Continue to water them as needed, and once they are good and established, you can transplant them into slightly larger pots.
The most common problem you’ll encounter is rot. If a cutting turns black and mushy, it’s likely succumbed to rot. This is usually due to too much moisture and not enough air circulation. If you see this happening, unfortunately, that cutting is likely lost. Remove it immediately to prevent the spread of any potential disease. Yellowing leaves can also be a sign that the cutting is struggling, but sometimes they will bounce back.
Happy Gardening!
So there you have it – a little guide to bringing more of those delightful Musk Monkeyflowers into your life. Don’t be discouraged if your first attempt isn’t perfect. Gardening is all about learning and trying again. Be patient, enjoy the process of nurturing these little ones, and soon you’ll be rewarded with your very own homegrown beauties. Happy propagating!
Resource: