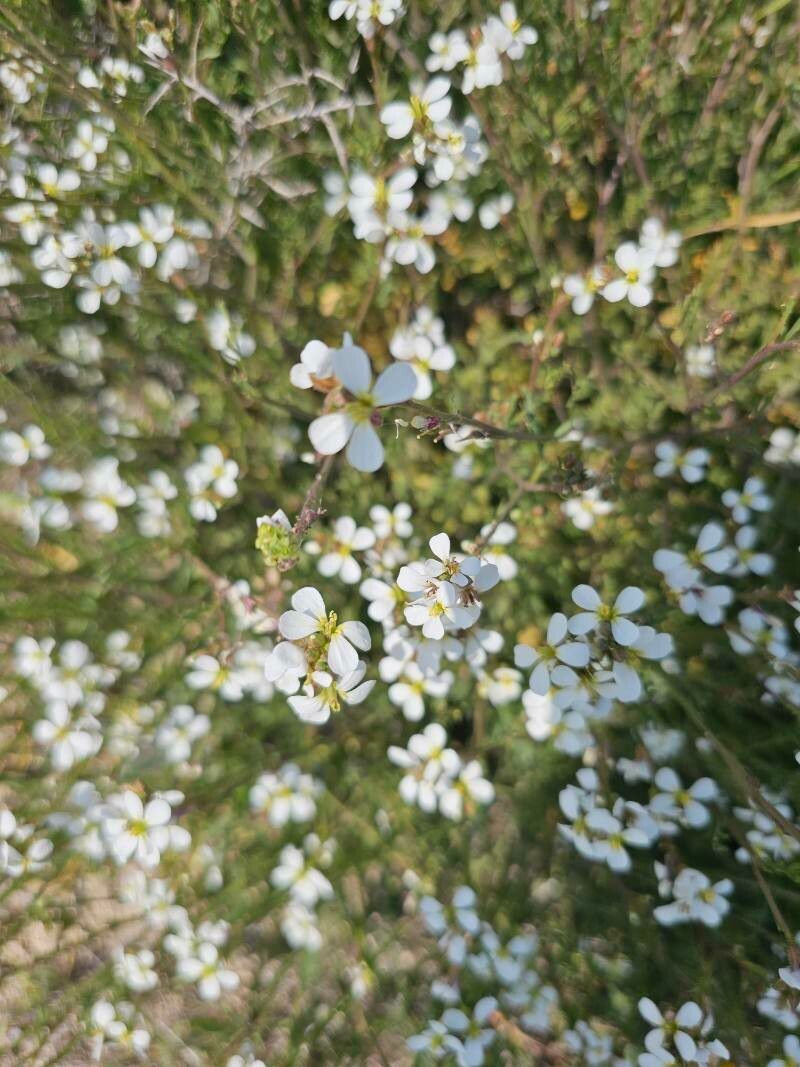
Hello fellow garden enthusiasts! It’s so lovely to have you here. Today, I want to talk about a plant that’s been stealing my heart (and a little bit of my garden space) for years: Erucaria microcarpa, often known as the False Mustard or, more charmingly, the Miniature Rocket. This little beauty rewards us with delicate, often daisy-like flowers and a pleasant, slightly peppery scent when its leaves are bruised – a true delight for the senses and a wonderful addition to any sunny spot.
Propagating Erucaria microcarpa is a deeply satisfying endeavor. There’s something incredibly special about taking a piece of an existing plant and nurturing it into a new life. For those just dipping their toes into the world of propagation, I’d say Erucaria microcarpa is a pretty welcoming plant. With a little care and the right timing, you’ll find success is well within reach.
The Best Time to Start
For the highest chance of success with Erucaria microcarpa, aim to propagate in the late spring or early summer. This is when the plant is in its active growing phase, meaning it has plenty of energy to put into developing new roots. You want to take cuttings from healthy, non-flowering stems. Look for stems that are firm and vibrant, not woody or floppy.
Supplies You’ll Need
Gathering your supplies beforehand makes the whole process so much smoother. Here’s what I always have on hand:
- Sharp Pruning Shears or a Clean Knife: For making clean cuts.
- Rooting Hormone (Optional but Recommended): This can give your cuttings a helpful boost. I prefer a powder form, but gels work too.
- Small Pots or Seedling Trays: With drainage holes, of course!
- A Well-Draining Potting Mix: A standard seed-starting mix or a blend of equal parts peat moss, perlite, and a little compost works wonderfully.
- A Spray Bottle: For misting.
- Clear Plastic Bags or a Propagator Lid: To create a humid environment.
Propagation Methods
Erucaria microcarpa is quite adaptable, and I’ve had success with a couple of different methods.
Stem Cuttings:
This is my go-to method for Erucaria microcarpa.
- Select Your Stem: As I mentioned, look for healthy, vigorous stems on your established plant.
- Make the Cut: Using your sharp shears or knife, take a cutting that is about 4-6 inches long. Make the cut just below a leaf node (where a leaf attaches to the stem). This is where the magic happens for root development.
- Prepare the Cutting: Gently remove the lower leaves, leaving just the top few. This prevents them from rotting in the soil and directs the plant’s energy towards rooting.
- Apply Rooting Hormone (Optional): Dip the cut end of the stem into your rooting hormone, tapping off any excess.
- Pot Up: Fill your small pots with the prepared potting mix. Make a small hole in the center with your finger or a pencil.
- Plant the Cutting: Insert the cut end of the stem into the hole and gently firm the soil around it.
- Water Gently: Water thoroughly but be careful not to dislodge the cutting. A gentle misting from your spray bottle is a good start.
- Create Humidity: Cover each pot loosely with a clear plastic bag or place them in a propagator with a lid. This keeps the humidity high, which is crucial for cuttings that haven’t developed their own root system yet.
Water Propagation:
While I prefer soil for Erucaria microcarpa, if you’re in a pinch or just curious, water propagation can work too.
- Prepare Your Cutting: Follow steps 1-3 for stem cuttings.
- Place in Water: Place the cuttings in a glass or jar filled with clean water. Ensure no leaves are submerged below the waterline.
- Find a Bright Spot: Place the jar in a bright location, out of direct harsh sunlight.
- Change Water Regularly: Aim to change the water every few days to keep it fresh and prevent bacterial growth. You should start to see tiny white roots emerge from the cut end.
The “Secret Sauce” (Pro Tips)
Here are a few things I’ve learned over the years that can really make a difference:
- The Bottom Heat Trick: If you are using stem cuttings in soil, placing your pots on a heated propagation mat can dramatically speed up root formation. The gentle warmth encourages root development from below. It’s like giving your little plant a warm hug!
- Patience with Leaf Droppers: If you’re water propagating and notice a leaf dying off, don’t despair. It’s the plant’s way of saying, “I’m focusing on roots right now, folks!” Just remove the dying leaf and continue with fresh water. It’s a sign the plant is prioritizing its survival.
- Don’t Over-Mist Indoors: While humidity is key, water sitting on leaves for too long indoors can sometimes encourage fungal issues. A good misting when you first pot up, and then perhaps a gentle mist every few days if the air is very dry, is usually sufficient.
Aftercare & Troubleshooting
Once you see new growth emerging from your cuttings, or tiny roots peeking out of the drainage holes of your pots, you know you’re on your way!
- Introduce to Air: Gradually start to acclimate your cuttings to drier air. For those in plastic bags, open them up for a few hours each day. For water propagation, once roots are about an inch long, you can pot them up into well-draining soil, just like you would a stem cutting.
- Gentle Watering: Continue to water gently. The soil should be kept consistently moist but not waterlogged. Overwatering is the fastest way to invite problems.
- Troubleshooting Rot: The most common issue you might face is rot. If your cuttings turn mushy and black, it’s usually a sign of too much moisture and not enough air circulation. If you see this, remove the affected cutting immediately to prevent it from spreading. Your well-draining mix and proper watering are your best defense here. Sometimes, a cutting just won’t take, and that’s okay – it’s a learning experience!
A Little Encouragement
So there you have it! Propagating Erucaria microcarpa is a straightforward and rewarding journey. Remember to be patient with your new little plants, especially in the early stages. Every gardener has had cuttings that didn’t make it, and it’s all part of the learning curve. The joy of seeing those first tiny roots emerge and then watching your new plant grow is truly unparalleled. Happy propagating, and may your gardens always be bursting with life!
Resource:
https://identify.plantnet.org/k-world-flora/species/Erucaria%20microcarpa%20Boiss./data