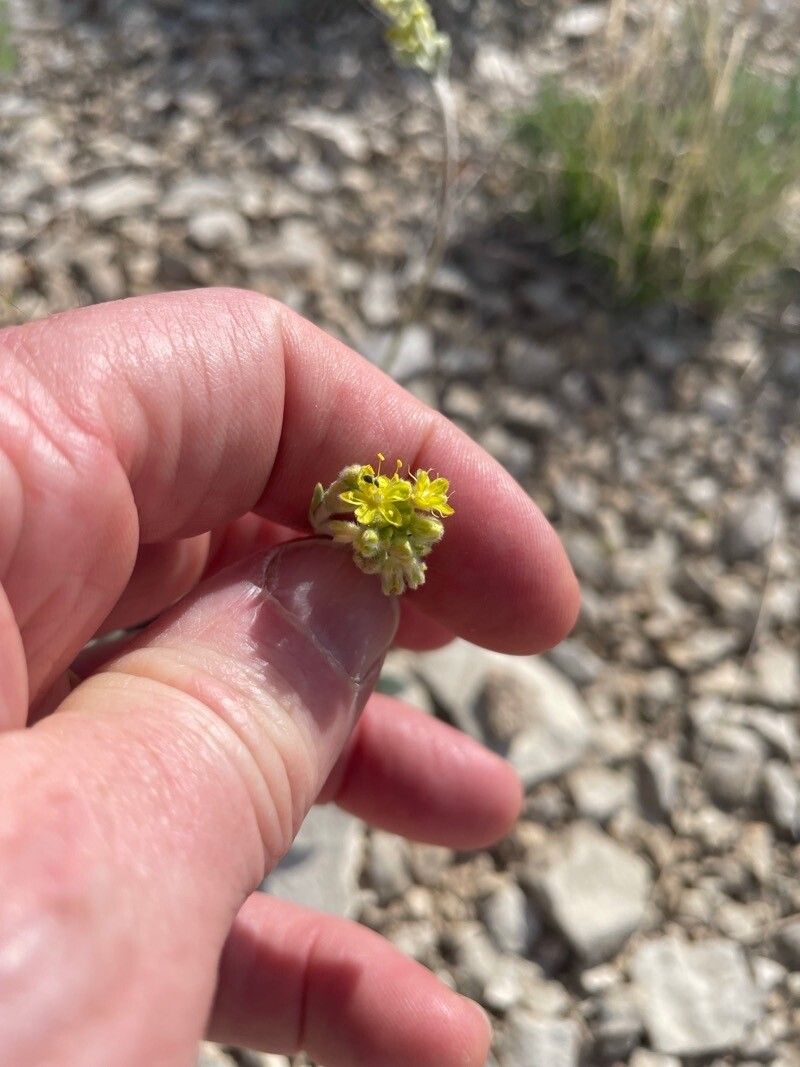
Well hello there, fellow garden enthusiast! I’m so glad you’ve wandered over to my little corner of the internet. Today, we’re diving into the delightful world of Eriogonum lachnogynum, often called Desert Trumpet or Woolly Buckwheat. Isn’t it a beauty? Those delicate, often pink or white flower clusters that seem to dance in the breeze, followed by lovely seed heads that provide winter interest – it’s truly a plant that brings texture and life to any garden.
Propagating Eriogonum lachnogynum is incredibly satisfying. There’s a special joy in coaxing a brand-new plant into existence from just a small piece of the parent. Now, I’ll be honest, this particular Eriogonum can be a tad on the trickier side for absolute beginners. It’s not impossible by any means, but it rewards a little extra attention and patience. Think of it as a delightful challenge that, when successful, feels like a real gardening triumph!
The Best Time to Start
For the highest success rate with Eriogonum lachnogynum, I always recommend starting in late spring or early summer. This is when the plant is actively growing and has plenty of energy to put into establishing new roots. You’ll want to take cuttings when the stems are still somewhat flexible but have started to harden off a bit – not the brand-new, floppy growth, but not the woody old stems either. Think of it as the plant’s enthusiastic teenage phase.
Supplies You’ll Need
Gathering your tools before you begin makes the process so much smoother. Here’s what you’ll want on hand:
- Sharp, sterilized pruning shears or a clean knife: Hygiene is key to preventing disease.
- Rooting hormone powder or gel: This really gives your cuttings a helpful boost.
- A well-draining potting mix: I like to use a blend of equal parts perlite, coarse sand, and a good quality potting soil. You could also use a cactus or succulent mix.
- Small pots or seed trays: Clean pots are a must.
- A spray bottle: For gentle misting.
- Plastic bags or a clear container: To create a humid environment for your cuttings.
- A heat mat (optional but highly recommended): More on this later!
Propagation Methods
Okay, let’s get our hands dirty! For Eriogonum lachnogynum, stem cuttings are generally the most reliable method.
Method: Stem Cuttings
- Select your cutting: Look for healthy, vigorous stems that are indeed in that semi-hardened stage. You’re aiming for pieces that are about 4-6 inches long.
- Make the cut: Using your sterilized shears or knife, make a clean cut just below a leaf node. A leaf node is where a leaf attaches to the stem; this is where the magic happens concerning root development.
- Prepare the cutting: Gently remove the lower leaves from the stem, leaving just a few at the very top. This prevents them from rotting in the soil. If the leaves are very large, you can even cut them in half to reduce water loss.
- Dip in rooting hormone: Dip the cut end of the stem into your rooting hormone powder or gel. Tap off any excess. This step is crucial for encouraging root formation.
- Plant the cuttings: Fill your clean pots with your well-draining mix. Make a small hole with your finger or a pencil and gently insert the cut end of the stem. Firm the soil gently around it. You can plant multiple cuttings in a single pot, just give them a little space.
- Water gently: Water the soil thoroughly but gently. You don’t want to disturb the cuttings.
- Create humidity: This is where the magic happens! Cover the pot with a clear plastic bag, propped up so it doesn’t touch the leaves, or place it inside a clear plastic container. This creates a mini-greenhouse effect, keeping humidity high which is vital for cuttings that haven’t developed roots yet.
The “Secret Sauce” (Pro Tips)
Here are a few things I’ve learned over the years that really seem to make a difference:
- Don’t let the leaves touch the water! If you’re using water propagation (which I find less successful for this particular Eriogonum, but it’s worth mentioning), ensure the leaves are well above the water line. Rot sets in fast. For cuttings in soil, this tip applies to the humidity dome – make sure the plastic doesn’t droop onto the leaves.
- Bottom heat is a game-changer. If you have a heat mat designed for plants, place your pots on it. This gentle warmth from below really encourages root development. It mimics the feel of warmer soil in springtime and significantly speeds things up.
- Be patient with watering. Once you’ve planted your cuttings, let the soil dry out slightly between waterings. Overwatering is the fastest way to kill a cutting. Stick your finger about an inch into the soil; if it feels dry, it’s time to water.
Aftercare & Troubleshooting
Once your cuttings show signs of rooting – usually seen as new leaf growth or a gentle tug revealing some resistance – it’s time to ease them into their new lives.
Aftercare:
- Gradually acclimate: Slowly remove the humidity dome over a week or so, opening the bag a little more each day. This helps the new plant adjust to normal humidity levels.
- Continue light watering: Keep the soil consistently moist but not soggy.
- Provide bright, indirect light: Avoid direct sun for the first few weeks, as those delicate new leaves can scorch easily.
- Pot up: When the roots have filled the small pot, you can transplant your new Eriogonum into a slightly larger container.
Troubleshooting:
- Wilting cuttings: This can be due to lack of humidity, too much heat, or not enough water. Check your humidity dome and watering schedule.
- Rotting stems: This is almost always a sign of overwatering and poor drainage. Make sure your soil is airy and that you’re letting the soil dry out a bit between waterings. You might need to start over with new cuttings if this happens.
- No growth after several weeks: Don’t despair! Some plants are just slow growers. Ensure they have the right conditions (warmth, light, consistent moisture) and wait. Sometimes, it just takes time.
A Encouraging Closing
Propagating plants is a journey, and Eriogonum lachnogynum is a wonderful one to embark on. There will be successes, and there might be a few little hiccups along the way – that’s all part of the learning process. Be gentle with yourself, enjoy the quiet satisfaction of nurturing something new, and before you know it, you’ll have a whole cluster of these darling desert plants to share. Happy gardening!
Resource: