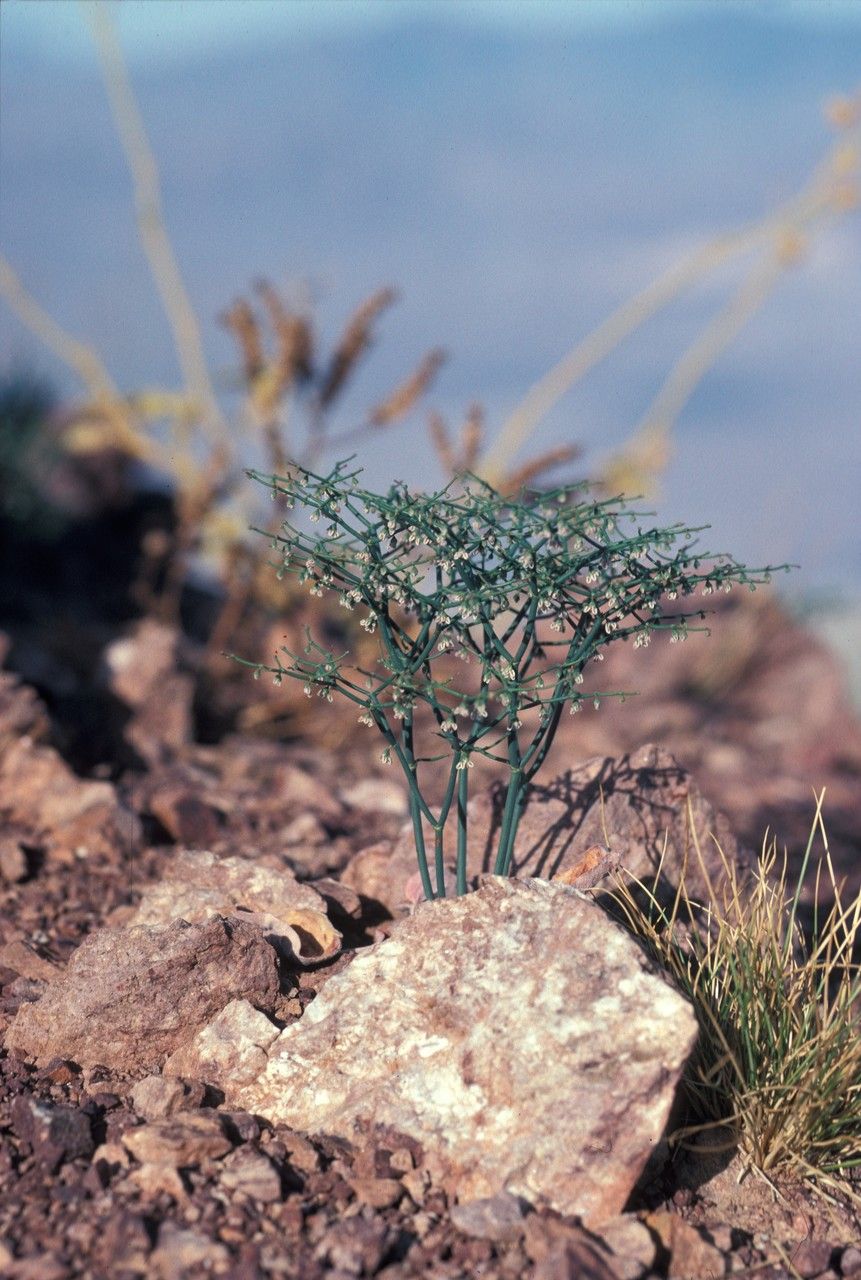
Oh, hello there! Come on in, grab a mug of your favorite garden beverage. Today, we’re going to talk about a little gem that I absolutely adore: Eriogonum brachypodum, often called Big Bend buckwheat. If you haven’t met it yet, imagine delicate clusters of creamy white flowers that bloom for ages, attracting all sorts of beneficial insects. It’s truly a darling, and the joy of coaxing new plants from your existing ones is just chef’s kiss. Now, is it a beginner-friendly plant to propagate? I’d say it’s for the gardener who’s ready to be a little more hands-on. It’s not as foolproof as, say, a begonia cutting, but with a bit of care and attention, you’ll be rewarded tenfold.
The Best Time to Start
For Eriogonum brachypodum, I find that the absolute sweet spot for propagation is late spring to early summer. This is when the plant is actively growing, and you’re likely to have nice, healthy new stems that are neither too soft and succulent nor too woody and old. You want those vibrant shoots that are just starting to firm up. Think of it as catching them at their peak vitality.
Supplies You’ll Need
Before we dive in, let’s make sure you’re prepped with your toolkit. It’s nothing too fancy, but having the right bits and pieces makes all the difference:
- Clean, sharp pruners or a craft knife: For making clean cuts. Absolutely essential for preventing disease.
- Rooting hormone powder or gel: This isn’t strictly mandatory for Eriogonum, but it gives a lovely boost and increases your success rate. I just dip the cut end in it, flick off any excess.
- A well-draining potting mix: I like to use a blend of equal parts perlite, coarse sand, and peat moss or coco coir. You really don’t want anything that holds too much moisture. Alternatively, a good commercial succulent and cactus mix works wonders.
- Small pots or seed trays: Clean ones, please! Anything from tiny nursery pots to recycled yogurt containers with drainage holes will do.
- A plastic bag or a clear propagation dome: To create a mini-greenhouse effect and keep humidity up.
- A spray bottle with water: For keeping things gently moist.
- Labels and a pen: Don’t underestimate the power of labeling! You’ll thank yourself later.
Propagation Methods
Let’s get our hands dirty! For Eriogonum brachypodum, I’ve had the most success with stem cuttings.
Stem Cuttings:
- Select your parent plant: Choose a healthy, vigorous Eriogonum brachypodum that’s in its active growing phase.
- Take the cuttings: Using your clean pruners, snip off sections of stem about 4-6 inches long. Look for stems that have new growth at the tip but are starting to firm up. Remove any flowers or developing seed heads from the cutting – you want the plant’s energy focused on roots, not reproduction.
- Prepare the cuttings: Gently remove the lower leaves. You want to expose a few nodes, which are the points where leaves emerge from the stem. These are where roots are most likely to form.
- Apply rooting hormone: Dip the cut end of the stem into your rooting hormone. Tap off any excess so you don’t have a big clump.
- Pot them up: Fill your clean pots with your prepared well-draining mix. Make a small hole in the center with your finger or a pencil. Insert the cut end of the stem into the hole, ensuring a few nodes are buried. Gently firm the soil around the base of the cutting.
- Water gently: Using your spray bottle, lightly mist the soil surface and the leaves. You want the soil to be damp, not soggy.
- Create the humidity dome: Cover the pot with a plastic bag (make sure the leaves don’t touch the sides) or place it under a clear propagation dome. This traps moisture and creates a humid environment, which is crucial for cuttings to root.
- Find a good spot: Place your pots in a bright location but out of direct, harsh sunlight. A windowsill that gets bright, indirect light is perfect.
The “Secret Sauce” (Pro Tips)
Now, for a few little tricks I’ve picked up over the years that really make a difference:
- Bottom Heat is Your Friend: If you have a seedling heat mat, using it under your propagation pots can significantly speed up root development. It mimics the warmth of spring soil and gives those little root cells a real nudge. Just make sure the soil doesn’t dry out when using heat.
- Air Circulation is Key: While we want humidity, stagnant air can be a breeding ground for fungi. Periodically open the plastic bag or ventilation holes on the dome for a few hours each day. This prevents issues like powdery mildew and encourages stronger growth.
- Don’t Rush the Reveal: When you think your cuttings might be rooted, give them a gentle tug. If there’s resistance, roots are forming! Don’t be tempted to pull them all out to inspect every single one. Patience is truly a virtue here.
Aftercare & Troubleshooting
Once you see signs of new growth – little leaves unfurling or a bit of upward energy – it’s a good bet that roots are developing.
- Acclimatization: Once roots have formed and new growth is evident, it’s time to gradually remove the humidity dome. Start by removing it for a few hours each day, slowly increasing the time until it’s off completely. This helps the new plants adjust to normal humidity levels.
- Watering: Continue to water when the top inch of soil feels dry. It’s better to underwater slightly than to overwater at this stage.
- Potting Up: Once the cuttings are well-established and have a good root system (you’ll see roots emerging from the drainage holes), you can carefully transplant them into their own individual pots using your well-draining mix.
- Troubleshooting – The Slimy End: The most common problem you’ll encounter is rot. If your cutting turns black and mushy, it’s likely succumbed to rot. This usually happens due to too much moisture and poor air circulation. If you see this, remove the affected cutting immediately to prevent it from spreading. Ensure your soil is truly draining and that you’re not overwatering. Sometimes, even with the best intentions, some cuttings just don’t make it, and that’s part of the learning process!
There you have it! Propagating Eriogonum brachypodum is a wonderful way to expand your collection and share these beautiful plants with friends. Be patient, trust the process, and celebrate every little success. Happy gardening!
Resource: