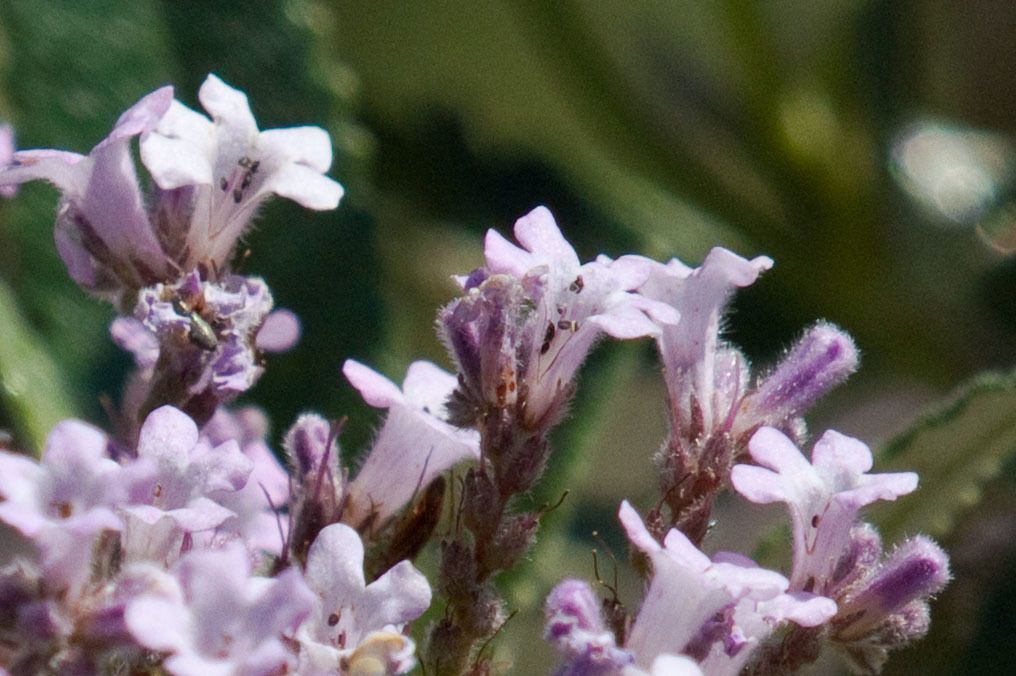
Oh, hello there! It’s so nice to have you join me in my little corner of the garden. Today, we’re diving into the wonderful world of propagating Eriodictyon trichocalyx, or as some might know it, Chaparral Sage. If you’ve ever admired its fragrant, leathery leaves and delicate white-to-lavender blooms that attract all sorts of pollinators, then you know why this plant is such a gem. And the sheer joy of taking a tiny cutting and watching it grow into its own beautiful plant? Well, that’s just about the best feeling a gardener can have.
Now, about propagation. Is Eriodictyon trichocalyx a walk in the park for a novice? I’d say it’s moderately easy. It’s not as fussy as some finicky orchids, but it does appreciate a bit of specific attention. Don’t let that deter you, though! With a few pointers, you’ll be on your way to a small army of these beauties.
The Best Time to Start
I find that the late spring to early summer is absolutely your golden window for propagating Eriodictyon trichocalyx. This is when the plant is in its active growth phase. You want to be working with semi-hardwood cuttings, which are stems that are starting to firm up but still have a bit of flexibility. Avoid taking cuttings from brand new, bright green, floppy shoots or from wood that’s already quite woody and brittle.
Supplies You’ll Need
Gathering your supplies beforehand makes the whole process so much smoother. Here’s what I like to have on hand:
- Sharp, clean pruning shears or a sharp knife: Essential for making clean cuts.
- Rooting hormone: A powder or liquid can significantly boost your success rate.
- Well-draining potting mix: A mix of equal parts perlite and peat moss, or a good quality sterile potting mix formulated for cuttings, works wonders. Avoid heavy, dense soils.
- Small pots or seedling trays: Clean pots are a must to prevent disease.
- Plastic bags or a propagation dome: To create a humid environment.
- Spray bottle: For misting.
- Labels and a pen: To keep track of your cuttings.
Propagation Methods: Stem Cuttings
This is by far the most reliable way to get new Eriodictyon plants.
- Select Your Cuttings: Head out to your plant on a pleasant spring or early summer morning. Look for healthy stems. You want to take cuttings that are about 4-6 inches long. Gently bend a stem – if it snaps cleanly, it’s likely perfect.
- Make the Cut: Using your sharp pruners or knife, make a clean cut just below a leaf node (the point where a leaf attaches to the stem). This is where roots are most likely to form. Discard the very tip of the stem.
- Prepare the Cuttings: Gently remove the leaves from the lower half of the cutting. You want to expose the nodes where roots can develop. If your cutting has very large leaves, you can even cut larger leaves in half to reduce water loss.
- Dip in Rooting Hormone: Dip the cut end of each cutting into your rooting hormone, tapping off any excess. Get a good coating on the exposed stem.
- Planting: Fill your clean pots with your well-draining potting mix. Make a pilot hole in the center of the soil with a pencil or your finger. Carefully insert 1-3 cuttings into each pot, ensuring the nodes are covered by soil. Firm the soil gently around the stems.
- Water Gently: Water the soil thoroughly but gently, using your spray bottle or watering can with a fine rose. You want the soil to be moist but not waterlogged.
- Create Humidity: This is crucial! Place your pots inside plastic bags (creating a mini greenhouse effect) or cover them with a propagation dome. Make sure the leaves aren’t touching the plastic if you can, as this can encourage rot.
The “Secret Sauce” (Pro Tips)
Here are a few things I’ve learned over the years that can really give your cuttings an edge:
- Don’t Let the Leaves Touch the Water (in water propagation): While I’m focusing on soil propagation here, if you do try water, make sure absolutely no leaves are submerged. That’s a fast track to rot; only the stem should be in the water.
- Bottom Heat is Your Friend: If you have a heating mat designed for seedlings, using it under your pots can make a huge difference. The warmth encourages root development from below, greatly speeding up the process. Your Eriodictyon will be very grateful!
- Patience with the Scrape Test: After a few weeks, you can gently scrape a tiny bit of the bark near the bottom of the stem with your fingernail. If you see green underneath, it means the cutting is still alive and trying to root. If it’s brown and dry, it’s likely not going to make it.
Aftercare & Troubleshooting
Once your cuttings are planted, place them in a location with bright, indirect light. Avoid direct sun, which can scorch them and dry them out too quickly. Keep the soil consistently moist but not soggy. Mist the leaves occasionally with your spray bottle, especially if they look a bit droopy.
How do you know they’ve rooted? You might see new leaf growth emerge, or when you gently tug on a cutting, you can feel a bit of resistance. This usually takes anywhere from 4 to 8 weeks, sometimes longer. Once they have a good root system (you can often see roots peeking out of the drainage holes), you can carefully transplant them into individual pots.
The most common sign of failure is rot. If your cuttings turn black and mushy, or if the leaves start to yellow and drop off rapidly, it’s usually a sign of too much moisture, poor drainage, or a fungal issue.
A Little Encouraging Closing
Don’t be discouraged if not every single cutting makes it. Gardening is a journey of learning, and every attempt teaches you something. Remember to be patient with your little propagations. They’re working hard to establish themselves! Enjoy the process of nurturing new life, and soon you’ll have an abundance of fragrant Chaparral Sage to share. Happy propagating!
Resource:
https://identify.plantnet.org/k-world-flora/species/Eriodictyon%20trichocalyx%20A.Heller/data