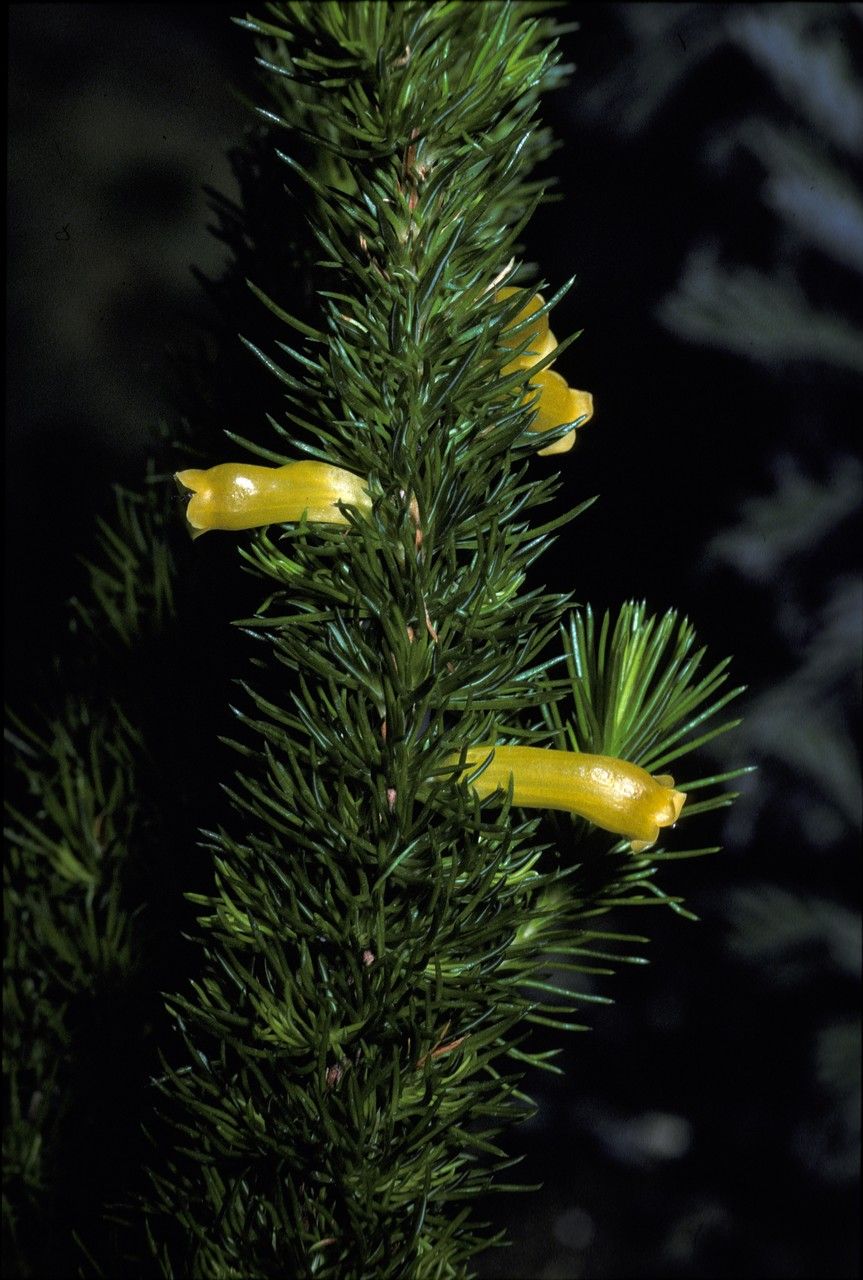
Oh, Erica patersonia! What a darling little plant. If you’re anything like me, you’re drawn to its delicate, bell-shaped flowers that seem to dance in the breeze. Its fine, needle-like foliage adds a lovely texture to the garden, and those blossoms – oh, those gorgeous, usually buttery yellow blooms – bring such a cheerful glow. Propagating this beauty is a truly rewarding experience. It’s not the absolute easiest plant for a total beginner, but with a little patience and these tips, you’ll be well on your way to a whole new patch of Erica joy.
The Best Time to Start
For Erica patersonia, I find the absolute sweet spot for taking cuttings is late spring to early summer. This is when the plant is actively growing, but the new shoots have had a chance to mature a little. You’re looking for stems that are still flexible but not quite woody. Think of it as those perfect pencil-thickness pieces that snap cleanly when you bend them. Autumn can also work, but the cuttings might take a bit longer to root.
Supplies You’ll Need
Here’s what I always have on hand when I’m propagating Erica patersonia:
- Sharp pruning shears or a clean, sharp knife: For clean cuts, which are crucial.
- Rooting hormone (powder or gel): This really gives your cuttings a fighting chance.
- A well-draining potting mix: A mix of coarse sand, perlite, and peat moss is ideal. You want something that dries out quickly. I often use a mix specifically for ericaceous (acid-loving) plants.
- Small pots or seed trays: Clean ones, please!
- A plastic bag or propagation dome: To create a humid environment.
- Labels and a marker: To remember what you planted and when!
- A spray bottle: For gentle misting.
Propagation Methods
Stem cuttings are the go-to method for Erica patersonia. It’s tried and true and gives excellent results.
- Take Your Cuttings: Select healthy, non-flowering shoots from your mature plant. Using your sharp shears or knife, cut sections about 4-6 inches long. Make the cut just below a leaf node (where a leaf attaches to the stem). Remove any leaves from the bottom half of the cutting.
- Prepare the Cuttings: Dip the cut end of each cutting into your rooting hormone. Tap off any excess.
- Pot Them Up: Fill your clean pots with your prepared well-draining potting mix. Make a small hole in the center of the mix with a pencil or your finger. Gently insert the hormone-coated end of the cutting into the hole and firm the mix around it, ensuring good contact.
- Water Gently: Water the pots thoroughly but gently using your spray bottle or a watering can with a fine rose. You want the soil moist but not soggy.
- Create Humidity: To keep those cuttings from drying out, I like to place a clear plastic bag or a propagation dome over the pots. Make sure the plastic isn’t touching the leaves. You can use stakes to keep it tented.
The “Secret Sauce” (Pro Tips)
Over the years, I’ve learned a few tricks that make all the difference:
- Cleanliness is King: Always use sterilized tools and pots. Fungal diseases are the enemy of young cuttings, and starting clean is your best defense.
- Bottom Heat is a Game Changer: While not strictly essential, placing your pots on a gentle heat mat can significantly speed up root development, especially if the room isn’t naturally warm. It mimics that lovely spring soil warmth.
- Watch for Wilting (But Don’t Panic): Some initial wilting is normal as the cutting adjusts. However, if they look truly distressed, check your humidity levels. A gentle misting, or ensuring the bag is sealed well, can help.
Aftercare & Troubleshooting
Once your cuttings have developed a healthy root system – you’ll know because you’ll see new growth starting – it’s time to start treating them like little plants. You can carefully remove the plastic bag or dome gradually over a few days to acclimate them to drier air. Continue to keep the soil consistently moist but not waterlogged.
The most common problem you’ll encounter is rot, often indicated by a black, mushy stem base. This is usually a sign of too much moisture and poor drainage. If you see this, you’ll likely need to discard the affected cutting. Avoid overwatering at all costs! It’s far better to let them dry out a tiny bit than to drown them.
A Encouraging Closing
Propagating Erica patersonia is a journey, and like any gardening endeavor, it requires patience. Don’t be discouraged if not every cutting makes it. Each one is a learning opportunity. Celebrate the successes, learn from the failures, and most importantly, enjoy the process of nurturing these tiny new lives. Happy propagating!
Resource:
https://identify.plantnet.org/k-world-flora/species/Erica%20patersonia%20Andrews/data