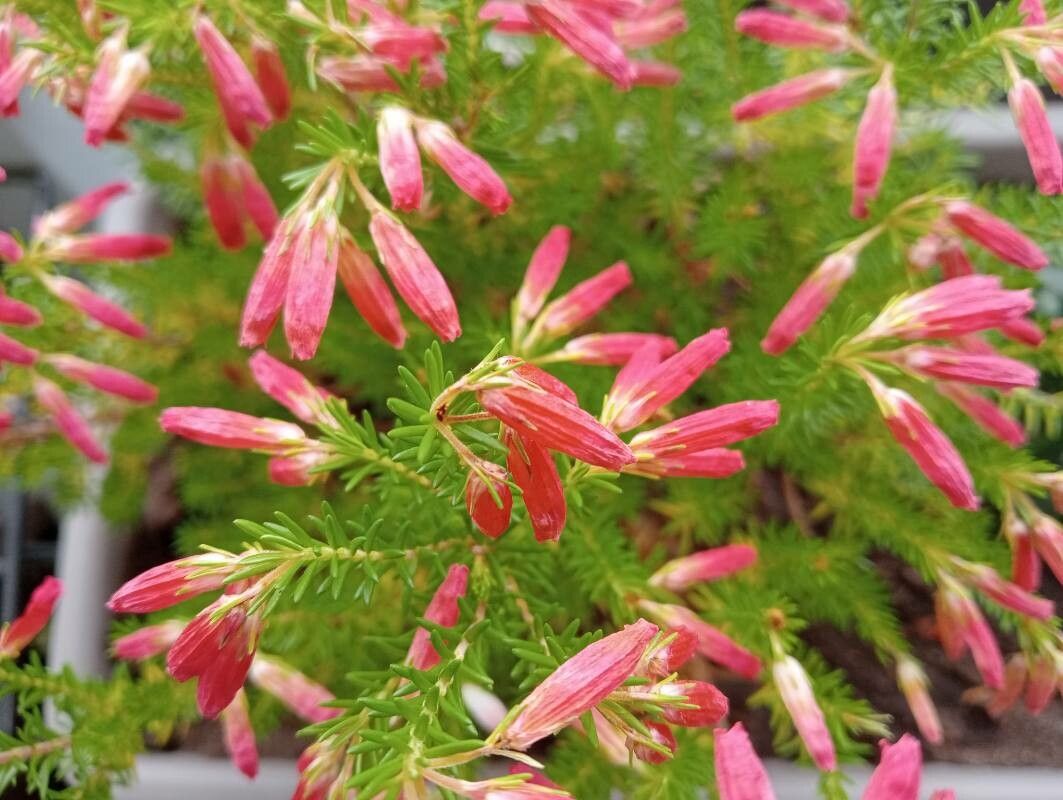
Hello fellow plant lovers! Today, we’re diving into the wonderful world of Erica oatesii, often called the “Pink Heath” or a delightful little shrub that brings such a soft, delicate charm to any garden. Its clusters of bell-shaped, rosy-pink flowers are an absolute joy to behold, especially when they bloom their hearts out. Propagating this beauty isn’t just about getting more plants; it’s about the satisfaction of nurturing something new from a tiny piece of the parent. While it can be a bit finicky, with a little patience and the right approach, it’s absolutely achievable, even for those newer to the propagation game.
The Best Time to Start
For Erica oatesii, the sweet spot for propagation is late spring to early summer. This is when the plant is actively growing, and the new, softwood or semi-hardwood stems have a good vigor about them. Trying to propagate when the plant is dormant just won’t give you the same energetic start. You want to aim for stems that are flexible but not so soft that they’ll easily bruise.
Supplies You’ll Need
Here’s what you’ll want to have on hand before you begin:
- Sharp Pruning Shears or a Craft Knife: Cleanliness is key here!
- Rooting Hormone: A powder or gel will work. This gives your cuttings a lovely little boost.
- Seed Starting Mix or a Very Well-Draining Potting Mix: I like a blend of perlite, peat moss, and a touch of fine bark. Erica hates soggy feet.
- Small Pots or Trays with Drainage Holes: Clean ones, of course!
- Plastic Bags or a Propagator Lid: To create a humid environment.
- Clear Tape or Rubber Bands: To secure the plastic.
- Watering Can with a Fine Rose or Spray Bottle: Gentle watering is essential.
Propagation Methods
I find stem cuttings to be the most reliable method for Erica oatesii.
- Select Your Cuttings: Look for healthy, non-flowering stems that are about 4-6 inches long. They should bend slightly without snapping.
- Make the Cut: Using your clean shears or knife, make a clean cut just below a leaf node (where a leaf attaches to the stem).
- Prepare the Cutting: Gently remove the leaves from the bottom 2 inches of the stem. This is important to prevent them from rotting in the soil. You can leave the top few leaves.
- Apply Rooting Hormone: Dip the bottom 1-inch of the cutting into your rooting hormone, tapping off any excess.
- Plant the Cuttings: Fill your small pots with your well-draining mix. Make a small hole with a pencil or your finger, and gently insert the cutting. Firm the soil gently around the base.
- Water Gently: Water thoroughly but gently to settle the soil around the cuttings.
- Create Humidity: Cover the pots with clear plastic bags or a propagator lid, ensuring the plastic doesn’t touch the leaves. You can use stakes to prop it up if needed. Secure with tape or a rubber band.
The “Secret Sauce” (Pro Tips)
You know, after years of coaxing plants to root, I’ve learned a few little tricks.
- Bottom Heat is Your Friend: Place your pots on a heated propagator mat. This gentle warmth encourages root development from below, giving your cuttings a significant advantage. Even a warm windowsill can help, but dedicated bottom heat is a game-changer for trickier subjects.
- Don’t Let Foliage Touch Water: For any propagation, but especially for Erica oatesii, ensure no leaves are touching the soil surface or the sides of the pot below the soil line. This is a prime spot for rot to set in. Keep them trimmed if necessary.
- Air Circulation Matters: Once roots start to form (you might see them peeking through drainage holes), start to gradually increase ventilation. Open the plastic bag for a few hours each day. This helps the young plants adapt to drier air and prevents fungal issues.
Aftercare & Troubleshooting
Once you see signs of new growth, or if you gently tug on a cutting and feel resistance (meaning roots are forming), it’s time for a change!
- Acclimatize: Gradually remove the plastic cover over a week or two.
- Watering: Water when the top inch of soil feels dry. Avoid overwatering; Erica prefers to dry out slightly between waterings.
- Light: Keep them in bright, indirect light. Direct sun can scorch tender new growth.
The most common issue you might encounter is rot. If your cuttings turn black and mushy, that’s usually a sign of too much moisture and not enough air circulation. If a cutting looks healthy but just isn’t rooting after several weeks, don’t despair! Sometimes they just take their time, or the conditions weren’t quite right. You can always try again with fresh cuttings.
Remember, gardening is a journey, and propagation is one of its most rewarding aspects. Don’t be discouraged if you don’t have success with every single cutting. Be patient, observe your plants, and enjoy the process of nurturing these little treasures. Happy growing!
Resource:
https://identify.plantnet.org/k-world-flora/species/Erica%20oatesii%20Rolfe/data