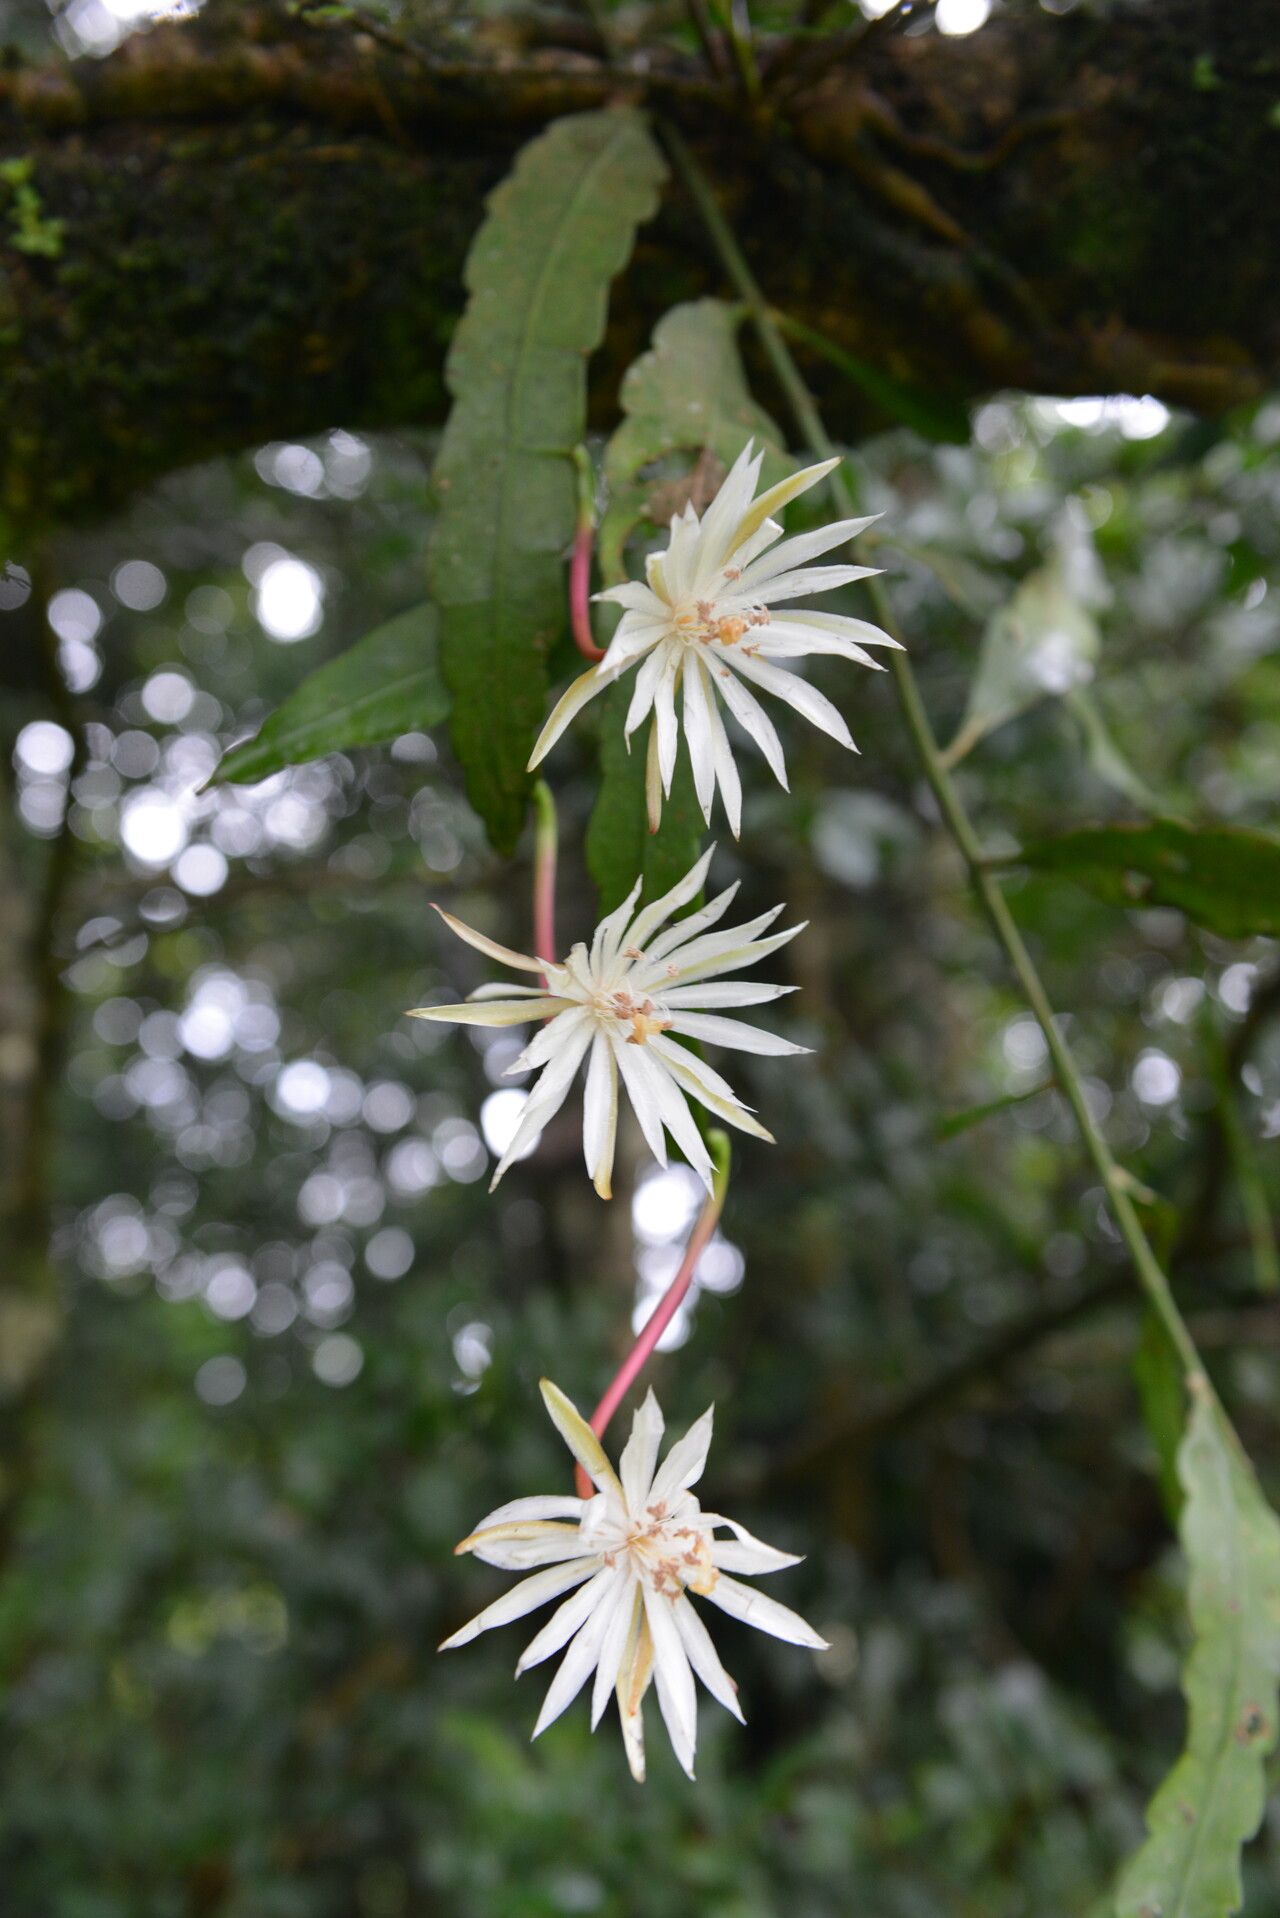
Oh, hello there, fellow plant lover! Grab a mug, settle in, and let’s chat about one of my absolute favorite things: Epiphyllum cartagense, or as some folks lovingly call them, “Jungle Cacti.” These beauties are just stunning, aren’t they? Their cascading, flat stems, often adorned with the most magnificent blooms, can truly transform a space. And the best part? They’re surprisingly generous with themselves. Propagating them is a wonderful way to share that beauty or simply to expand your own collection without breaking the bank. For beginners? I’d say they’re quite beginner-friendly, especially when you nail down a few simple techniques.
The Best Time to Start
When I’m thinking about giving my Epiphyllum cartagense a little “baby boom,” I always aim for spring or early summer. This is when the plant is really hitting its stride, actively growing and full of energy. New growth is usually plump and healthy, making it the perfect candidate for taking cuttings. Starting during this active period gives those cuttings the best chance to establish roots before the cooler, less active months arrive.
Supplies You’ll Need
Don’t worry, it’s not a huge shopping list! Here’s what you’ll want to have on hand:
- A sharp, clean pruning shear or knife. Sterilize it with rubbing alcohol between cuts to prevent disease.
- Potting mix: I prefer a well-draining mix. A good blend for these guys is about half cactus/succulent mix and half perlite or coarse sand. You can also add a bit of orchid bark for extra aeration.
- Small pots or containers: Terracotta pots are great because they breathe and help prevent overwatering.
- Rooting hormone (optional, but it can give you a nice boost).
- Watering can or spray bottle.
- Small stakes or labels to mark your cuttings if you’re making a few.
Propagation Methods
There are a couple of ways to go about this, but let me walk you through my tried-and-true methods.
Stem Cuttings – My Go-To
This is by far the easiest and most common way to propagate Epiphyllum cartagense.
- First, choose a healthy, mature stem segment. Look for a piece that’s at least 4-6 inches long. It should feel firm, not soft or mushy.
- Make a clean cut at a joint where one segment connects to another. This encourages healing and reduces the chance of rot.
- Let the cutting callous over. This is crucial. Place the cut end on a dry paper towel in a bright spot, out of direct sun, for a few days to a week. You’ll see the cut end dry up and form a protective callus. This step is your best defense against rot.
- Once calloused, dip the cut end in rooting hormone (if you’re using it). You don’t need much, just a light dusting.
- Now, plant the cutting about 1-2 inches deep into your prepared potting mix. Gently firm the soil around it.
- Don’t water immediately. Wait about a week after planting before giving it its first gentle watering. This allows any microscopic wounds to heal further.
- Place the pot in a bright, indirect light location. Avoid harsh, direct sun, which can scorch the delicate new plant.
Water Propagation – A Visual Reward
While I primarily use soil for these guys, you can propagate them in water, though it needs a little extra care.
- Follow steps 1 and 2 for the stem cuttings.
- Follow step 3 to let the cutting callous over completely. This is just as important in water as it is in soil.
- Once calloused, place the cutting in a glass of water. Make sure only the calloused end is submerged.
- Crucially, ensure no part of the stem or leaf is touching the water. Roots will form from the calloused end, and if other parts are submerged, they’ll likely rot.
- Place the glass in bright, indirect light.
- Change the water every few days to keep it fresh and oxygenated.
- Be patient and watch for small roots to emerge. Once the roots are about an inch or two long, you’ll need to transplant it into your well-draining potting mix as described in the stem cutting method.
The “Secret Sauce” (Pro Tips)
Here are a couple of little tricks I’ve picked up over the years that really make a difference:
- Don’t overcrowd your pots. If you’re planting multiple cuttings in one pot, give them a little space. This improves air circulation and reduces the risk of them touching each other, which can spread rot.
- Bottom heat works wonders. If you’re propagating in cooler conditions, a little gentle warmth from below can significantly speed up root development. A seedling heat mat is perfect for this. Just place your pots on top of it.
Aftercare & Troubleshooting
Once you start to see signs of growth – a new little stem peeking out or a bit of swelling at the base – you’re on the right track!
Continue to keep the soil lightly moist but never soggy. Water thoroughly when the top inch or so of soil feels dry. As the plant grows, you can gradually introduce it to more light.
The most common issue you’ll face is rot. If a cutting turns black and mushy, it’s usually a sign of too much moisture or not enough airflow, or it wasn’t allowed to callous properly. If you see this, immediately remove the affected cutting and adjust your watering. Sometimes, a cutting might just droop and fail to root; this can happen, so don’t get discouraged. Just try again with another piece!
A Little Encouragement to Finish
Propagating plants is a journey, and with Epiphyllum cartagense, it’s a particularly rewarding one. Be patient, observe your little charges, and don’t be afraid to experiment. Each cutting you nurture into a new plant is a little piece of living art you’ve helped create. Happy propagating, and enjoy the magic!
Resource: