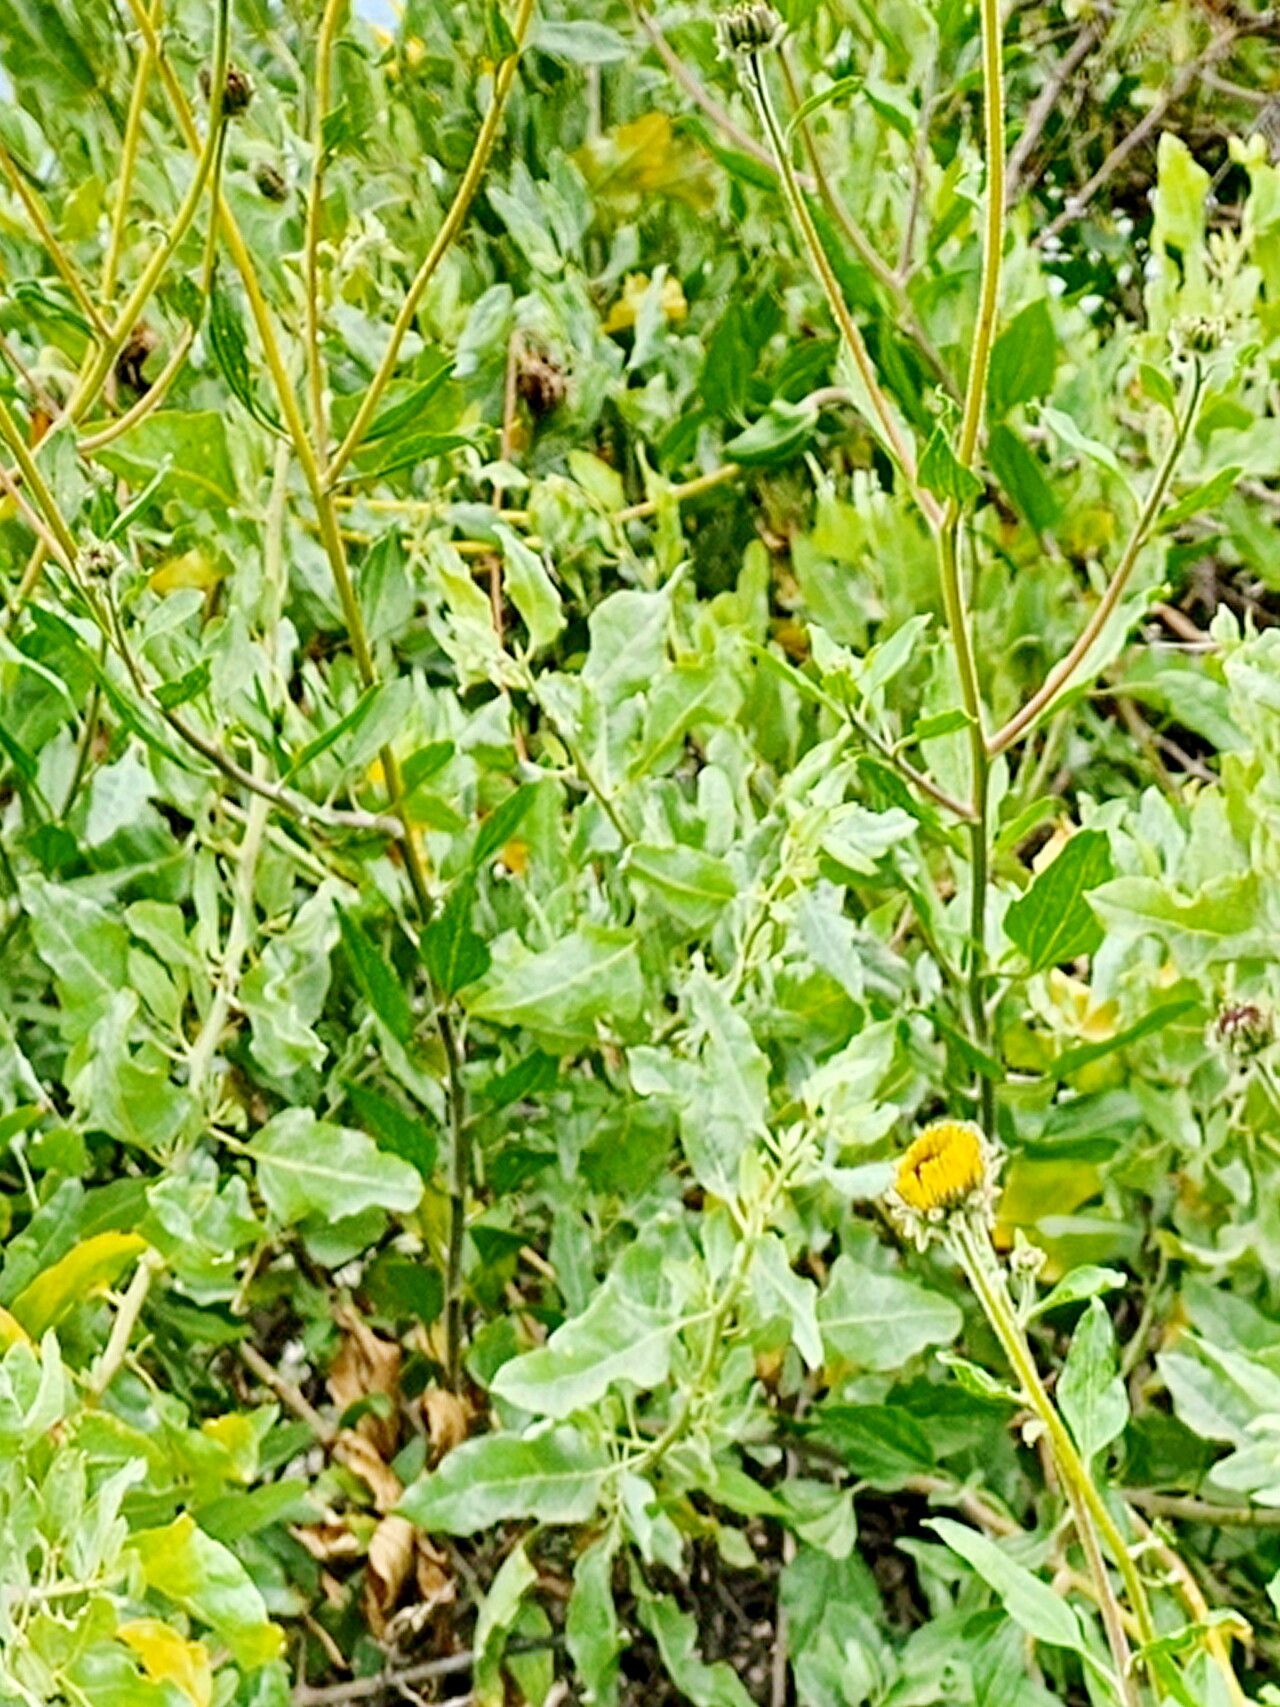
Hello fellow garden lovers! It’s so good to have you here. Today, we’re going to talk about a plant that truly captures the essence of the California coast: Encelia californica, or California Brittlebush.
Cheerful California Native: Why You’ll Love Propagating Encelia
I’ve always been drawn to this plant’s sunny disposition. Its radiated, daisy-like flowers, often bright yellow, seem to hold the sunshine itself, and they bloom for such a long stretch. Plus, it’s a drought-tolerant stunner, perfect for our water-wise gardens. Propagating Encelia californica is a wonderfully rewarding experience. It’s also quite forgiving, making it a great plant for those of you just starting your propagation journey. You’ll be amazed at how easily you can share this piece of California sunshine with friends!
When to Get Your Hands Dirty: The Best Time to Start
My favorite time to get started with Encelia californica propagation is in the late spring or early summer. The plant is actively growing, and the cuttings tend to root with more vigor when the days are longer and warmer. You can also try in the fall, but I find spring yields the absolute best results. Look for healthy, non-flowering stems.
Your Propagation Toolkit: What You’ll Need
Gathering your supplies beforehand makes the whole process smoother. Here’s what I recommend:
- Sharp Pruning Shears or a Knife: Cleanliness is key to preventing disease. Sterilize them with rubbing alcohol.
- Rooting Hormone (Optional, but helpful): A powder or gel can give your cuttings a nice boost. I like using one with a bit of fungicide.
- Well-Draining Potting Mix: A mix of equal parts perlite and peat moss or coco coir works wonderfully. You can also use a commercial seed-starting mix.
- Small Pots or Trays: Clean, shallow containers with drainage holes are perfect.
- Plastic Bag or Dome: To create a humid environment for your cuttings.
- Watering Can or Spray Bottle: For gentle watering.
- Labels: To keep track of what you’ve planted!
Easy Does It: Sticking Those Cuttings
My go-to method for Encelia californica is stem cuttings. It’s reliable and gives you multiple new plants from one parent.
- Select Your Parent Plant: Choose a healthy, mature Encelia californica. Look for stems that are firm but not woody, with plenty of green growth.
- Take Your Cuttings: Using your sterilized shears, cut a stem that is about 4-6 inches long. Make the cut just below a leaf node (where a leaf attaches to the stem).
- Prepare the Cuttings: Gently remove the lower leaves from the cutting, leaving just a couple of leaves at the top. This prevents them from rotting in the soil. If your cutting is particularly long, you can even cut the remaining leaves in half.
- Apply Rooting Hormone (If Using): Dip the cut end of the stem into the rooting hormone powder or gel. Tap off any excess.
- Plant Your Cuttings: Make small holes in your prepared potting mix using a pencil or your finger. Insert the cut end of each Encelia cutting into the holes, ensuring the leaf nodes are buried.
- Water Gently: Water the soil thoroughly but gently, so you don’t dislodge the cuttings.
A Whisper of Wisdom: My Pro Tips
Here are a few things I’ve learned that really make a difference:
- Don’t Overcrowd: Give your cuttings a little space. If they are too close, they can harbor fungal issues. I like to start no more than 5-6 cuttings per small pot.
- Humidity is Key: Once planted, cover your pots with a clear plastic bag or a propagation dome. This creates a mini-greenhouse effect, keeping the humidity high and preventing the cuttings from drying out before they can root. Make sure the leaves aren’t touching the plastic if possible, as this can lead to rot.
- Warmth Helps: While not strictly necessary for Encelia, giving your cuttings bottom heat can speed up the rooting process. A heat mat placed under your pots will do the trick. You can often find affordable ones made for seedlings.
Nurturing New Growth: Aftercare and Bouncing Back
Once your cuttings are planted, the waiting game begins! Keep the soil consistently moist but not soggy. You should see new leaf growth within a few weeks. A gentle tug on a cutting that feels resistant is a good sign that roots have formed.
Watch out for rot. If you see wilting even though the soil is moist, or if the cuttings turn mushy and black, that’s a sign of rot. This often happens when conditions are too wet or not enough air circulation. If you catch it early, you might be able to save a cutting by trimming away the rotted parts and repotting in fresh, drier mix.
When your Encelia californica cuttings have developed a good root system and are showing sturdy new growth, it’s time to transplant them into their own little pots. Handle them gently, as their roots are still delicate.
Gardening is a Journey
Propagating plants can feel a bit like magic, and Encelia californica is a fantastic plant to practice with. Be patient with yourself and enjoy the process. Seeing those tiny roots emerge is one of the most satisfying moments in gardening. Happy planting!
Resource:
https://identify.plantnet.org/k-world-flora/species/Encelia%20californica%20Nutt./data